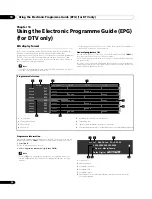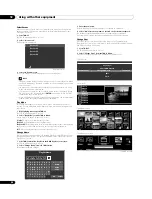
Useful adjustment settings
11
43
En
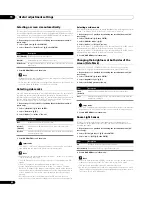
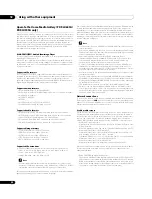
Blue LED Dimmer
You can adjust the brightness of the Power ON indicator depending on the
brightness level of the viewing area. When “Auto” is selected, the brightness of
the indicator changes to “High”, “Mid” or “Low” to match the brightness level of
the viewing area.
1
Repeat steps 1 to 3 provided for
Switching the vertical drive mode (AV
source only).
2
Select “Blue LED Dimmer” (
/
then ENTER).
3
Select “Auto”, “High”, “Mid” or “Low” (
/
then ENTER).
4
Press HOME MENU to exit the menu.
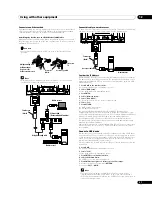
Orbiter
This function automatically shifts the image little by little to reduce the
occurrence of the burning.
1
Repeat steps 1 to 3 provided for
Switching the vertical drive mode (AV
source only).
2
Select “Orbiter” (
/
then ENTER).
3
Select “Mode 1” or “Mode 2” (
/
then ENTER).
(AV source)
(PC source)
4
Press HOME MENU to exit the menu.
To cancel this function, select “Off” in step 3.
Note
• For the Dot by Dot mode, see
Selecting a screen size manually
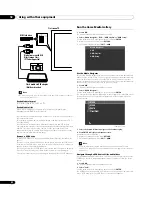
Video Pattern
You can display the Video Pattern screen that also helps eliminate after-image
when it occurs.
1
Repeat steps 1 to 3 provided for
Switching the vertical drive mode (AV
source only).
2
Select “Video Pattern” (
/
then ENTER).
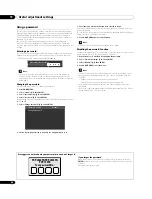
A confirmation screen appears.
3
Select “Start” (ENTER).
The Video Pattern screen displays.
Note
• The system is automatically placed into standby one hour after the Video
Pattern screen has started.
• While the Video Pattern screen is on, no buttons operate except
TV
a
on the
remote control unit,
STANDBY/ON
and Power On (
a
) on the flat screen TV.
If any of the above buttons is pressed, a message appears on screen (the
Video Pattern function is on).
• To cancel the Video Pattern screen, press
TV
a
on the remote control unit,
press
STANDBY/ON
or turn Power On (
a
) off on the flat screen TV.
• The Video Pattern timer has priority over the sleep timer. When the Video
Pattern timer is on, the sleep timer becomes ineffective.
Screen Protection
This function establishes multiple settings for a longer display life. To select this
option, follow the procedure below.
1
Repeat steps 1 to 3 provided for
Switching the vertical drive mode (AV
source only).
2
Select “Screen Protection” (
/
then ENTER).
The following settings are automatically entered:
• Auto Size: Wide-Zoom
• Side Mask - Detection: Mode 1
• Orbiter: Mode 1
• Energy Save: Mode 1
• AV Selection: OPTIMUM (when “DYNAMIC” is selected for “AV Selection”)
3
Select “Yes” or “No” (
/
then ENTER).
4
Press HOME MENU to exit the menu.
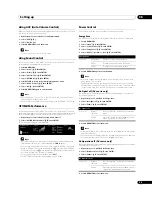
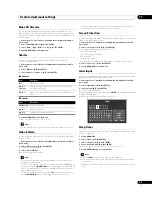
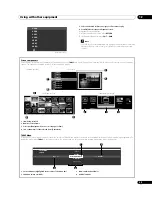
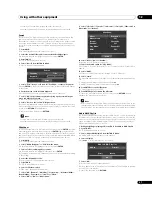
Label Input
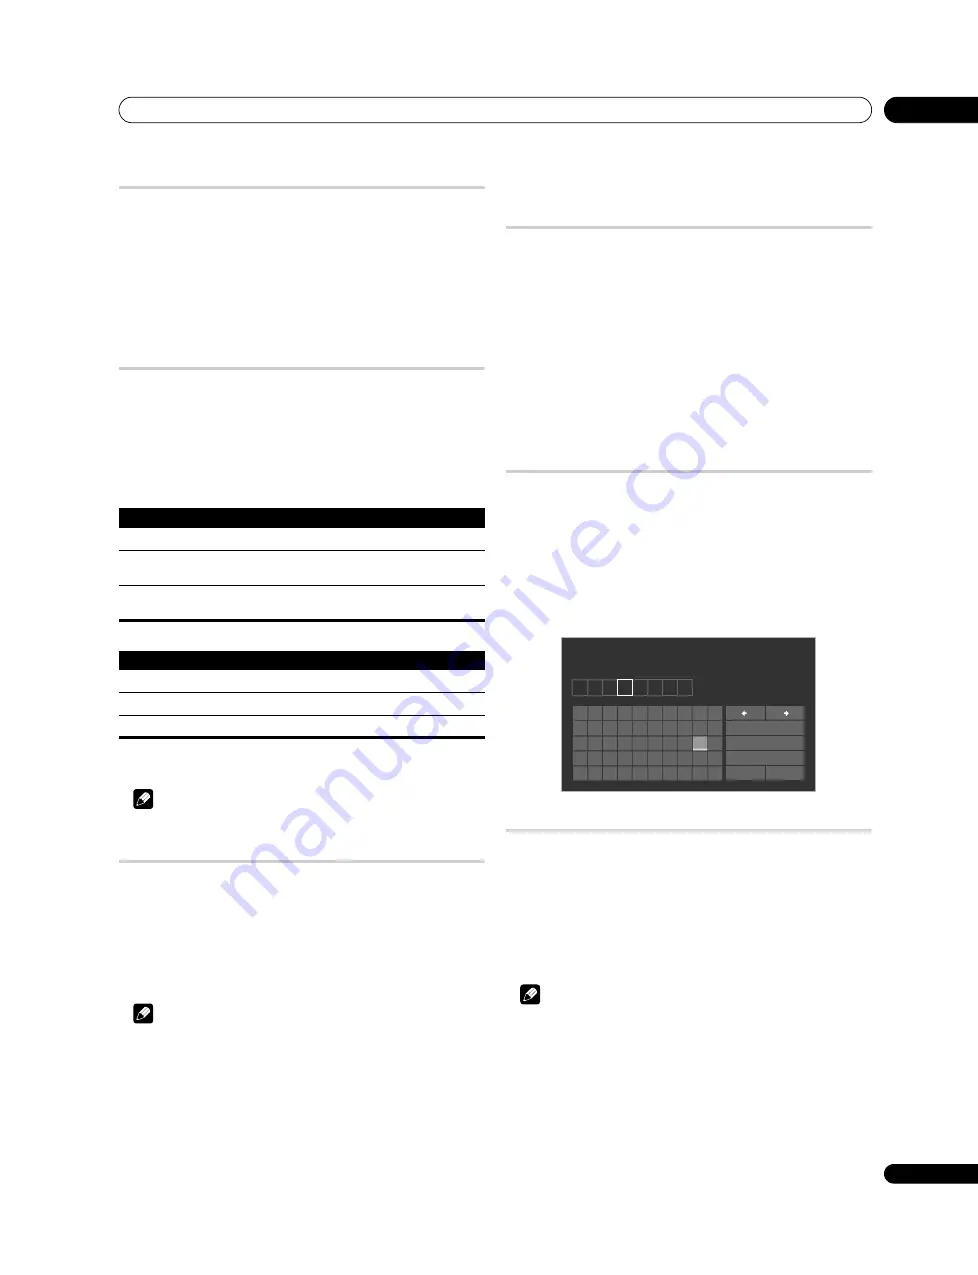
You can enter the broadcast name in each channel using the on-screen software
keyboard. For entry, follow the procedure below.
1
Repeat steps 1 to 3 provided for
Switching the vertical drive mode (AV
source only).
2
Select “Label Input” (
/
then ENTER).
3
Select an input (
/
then ENTER).
The software keyboard appears.
For entry, highlight the desired key, then press
ENTER
. Up to eight characters can
be entered for each label.
Refer to step 7 for
Sleep Timer
When the selected time elapses, the Sleep Timer automatically places the system
into the standby mode.
1
Press HOME MENU.
2
Select “Setup” (
/
then ENTER).
3
Select “Sleep Timer” (
/
then ENTER).
4
Select the desired time (
/
then ENTER).
Select “Off” (cancel), “30 min”, “60 min”, “90 min” or “120 min”.
5
Press HOME MENU again to exit the menu.
Note
• Pressing
TOOLS
also causes the “Sleep” menu to appear.
• Five minutes before the selected time elapses, the remaining time appears
every minute.
• When the sleep timer has been set, “Remain ---min” appears at the top of the
menu.
Item
Description
Off
Disables the Orbiter
Mode 1
(default)
Enables the display protection function for any screen mode
other than “Dot by Dot”
Mode 2
Enables the display protection function for all available screen
modes
Item
Description
Off (default)
Disables the Orbiter
Mode 1
Enables the Orbiter
Mode 2
Smoothes text/characters display
K I D S
1
2
3
4
5
6
7
8
9
0
A B C D E
F G H
I
J
K
L M N O P Q R S
T
U V W X
Y
Z
,
.
:
;
&
'
(
)
+
-
*
/
_ @
OK
Cancel
Caps
Space
Delete
Label
Содержание Kuro PDP-C509A
Страница 1: ... 08G00001 ARB1580 A Printed in Japan ...
Страница 88: ... 08G00001 ARB1580 A Printed in Japan ...


