- 142 -
12.
Examples
12.1
Custom channel logos
12.1.1
How to extract the channel logos
You can extract the channel logos from the TV in following way:
Insert an empty USB stick into the TV and enter the Professional Settings
In the Professional Settings, navigate to [
Upgrade and Clone
][
Clone TV to USB
][
Clone All
] and
start the clone out
Note: As all the apps and channel logos will be copied to the USB stick, the clone out will take
more time to complete
When the clone out has finished, close the dialog and extract the USB stick
Open the clone folder on the USB stick and go to the ChannelList folder:
\TPM181HE_CloneData\MasterCloneData\ChannelList\
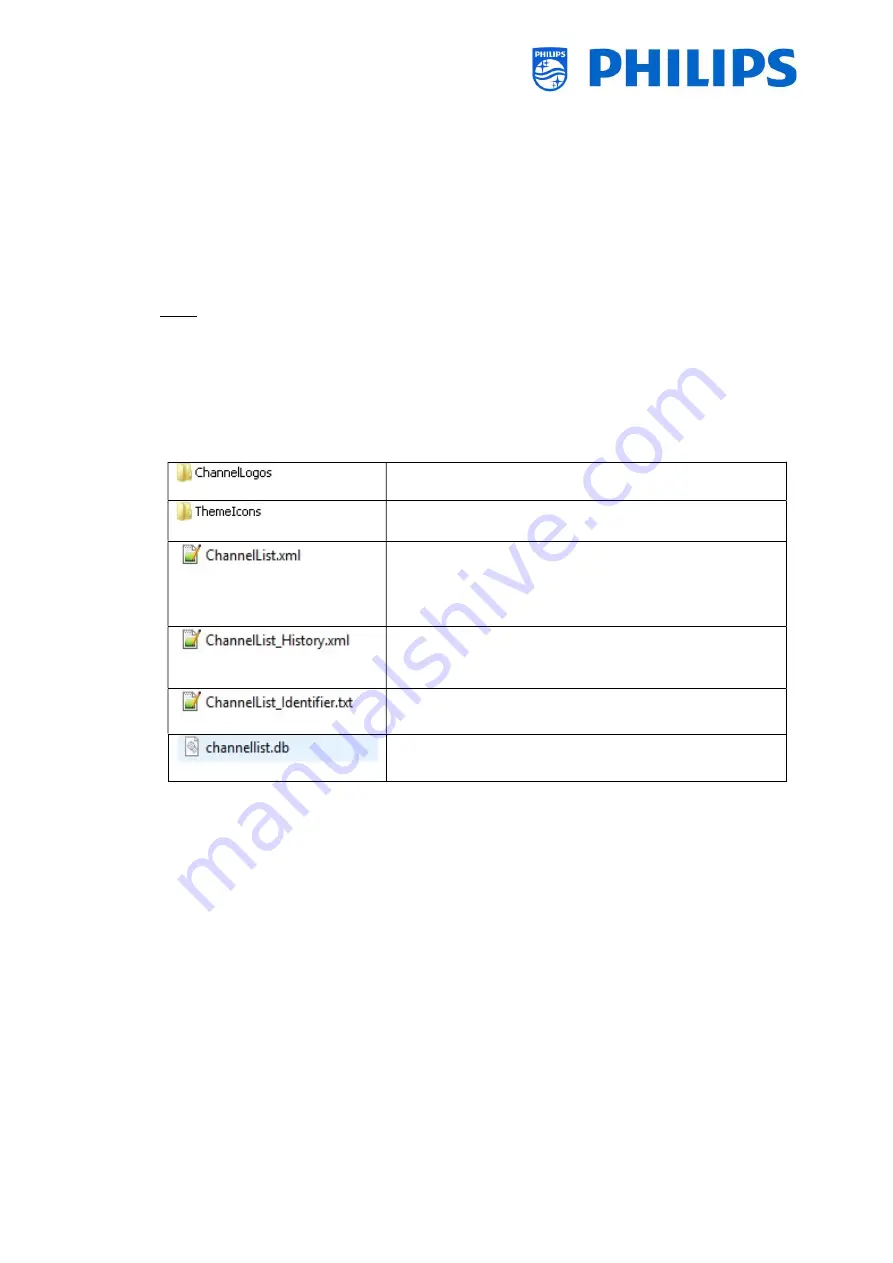
The ChannelList folder will contain the following folders and files:
Contains the channel logos
Contains the ThemeTV logos
Contains all the details of each channel and must be
modified when adding a custom channel logo or theme
icon
Contains the time/date and software version when the
channels were installed or updated.
Single line of text to identify the channel list
Database file, which is required for TIF channels
12.1.2
How to add custom channel logos
The easiest way to change a custom logo in the channel list is by using CMND. You can find the details
in the CMND manual. Below you can find how to do this manually.
Channel logo requirement:
Resolution: 320x180
File type: PNG or JPG
You can add a custom channel logo in TV in the following way:
Extract the clone from the TV to a USB stick
When the clone out has finished, close the dialog, extract the USB stick
Copy the custom channel logo PNG into the clone. In this example the “Philips.png” file was
copied to
“\TPM181HE_CloneData\MasterCloneData\ChannelList\ChannelLogos\custom\Philips.png”
Open the ChannelList.xml in a text editor (like +) and modify the ChannelList.xml to
link the preset to the custom channel logo, by changing the logo attribute and make sure the


