28
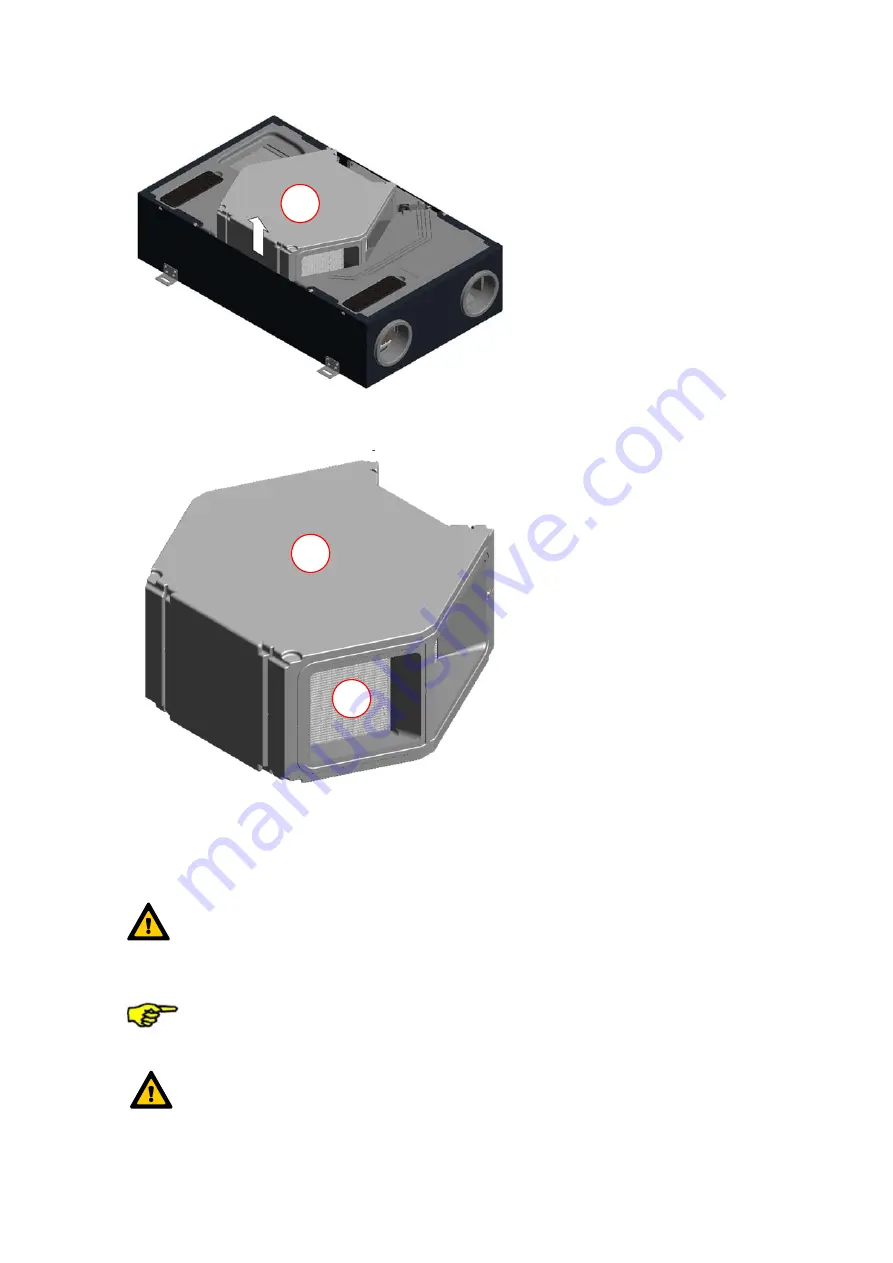
Fig 40: Removal of the heat exchanger box
G
8.
Clean the internal heat exchanger
I
of the heat exchanger box
G,
if necessary.
Fig 41: Heat exchanger
I
in the heat exchanger box
G
In order to do so, proceed as follows:
•
Dip the heat exchanger into warm water several times (max. 40 °C).
•
Subsequently, thoroughly rinse the heat exchanger using warm tap water (max. 40°C).
As a general rule, do not use any aggressive or dissolvent detergents!
•
For drying, position the heat exchanger in such a way that existing residual water can run out of the
openings.
•
Let the heat exchanger run completely dry before reinstalling it.
Hints for proper cleaning can also be found at the manufacturer’s website.
9. Carefully aspirate with a vacuum cleaner the outdoor casing
J
of the fan boxes and suck the PTC heating
elements of the integrated defroster off with a suitable suction nozzle.
Do not touch any parts of the defroster with your hands, and do not damage the temperature
sensor while cleaning!
G
I
G
Содержание CLIMOS F 200 Eco
Страница 1: ...Version 1 1_08 2019 EN...
Страница 32: ...32 Dimensional sketch Fig 44 Dimension drawing...
Страница 33: ...33 Circiut diagram CLIMOS Eco series Fig 45 Terminal assignment CLIMOS Eco...
Страница 38: ...38 Product fiche...


