Page 13 of 16
Final Assembly
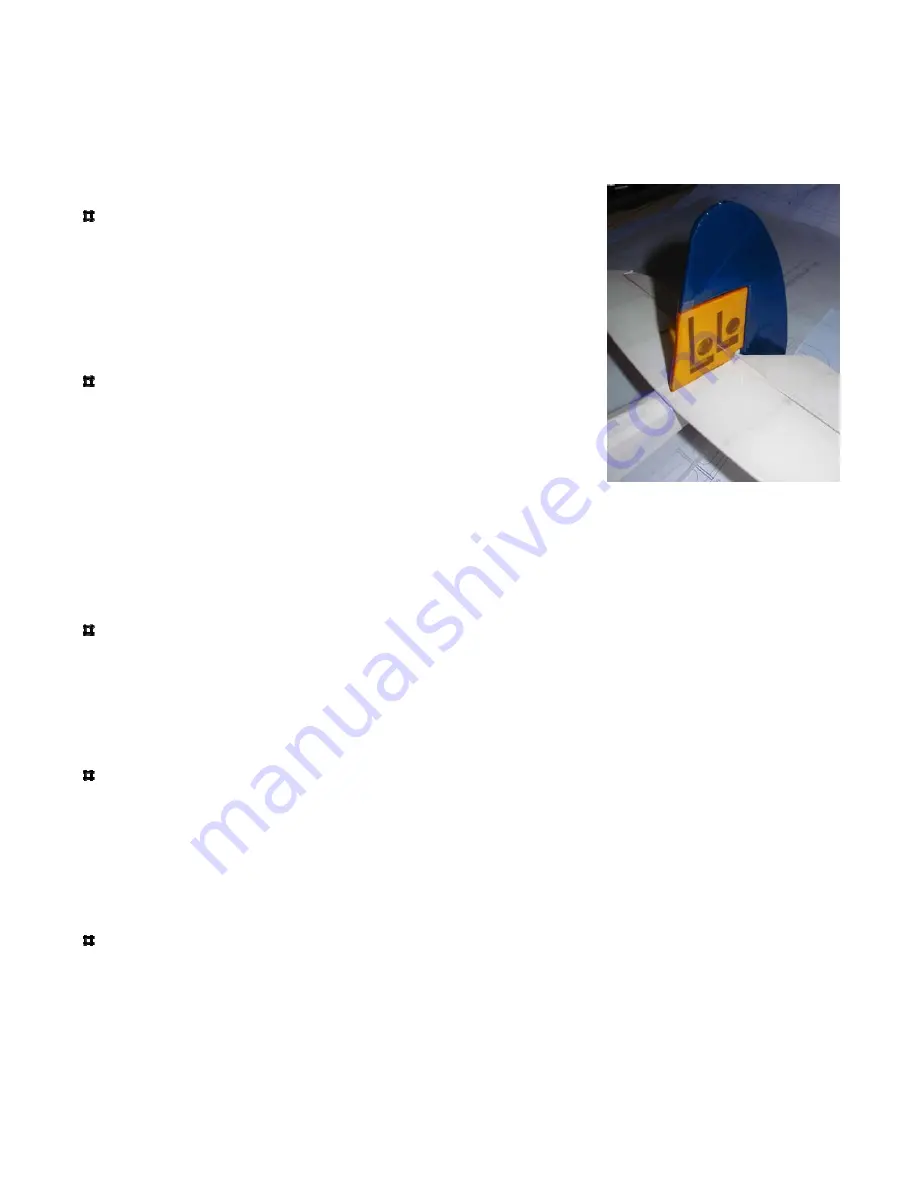
Assemble the tail:
First dry fit the tail parts in place on the fuselage. Install the
lower vertical stab first from underneath, then the horizontal
stab, then insert the upper vertical stab through the horizontal
stab and into the fuselage. The parts will all slot tightly
together. Verify that there is no covering on the surfaces that
need to be glued. Remove the parts and use slow C/A or epoxy
to coat the mating surfaces, then reassemble the parts and hold
them in place until the glue sets.
Hinge the rudder to the vertical stab pieces using the
technique described above under “Cover and hinge the tail
parts”. Check to make sure there is at least 30 degrees of
deflection on the rudder and elevator, and that they move
smoothly.
Landing gear installation (optional):
LoLo flies nicely with no landing gear at all, but with the landing gear LoLo does beautiful rise-
off-ground launches, touch-and-goes and pavement landings. Without the landing gear the
airframe is more streamlined and as a result the plane thermals better.
Insert the provided pre-bent landing gear wire into the slots in F2A (do not glue). Place 1/32” ply
part F2B over the gear. F2B can either be glued in place, or small 4” plastic cable ties can be used
to secure it in place. If using the cable ties, insert them through the holes in the formers, pull as
tight as possible and trim the loose ends off. Install your wheels and wheel catches. Wheels are not
provided since most people have a personal preference as to what they want to use. 1-3/4” Dubro
wheels were used on the test planes and provide great clearance for a 9” prop.
LoLo will ground handle fairly well without a tail skid as the rudder rides directly on the ground;
but if desired, a small tail skid can be attached to the rudder. Bend a small piece of music wire to
the shape shown on the plan and secure it to the rudder with thread. Soak the thread in C/A after
installing. LoLo is quite light and can tolerate the skid being installed directly onto the rudder, but
if ground steering is not required the skid can be installed on the vertical stab in front of the rudder
instead of on the rudder.
Install motor/ ESC:
These instructions are for the recommended GWS IPS geared motor. First install the ESC onto the
motor using the manufacturer’s instructions. It’s a good idea to hook it up to the receiver before
installation and make sure the prop is turning the right direction. Fish the ESC and wiring through
the former holes and into the fuselage while sliding the gearbox onto the motor mount stick. There
is a small access hole in the side of the fuselage, through it use a pin vice or drill to drill a hole
through the side of the gearbox and into the motor mount. Install a spare servo screw through the
hole to secure the gearbox to the motor mount. The ESC can be secured wherever desired inside
the fuselage using servo tape, Velcro or cable ties.


