Page 4 of 16
Now build the right wing half. Note that the parts for each wing half are identical, take care not to
build two of the same side wing halves!
Insert ribs R2 through R6 onto the wing spar and trailing edge. Insert the leading edge into the
slots at the front of the ribs. Align the assembly over the plan to make sure it is square and place a
drop of thin C/A at each part joint on the leading edge and trailing edge only. Lift the center spar
up so that it is flush with the tops of the ribs and glue it at each rib.
Make sure the spar is fully
seated on the ribs!
Insert rib R7 into place and glue.
Hold the wingtip in place using the plan as a reference and glue it.
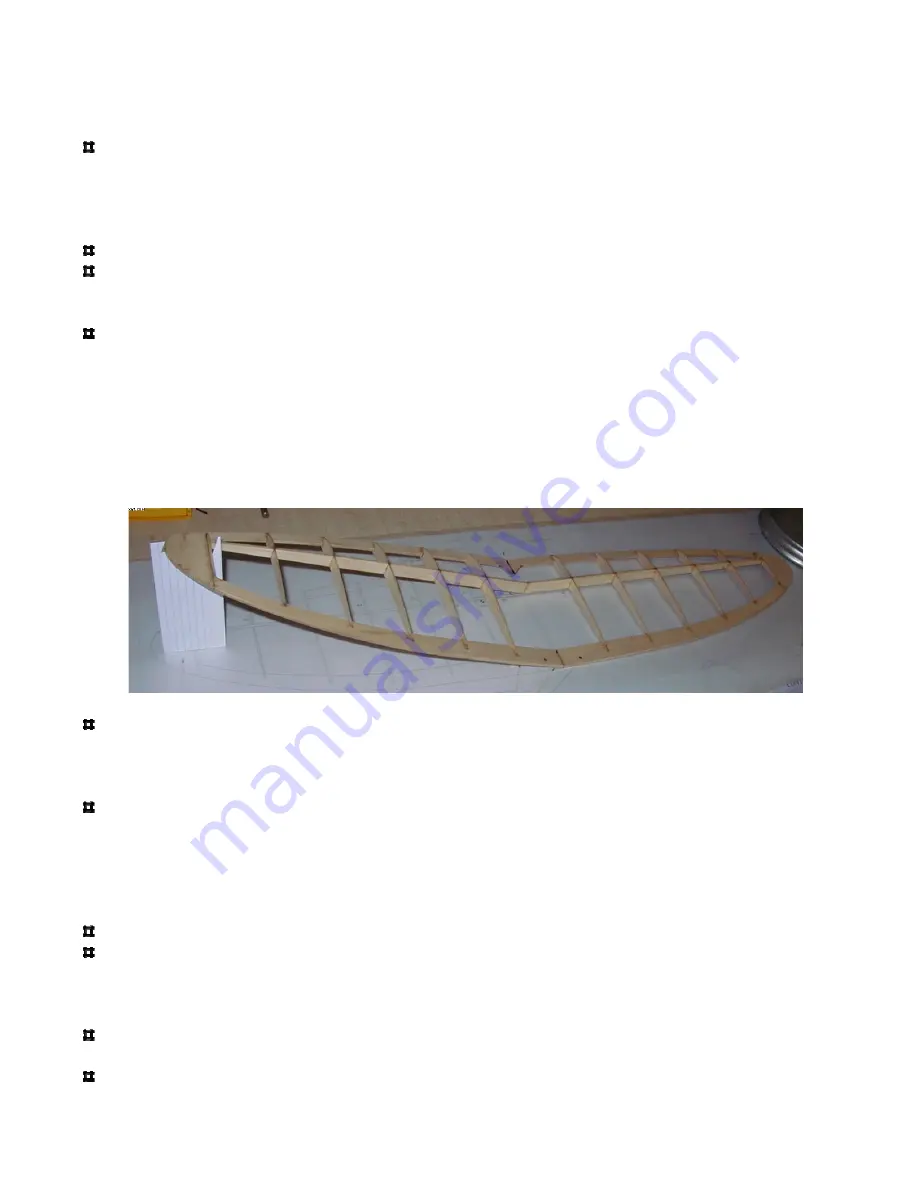
Join the wing halves together:
Lightly sand the leading edge and trailing edge joining surfaces until you get a tight fit at the
dihedral angle. Note that the spars need no sanding, use them as a reference to determine how well
the fit is. Sand the LE and TE until the spars fit tightly together. Once a tight fit is achieved, glue
all the joints with thin C/A. The dihedral angle will be determined by the spar joining. When one
wing half is flat on the work surface, the other wing half should be approximately 4-3/4” above the
surface. A “dihedral template” is provided on the plan, you may cut this shape out of stiff paper to
check and make sure the dihedral angle is correct. The template should fit under one wingtip while
the other wing is flat.
Install the 1/64” ply dihedral doublers (part M9) on each side of the spar. Glue into place.
Building tip: some of the plywood reinforcement parts have holes laser cut through them; these
holes can be used to glue the parts into place. Thin C/A can be placed in the hole and it will wick
between the parts.
Install the two R1 pieces into the LE and TE slots and align against the M9 doublers. It might be
necessary to slightly enlarge the slots in the LE and TE depending on how much sanding was done
when the wing halves were joined. Glue the R1 pieces into place.
Final sand the wing assembly (it is easiest to use a sanding block for this, or sandpaper wrapped
around a small block of wood):
Sand the leading edge and wingtips to a rounded profile.
Sand the top surface of the trailing edge to an angled profile that follows the lines of the ribs (it is
easiest to do this by laying the wing so that the trailing edge is on the edge of a table and then use a
sanding block to sand the angle, be careful not to damage the ribs). Round the bottom edge of the
trailing edge.
Glue the 1/64” ply reinforcement (part M8) onto the top of the trailing edge while keeping the
holes aligned.
Glue the 1/64” ply reinforcement (part M10) onto the bottom of the leading edge.


