/ Installation Guide
15
Programming Methods
BabyWare Software for Windows
Program the control panels remotely or on-site using the BabyWare Software (V2.80 or higher) for Windows®. For more information, contact your local Paradox
Distributor or visit our web site at paradox.com. If you are using the BabyWare software, you must program the features (see “Settings for BabyWare Software” on
page 49). Update the panel’s firmware by connecting it to a PC via a 307 Direct Connect Interface and then using the BabyWare software.
Programming Using a Keypad
Use the supplied
programming guide to keep track of which sections were programmed and how. We recommend you read the entire manual before you begin
programming.
Single Digit Data Entry Method (Decimal and Hexadecimal)
Single Digit Data Entry is used in all sections except those specified in the Feature Select Programming Method (below). After entering Programming Mode as
described in the shaded box above, some sections will require that you enter
Decimal
values from
000 to 255
. Other sections will require that you enter
Hexadecimal
values from
0 to F
. The required data will be clearly indicated in this manual as well as in the programming guide. When entering the final digit in a
section, the control panel will automatically save and advance to the next section. Except sections 001 to 032, after entering the first three digits the control panel
will switch to Feature Select Programming. For phone number programming, press
[
ENTER
] to save the data.
Feature Select Programming Method
After entering certain sections, eight options will be displayed where each option from
[1]
to
[8]
represents a specific feature. Press the key corresponding to the
desired option. This means the option is ON. Press the key again to remove the digit, thereby, turning OFF the option. When the options are set, press the
[
ENTER
]
key
to save and advance to the next section.
Data Display Mode (except )
In the Data Display Mode you can view the programmed contents of each section one digit at a time.
Figure 6: Data Display Mode
How Do I Enter Programming Mode?
1.
Press
[ENTER]
2.
Enter your
[
INSTALLER
CODE
]
(default: 0000 / 000000) or
[
MAINTENANCE
CODE
]
(empty by default)
3.
Enter 3-digit
[
SECTION
]
you wish to program
4.
Enter required
[
DATA
]
Value or Action
What Do I Press?
What Do I See?
32-zone LED
10-zone LED
Value 0 / Replace Current Digit with 0
[sleep]
Erase digit and remain in section
Erase digit and remain in section
Values 1 to 9
[1] to [9]
Zone 1 to 9
[1] to [9]
A (hex only)
[0]
Zone 10
[0]
B (hex only)
[off ]
Zone 11
[off ]
C (hex only)
[byp]
Zone 12
[byp]
D (hex only)
[mem]
Zone 13
[mem]
E (hex only)
[tbl]
Zone 14
[tbl]
F (hex only)
[
]
Zone 15
[
]
Exit Without Saving
[clear]
A
RM
& S
TAY
LED flash
A
RM
& S
TAY
LED flash
Save Data (hex only)
[enter]
Advances to the next section
Advances to the next section
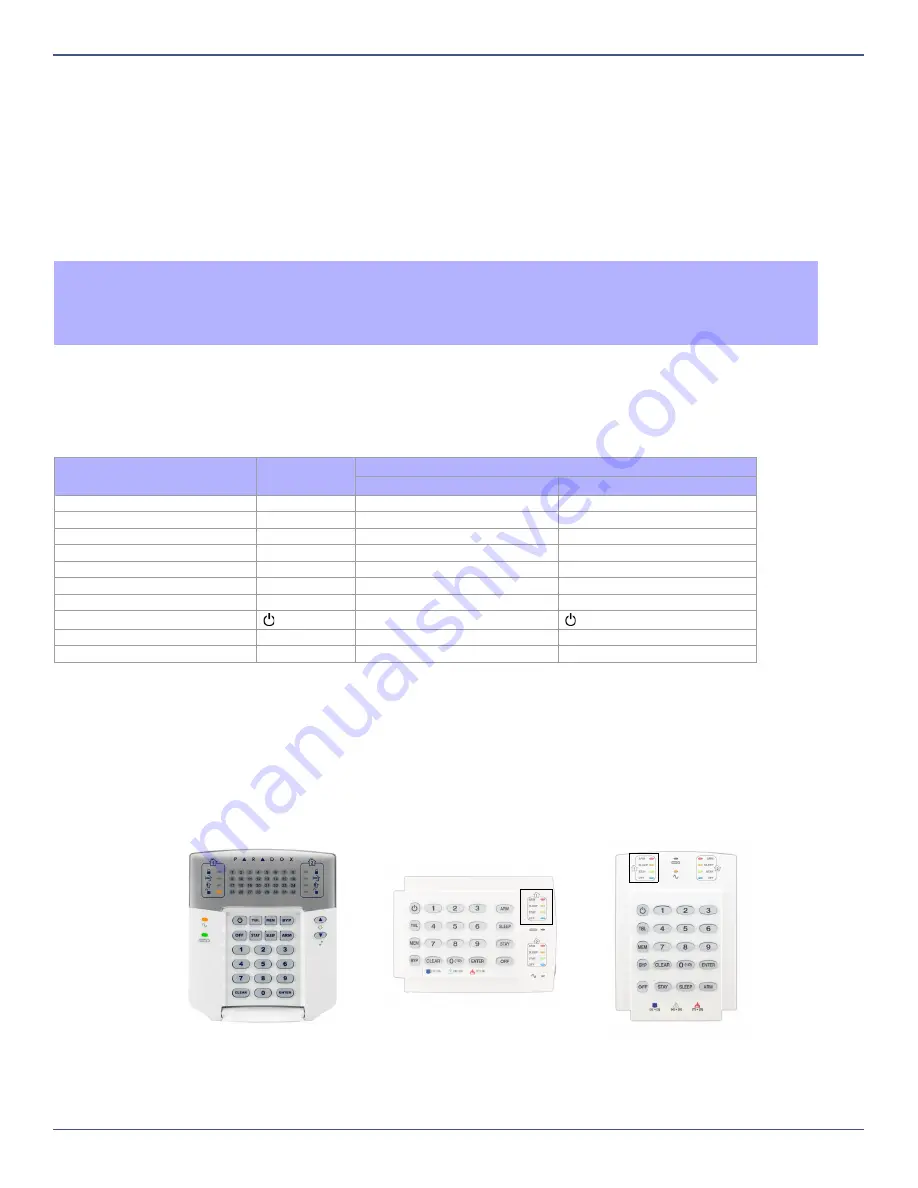
To access the Data Display Mode, press the
[
ENTER
]
key after entering a section and before entering any data. The four LEDs as indicated below will
begin to flash indicating that you are in the Data Display Mode.
Each time the
[
ENTER
]
key is pressed, the keypad will display the next digit in the current section and will continue through
all the following sections one digit at a time without changing the programmed values. Not available for sections using the
Multiple Feature Select Method. Press the
[
CLEAR
]
key at any time to exit the Data Display Mode.


