


15
Bridge installation and configuration guide
January 2018
© 2018 Centrica plc. Registered office: Millstream, Maidenhead Road, Windsor, Berkshire. SL4 5GD.
Registered in England & Wales No 3033654
•
For wi-fi and ethernet connections, verify that the system administrator has opened port
8051 or 443 (if using a SSL version or inbound/outbound TCP/IP traffic). In addition, verify
that the DHCP & DNS ports are open (67/68, 53). Please review
How to Proceed
1.
In
Connection Type
, select
Connect via LAN
.
2.
In
IP Settings
, select whether you want the bridge to get an IP address automatically (DHCP), or to
assign an IP address manually (Static IP).
3.
If you select to enter the IP address manually, a number of fields become active (
IP Address
,
Subnet
Mask
, etc.). Fill them in according to your required network settings.
4.
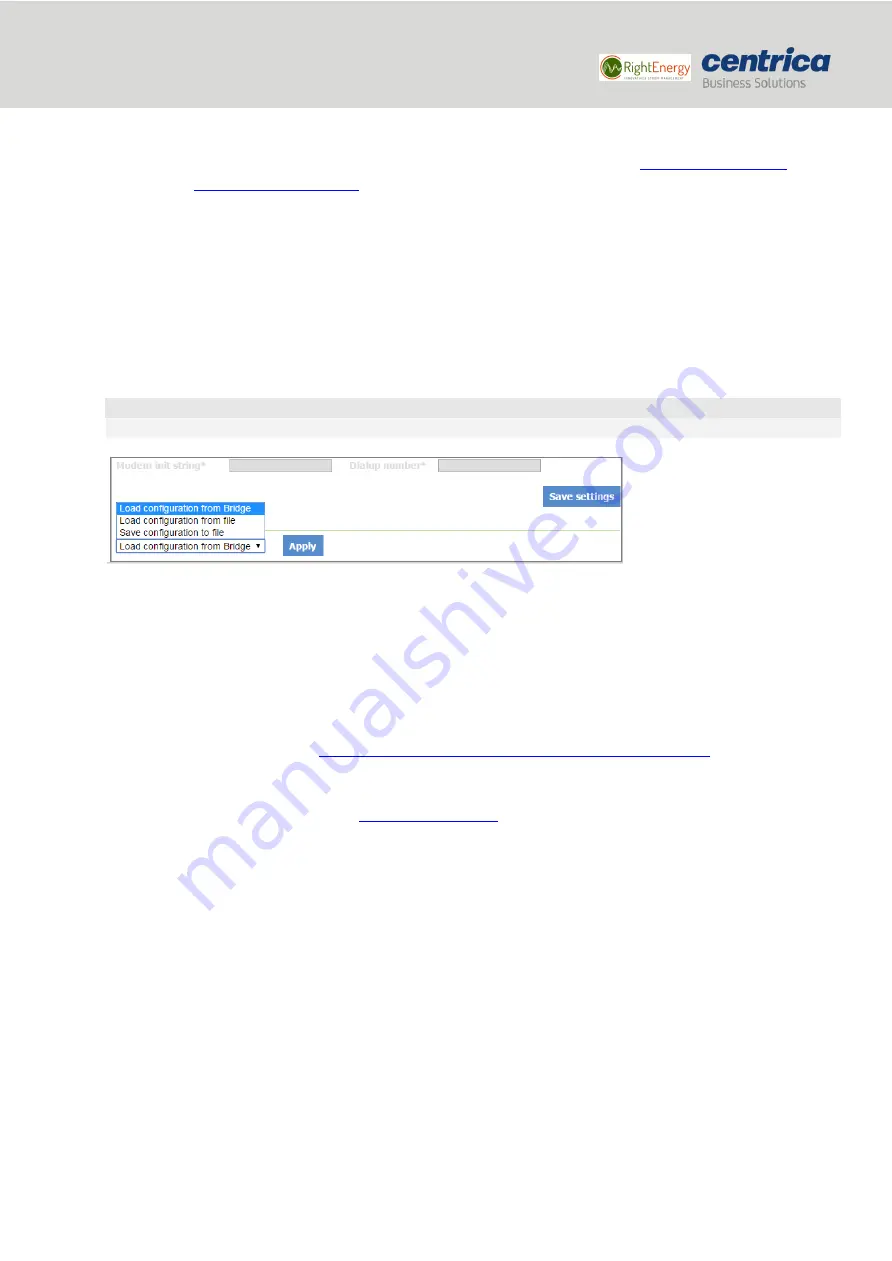
To save the configuration to the bridge, click
Save Settings
.
IMPORTANT
If you leave this page before saving your settings, they will not be saved.
5.
To discard changes made to an unsaved configuration and return to the saved settings, select
Load
Configuration from Bridge
.
6.
To use the settings displayed on the screen to configure another bridge, select
Save Configuration to
File
.
This allows you to create different settings and save them to a file, without updating the bridge
configuration.
For more information, see
Loading the Bridge Configuration from a Configuration File
7.
To exit configuration mode, disconnect the bridge from the power source.
8.
Install the bridge as explained in
9.
Reconnect the bridge to the power source.
6.1.1
Configuring the Pulse Inputs
If you connect the bridge to a meter’s pulse output, you will need to enable the pulse inputs in the bridge
configuration.
Prerequisites
Have the pulse outputs connected to the pulse input connectors on the side of the bridge.
How to Proceed
1.
In the
Pulse Input
tab, select the checkbox next to the pulse input you wish to enable
2.
Make sure the measurement frequency in the
Send Interval
field is set to 1 or 5 minutes
–
this interval is
the sending time to the server based on the time the meter sent its data.
3.
You can use the pulse counters to verify that pulses are counted. The counters update every 10 seconds.


