


14
Bridge installation and configuration guide
January 2018
© 2018 Centrica plc. Registered office: Millstream, Maidenhead Road, Windsor, Berkshire. SL4 5GD.
Registered in England & Wales No 3033654
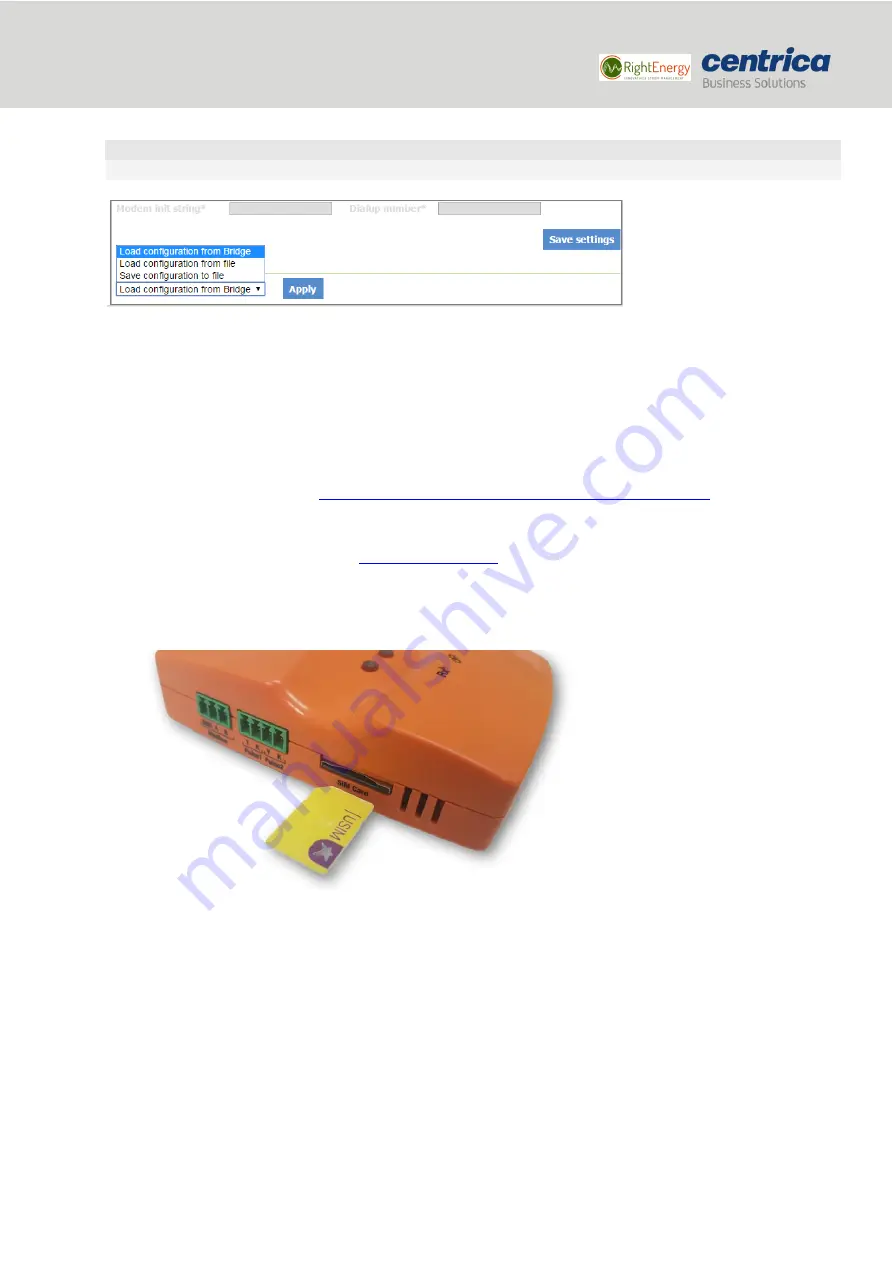
4.
To save the configuration to the bridge, click
Save Settings
.
IMPORTANT
If you leave this page before saving your settings, they will not be saved.
5.
To discard changes made to an unsaved configuration and return to the saved settings, select
Load
Configuration from Bridge
.
6.
To use the settings displayed on the screen to configure another bridge, select
Save Configuration to
File
.
This allows you to create different settings and save them to a file, without updating the bridge
configuration.
For more information, see
Loading the Bridge Configuration from a Configuration File
7.
To exit configuration mode, disconnect the bridge from the power source.
8.
Install the bridge as explained in
9.
When using the
Internal GSM Modem
, insert the SIM card into the slot with the truncated end, as
shown below.
10.
Reconnect the bridge to the power source.
*Note: This functionality does not exist in all versions.
5.1.1
Configuring the Bridge for Wired LAN
If you use a wired connection to access the Internet, there are two methods to allocate an IP address: automatically
(DHCP) or manually (Static IP).
Prerequisites
•
If you need a static IP address for the bridge, make sure to have the network setting
information ready before starting the procedure.


