Usin
g
the Front Panel for Operations
47
11
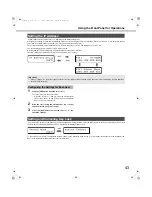
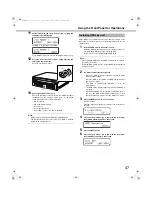
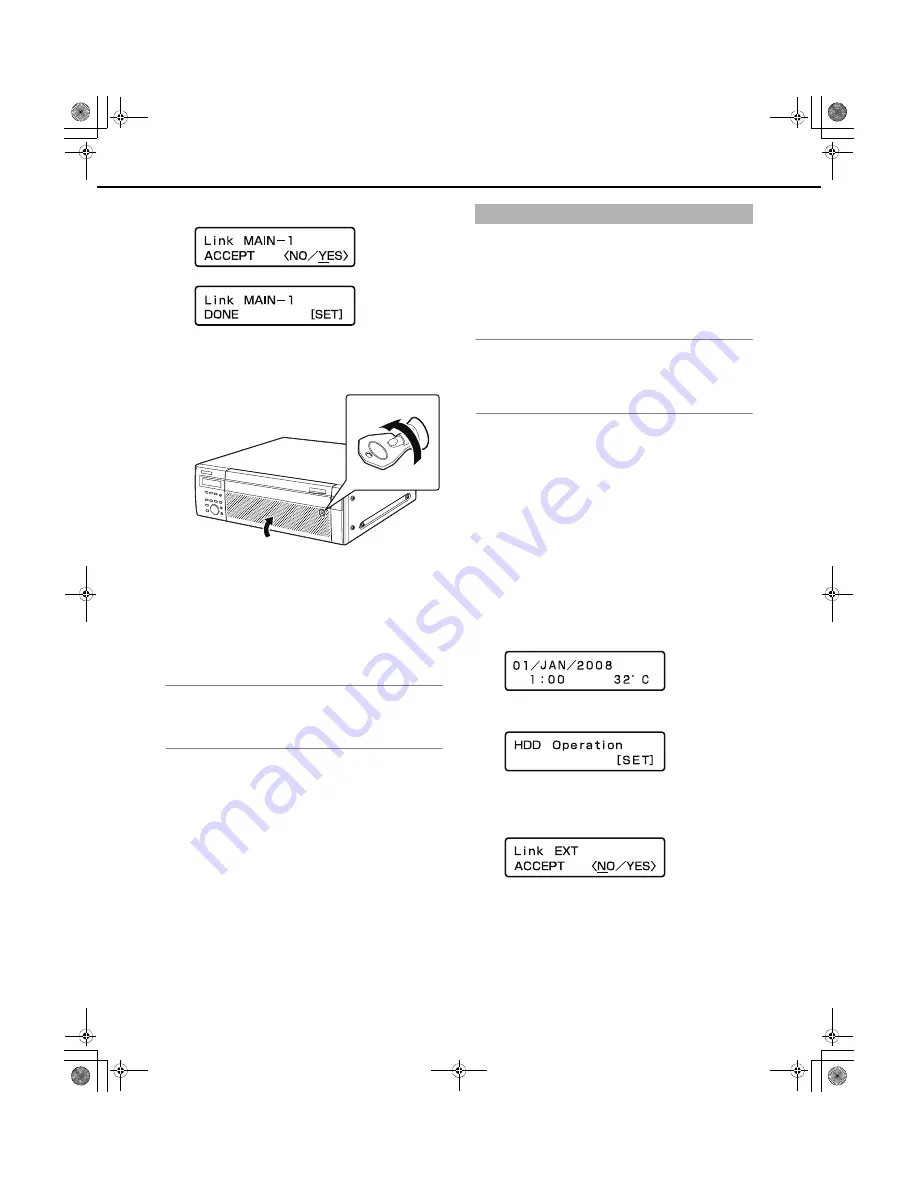
Select [YES] with the arrow buttons (left or ri
g
ht) and
then press the [SET] button.
The HDD is recognized for recording.
Press the [SET]
b
utton to return to the display format screen.
12
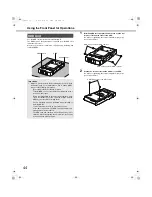
Close the front cover and lock it by li
g
htly pressin
g
and
turnin
g
the key to the left.
Keep the key in a safe place.
13
Check the available disk space.
Check the follo
w
ing content related to the HDD under [Disk
information] on the settings menu. Refer to the Setup
Instructions (PDF file) for more information.
•
HDD capacity
•
HDD remaining capacity
•
Hour meter
•
Disk operation mode
•
Date range of video recorded on the HDD
Note:
•
HDDs cannot
b
e added
w
hile in RAID5 or RAID6 mode.
The RAID function
w
ill not start even if an HDD is installed
(linked) in an empty disk slot.
All the HDDs in one extension unit can
b
e linked to operate at the
same time. For details refer to the operating instructions for the
extension unit.
1
Install the HDD units in the extension unit.
Install the HDDs in the extension unit according to steps 1 to
2 in "Installing HDDs (page 46)" to install HDDs.
Repeat steps 1 to 2 to install multiple HDD units.
Note:
•
W
hen installing HDD units, each HDD unit must
b
e recognized.
(Follo
w
Step 1 and 2)
Additional HDD units
w
ill not
b
e recognized
w
hile the first unit is
b
eing recognized.
2
The HDD is automatically reco
g
nized.
•
W
hile the HDD is
b
eing recognized, the HDD status
indicator
b
links orange.
Once the HDD is recognized, the HDD status indicator
lights green or
b
links.
•
The HDD is automatically formatted if it is not
preformatted.
The HDD status indicator lights green after formatting is
complete.
•
Preformatted HDDs are recognized for play
b
ack only. In
this case, the HDD status indicator
b
links green. Follo
w
the instructions from step 3 to use the HDD for recording.
3
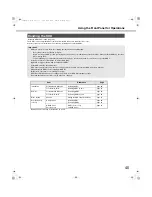
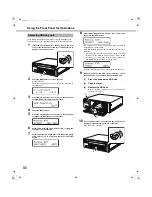
Press the [USE] button for over 2 seconds.
A
b
uzzer sounds.
Press the front panel
b
uttons according to the directions on
the LCD.
4
Press the arrow buttons (up or down) on the front panel
until [HDD Operate] appears on the screen.
5
Press the [SET] button.
6
Press the arrow buttons (up or down) on the front panel
until [Link EXT] appears on the screen.
(2)
(1)
Installin
g
HDDs by unit
ND400_Basic.book 47 ページ 2008年4月8日 火曜日 午後3時59分

