Usin
g
the Front Panel for Operations
43
Setta
b
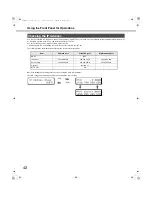
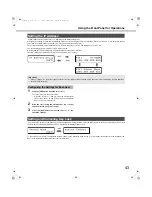
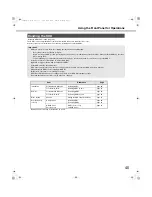
le items are the same as those in "Checking the IP Address (page 42)".
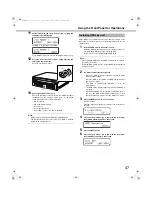
Configure the settings for each item
b
y s
w
itching
b
et
w
een screens using the follo
w
ing operations.
W
hen the cursor is ">", use the arro
w
b
uttons
(up or do
w
n) to s
w
itch
b
et
w
een screens. The cursor is sho
w
n
w
ith an under
b
ar (_).
The ports are displayed as follo
w
s: Camera port: PT #1, Client PC port: PT #2, and Maintenance port: PT #3.
Use the arro
w
b
uttons (left or right) to s
w
itch
b
et
w
een ports.
Gate
w
ay and HTTP port settings are configured under the client PC port (PT #2).
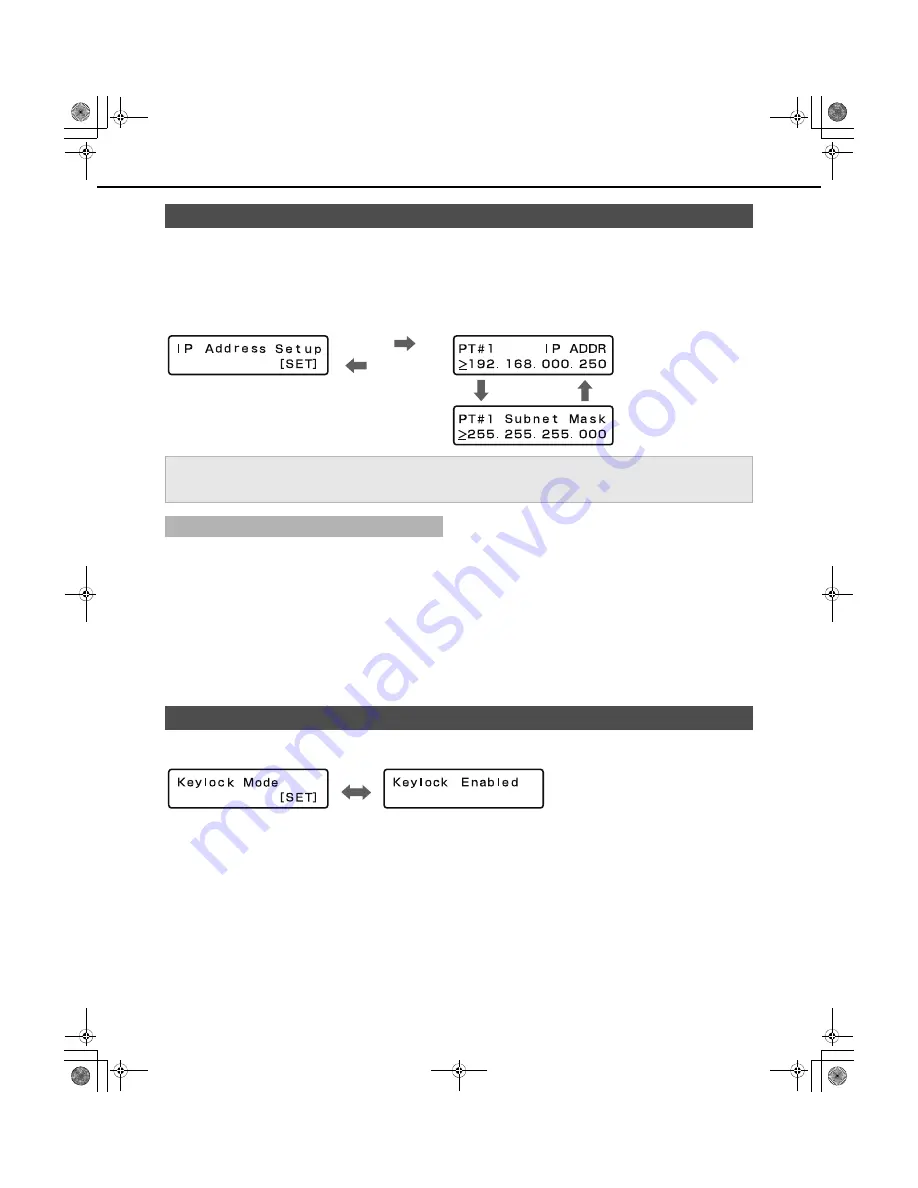
The LCD changes as follo
w
s
w
hen using the arro
w
b
uttons (up or do
w
n).
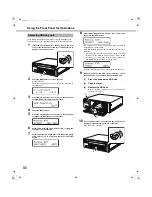
1
Click the [SET] button when the cursor is [>].
The cursor moves to the num
b
er area.
•
W
hen the cursor is ">" and you press the arro
w
b
uttons
(left or right), the PT #2 and PT #3 screens are displayed
and you can select other ports.
2
Move the cursor usin
g
the arrow buttons (up or down)
and enter values usin
g
(up or down).
3
Press the [ESC] button to move the cursor to ">" and
check the settin
g
s.
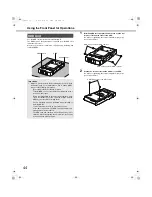
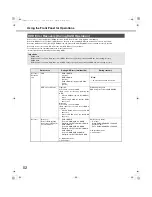
You can lock the
b
uttons on the front panel to prevent them from
b
eing operated. Press the [SET]
b
utton on the Key Lock Setting screen to lock
the keys. [Keylock Ena
b
led] is displayed. Then, it returns to the display format screen.
To cancel the key lock, enter the pass
w
ord (default: 12345) on the Pass
w
ord Entry screen. You can change the pass
w
ord on the settings menu.
Refer to the Setup Instructions (PDF file) for more information.
Settin
g
the IP Address
[SET]
[ESC]
Important:
•
Al
w
ays configure the net
w
ork settings for the ports using different su
b
net masks. Using the same su
b
net mask may result in improper
net
w
ork communication.
Confi
g
urin
g
the Settin
g
s for Each Item
Settin
g
and Cancelin
g
Key Lock
[SET]
ND400_Basic.book 43 ページ 2008年4月8日 火曜日 午後3時59分

