16
3
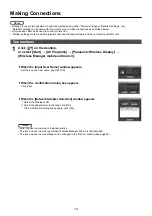
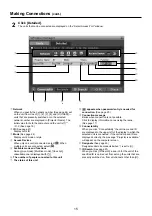
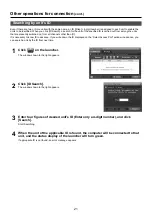
In [Network], select the network number set for the unit.
• Units powered on in the chosen network group are listed.
• This value is set to [1] by default.
• For details on setting a network number for the unit, see page 44.
4
Select the desired units, and click [OK].
The launcher appears and the connection with the unit is established.
(“Description of the launcher”
→
See page 22)
The launcher is not output on the display.
• Easy wireless connection cannot be made between the unit and the computer. (See page 56)
• Automatic connection setting (See page 40)
※
1
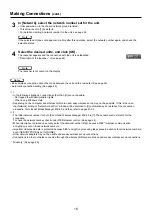
• In the following situations, connections other than [U] are not possible.
- Not logged in with Administrator rights
- When using Windows Vista
•
Depending on the computer and wireless LAN card used, easy wireless set up may not be possible. If this is the case,
the [Network] setting of “Select Access Port” window will be switched to [U] automatically. For details of the connection
procedure, first close Wireless Manager ME 4.0, and then refer to pages 51-52.
※
2
•
The initial network number for both the unit and Wireless Manager ME 4.0 is [1]. These numbers must match for the
connection.
To check the network number, check under WEB browser control. (See page 44).
•
When importance is placed on security, select the network number [2]-[4], because WEP* (wireless communication
encryption) is set on these network numbers.
•
Important video/audio data is protected because AES* encryption processing takes place in advance for all network numbers,
even if [ENCRYPTION] is set to [NONE].
• Other network adapters may not be usable under easy wireless set up connections.
•
Connections to other networks connected through the wireless LAN card are broken under easy wireless set up connections.
* “Glossary” (See page 55)
Making Connections
(cont.)
Note
Notes
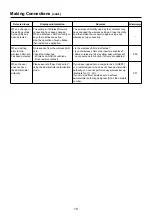
If the selected unit does not appear some time after this operation, select the network number again, and check the
selection status.
Note

