Chapter 4
Settings — [POSITION] menu
72 - ENGLISH
f
Press the <SCREEN ADJ> button on the remote control when the [KEYSTONE], [CORNER CORRECTION] or [CURVED CORRECTION]
screen is displaying, it will switch to the next adjustment screen.
f
When the [CORNER CORRECTION] individual adjustment screen is displaying, the individual adjustment screen of the next corner can also
be displayed by pressing the <ENTER> button.
f
Correcting up to ±35° for the tilt in the vertical direction and ±35° for the tilt in the horizontal direction are available for adjustments with
[KEYSTONE]. However, the image quality will degrade and it will get harder to focus with more correction. Install the projector so that the
correction will be as small as possible.
f
Screen size will also change when [KEYSTONE] is used to perform various adjustments.
f
Aspect ratio of the image size may shift depending on the correction.
[SHIFT]
(Only for RGB signals and YC
B
C
R
/YP
B
P
R
signals input)
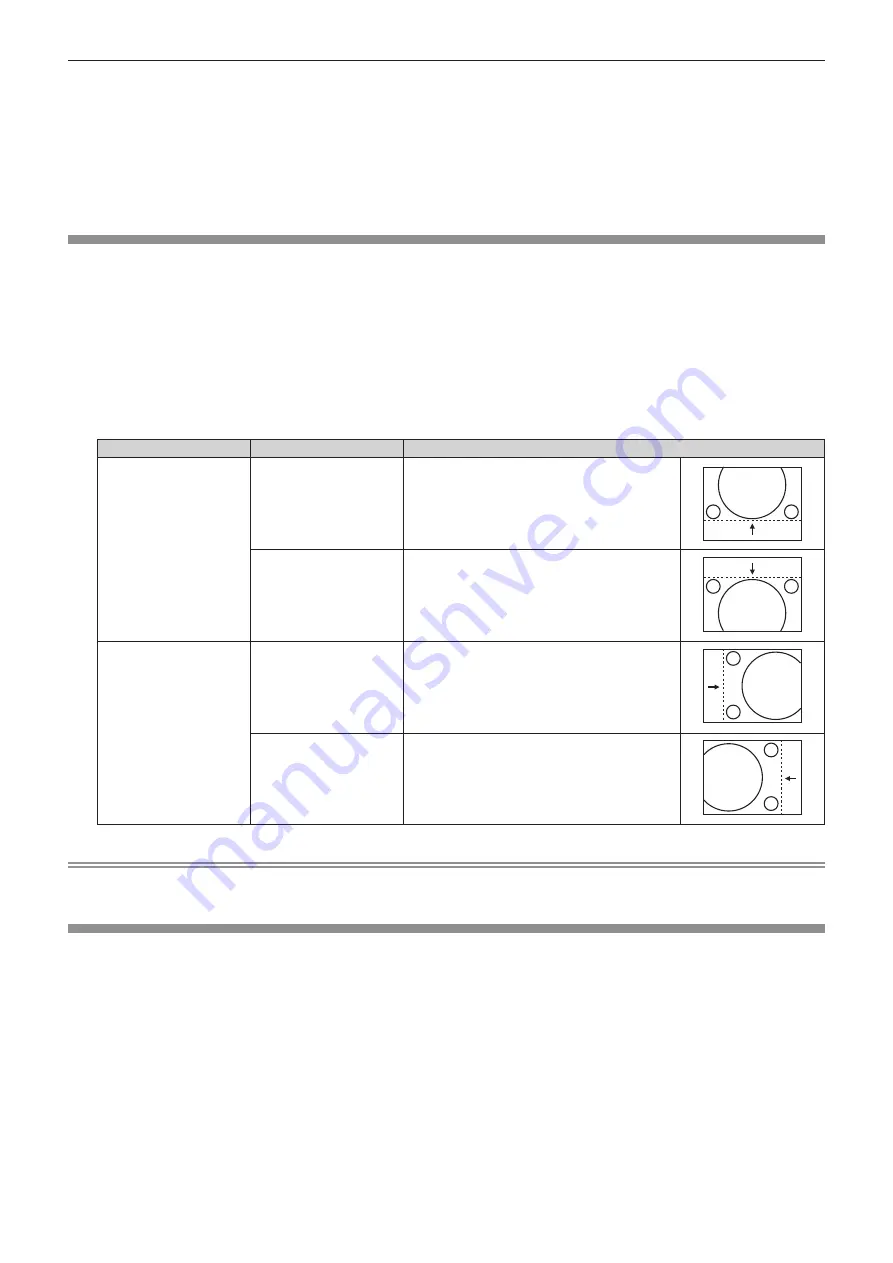
Move the image position vertically or horizontally if the image position projected on the screen is shifted even
when the relative position of the projector and the screen is installed correctly.
1) Press
as
to select [SHIFT].
2) Press the <ENTER> button.
f
The
[SHIFT]
screen is displayed.
3) Press
asqw
to adjust the position.
Orientation
Operation
Adjustment
Vertical (up and down)
adjustment
Press the
a
button.
The image position moves up.
Press the
s
button.
The image position moves down.
Horizontal (right and left)
adjustment
Press the
w
button.
The image position moves to the right.
Press the
q
button.
The image position moves to the left.
Note
f
Depending on the input signal, if the adjustment of [SHIFT] exceeds the effective adjustment range of the input signal, the position of the
image cannot be changed. Please adjust [SHIFT] within an effective adjustment range.
[DOT CLOCK]
(Only for RGB signals and YC
B
C
R
/YP
B
P
R
signals (except for SYNC ON GREEN) input)
Use this function to adjust and minimize the effect of interference caused by projection of patterns consisting of
vertical stripes.
The projection of the striped pattern may cause cyclic patterns (noise). Adjust so that the amount of interference is
at a minimum. You can adjust the dot clock of image.
1) Press
as
to select [DOT CLOCK].
2) Press
qw
or the <ENTER> button.
f
The
[DOT CLOCK]
individual adjustment screen is displayed.
3) Press
qw
to adjust the value.
f
The adjustment values are [-32] to [+32].
Содержание PT-FW530
Страница 40: ...40 ENGLISH Chapter 3 Basic Operations This chapter describes basic operations to start with ...
Страница 105: ...ENGLISH 105 Chapter 5 Operation of Function This chapter describes the operation methods of some functions ...
Страница 140: ...140 ENGLISH Chapter 7 Appendix This chapter describes specifications for the projector ...


