35
Manually setting the connection destination
IP addresses (remote cameras) and port
number
Use the following procedure when connecting (via a router) remote
cameras whose IP addresses cannot be set by following the steps in
“auto IP setting” or to manually configure the link settings for the unit and
remote cameras.
1.
Select the [MANUAL IP SET/USER AUTH] SYSTEM
menu.
2.
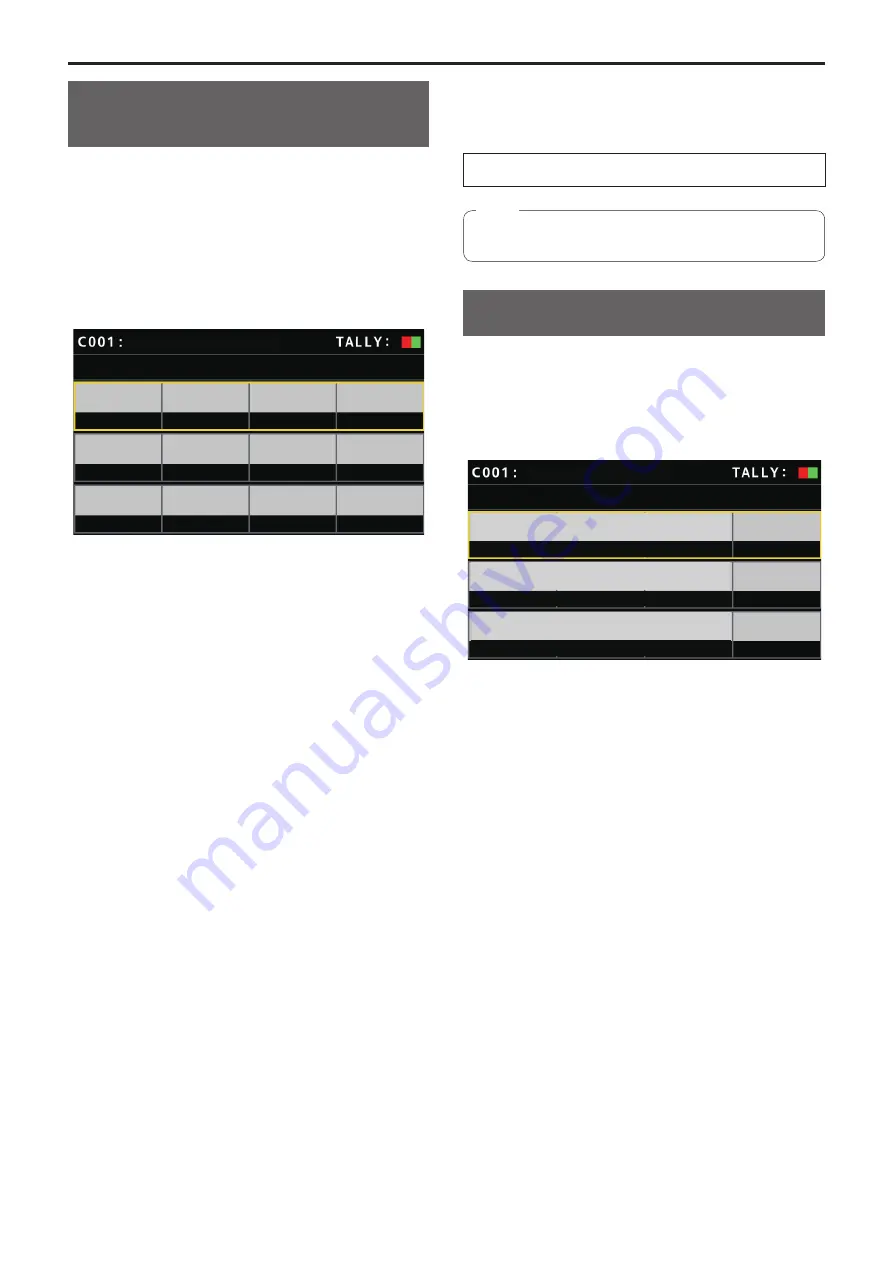
Turn the F1 dial to display the camera number whose
settings you want to change and then press F1 dial to
confirm.
MANUAL IP SET
/
USER AUTH
CAM SEL
CAM1
192
168
0
10
80
(push)
CAM IP
PORT
SAVE
AW-UE70
1/2
3.
Set the IP address (remote camera) and PORT number.
Operate [CAM SEL] in the first row to select the camera number
for which you want to set the IP address that will be the connection
destination.
The rows from the second and so on display the existing IP address
and PORT number for each corresponding camera number.
Set the connection destination IP address in [CAM IP] in the second
row.
The screen is divided into 4 blocks and these are set using the F1 to
F4 dials.
Set the connection destination PORT number in [PORT] in the third
row using the F1 dial.
Execute [SAVE] after setting. The set IP address and PORT number
settings are not updated if [SAVE] is not executed.
Setting is also possible for camera numbers whose connection type
is [NON] or [Serial] in [SYSTEM] > [CONNECT SETTING].
z
This is set to the following value by default.
CAM1 :
192.168.0.10
↓
CAM200 :
192.168.0.209
z
When the IP address of the connection destination is changed,
checks are made for duplicate IP addresses set in other items.
The “IP Duplicate!” message is displayed when the IP address is
duplicated.
z
The “Unavailable network setting” message is displayed when the
PORT number specified cannot be set.
Settable port numbers
You can set a value within the range of 1 to 65535.
However, the following values cannot be set even though they are within
this range.
20, 21, 23, 25, 42, 53, 67, 68, 69, 110, 123, 161, 162, 995, 10669,
10670
z
z
The IP addresses set on the remote cameras are not changed by
this operation.
Note
Set the user account of the camera to be
connected
Set the account information of the camera to be connected.
1.
Select the [MANUAL IP SET/USER AUTH] SYSTEM
menu.
2.
Operate the menu operation dials to select [USER
NAME] and press to confirm.
MANUAL IP SET
/
USER AUTH
2/2
USER NAME
PASSWORD
RETYPE PASSWORD
AW-UE70
NO?
SAVE
3.
Set the account which has already been set in the
camera.
To enter the account, select a single character by turning the F1 dial
and press each time to set it.
Press the F2 dial to delete the character.
4.
Operate the menu operation dials to select the [SAVE]
item.
5.
Turn the F4 dial to select [Yes] and press the F4 dial to
confirm.
If [SAVE] is not executed, the changes are not reflected on the unit.
Settings for connecting with the remote cameras
(continued)


