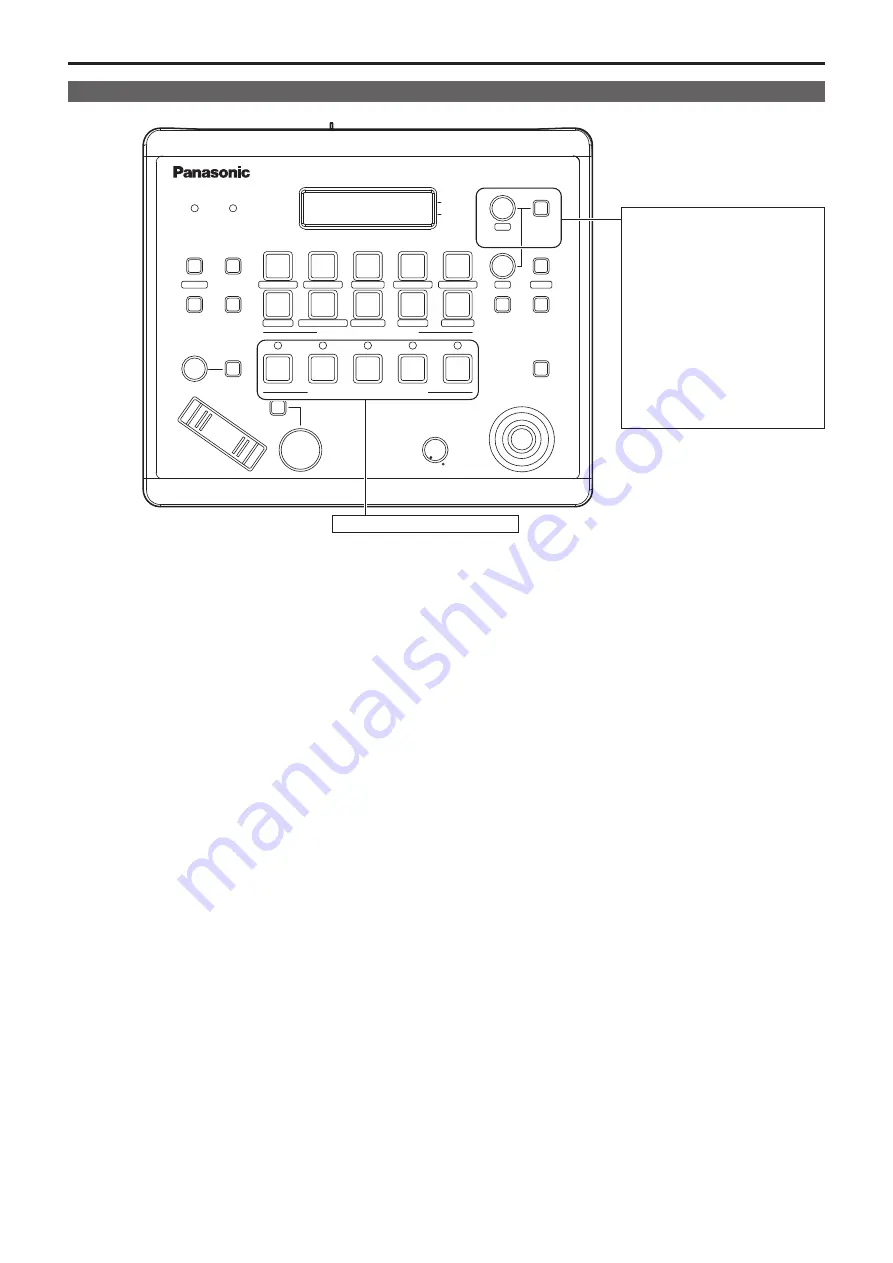
Operations on the AW-RP50 Remote Camera Controller
POWER
ALARM
F1
CAMERA
OSD
R/B GAIN
R/B PED
SYSTEM
SETUP
CAMERA
SCENE/MODE
DETAIL
DELETE
STORE
PAGE
MENU
F2
EXIT
USER2
USER1
PT ACTIVE
AUTO
IRIS
AUTO
HI
LOW
PTZ/FOCUS SPEED
FOCUS/PUSH OAF
TELE
ZOOM
WIDE
CAMERA STATUS / SELECTION
PRESET MEMORY / MENU
GAIN/PED
F2
F1
1
2
3
AWB/ABB
4
SHUTTER
5
1
2
3
4
5
6
7
8
9
10
For operating the camera menus.
CAMERA OSD:
When this is pressed for 2
seconds, the selected camera
menu is displayed, overlapping
the camera output image. When
it is pressed for 2 seconds while
a camera menu is displayed, the
menu is exited.
F1: Turn to move the cursor up and
down in the camera menu or to
change setting values. Press to
move to the next level of a menu
item or to change a setting value
at the lowest level.
Selects a camera to be operated.
z
Camera menu operation
1.
Press the appropriate <CAMERA STATUS/SELECTION>
button to select the unit you want to operate.
2.
Press and hold the <CAMERA OSD> button on the
AW-RP50 for about 2 seconds.
The AW-HR140 camera menu appears on the monitor.
3.
Turn the <F1> dial to select an AW-HR140 camera menu
item or to change a setting value.
Turn the <F1> dial to move the cursor up and down or to change
setting values.
Press the <F1> dial to move to the next level of a menu item or to
change a blinking setting value at the lowest level.
4.
To exit the camera menu, press and hold the <CAMERA
OSD> for about 2 seconds.
z
Switching between day and night mode
1.
Press the <MENU> button on the AW-RP50.
The <MENU> button lights, and the <PRESET MEMORY/MENU>
buttons become selectable.
2.
Press the <9 (SETUP)> button in the <PRESET MEMORY/
MENU> area.
The button lights, and the [SETUP] menu appears on the LCD panel.
3.
Turn the <F1> dial to select [FUNCTION], then press the
<F1> dial.
4.
Turn the <F1> dial to select [OPTION].
[Off] or [On] appears on the bottom right (F2 area) of the LCD panel.
5.
Turn the <F2> dial to select [Off] or [On], then press the
<F2> dial.
Off
: Day mode
On
: Night mode
z
Color temperature setting (COLOR TEMP)
1.
Press the <MENU> button on the AW-RP50.
The <MENU> button lights, and the <PRESET MEMORY/MENU>
buttons become selectable.
2.
Press the <4 (AWB/ABB)> button in the <PRESET
MEMORY/MENU> area.
The button lights, and the [AWB/ABB] menu appears on the LCD
panel.
3.
Turn the <F1> dial to select [VAR].
Color temperature configuration is enabled when [VAR] is selected,
and it is initially set to the color temperature held on the camera.
To adjust the setting, proceed to the following.
4.
Press the <8 (CAMERA)> button in the <PRESET
MEMORY/MENU> area.
The button lights, and the [GROUP] menu appears on the LCD panel.
5.
Turn the <F1> dial to select [COLOR TEMP], then press
the <F1> dial.
The color temperature appears on the bottom right (F2 area) of the
LCD panel.
6.
Turn the <F2> dial to select the color temperature, then
press the <F2> dial.
30
31
Basic setup operations (continued)


