90
Using Play List: Simplified Voice-Over
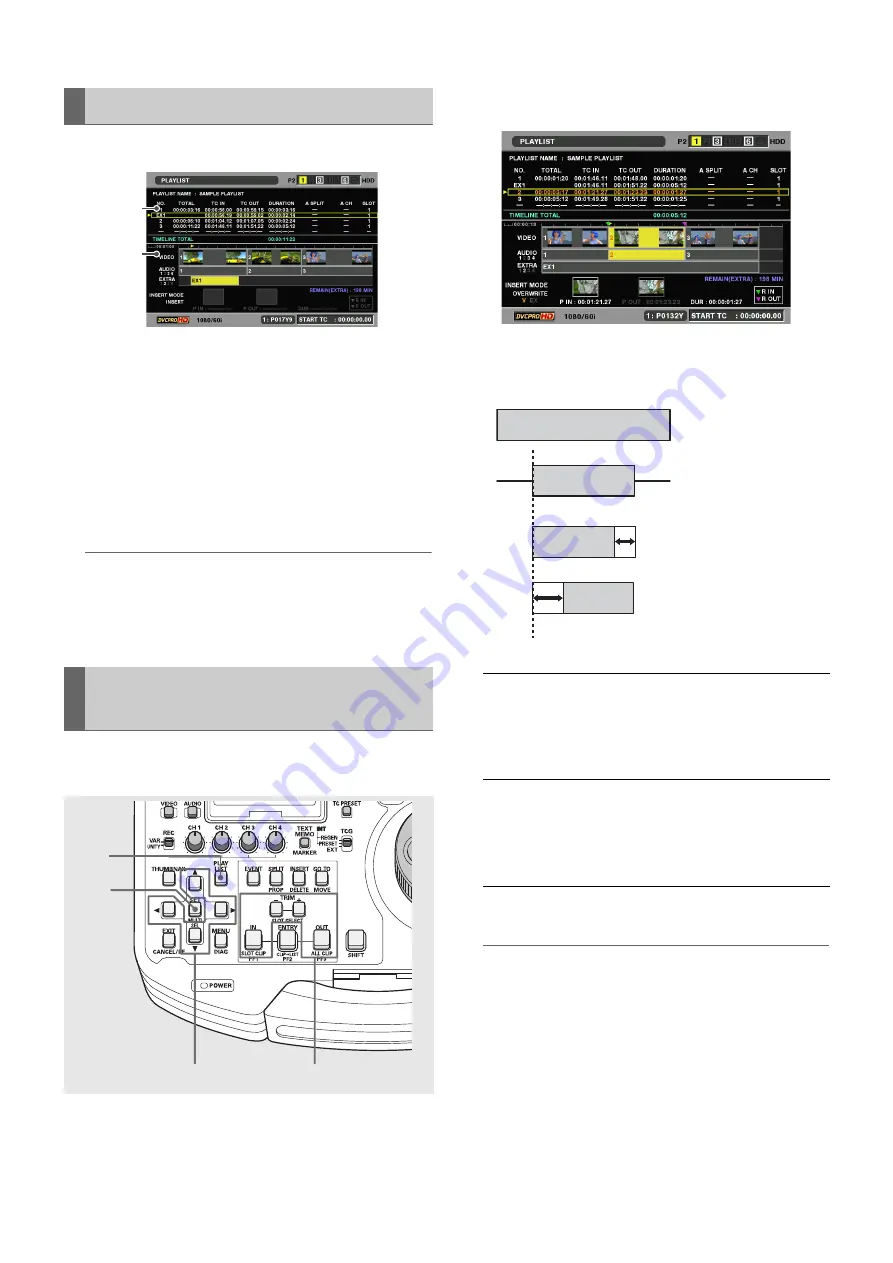
The voice-over appears in the play list screen as shown below.
1)
Play List
• The voice-over is added to the line after an event with an
audio start point.
• The “No.” column shows “EX*,” not an event number.
• The “SLOT” column shows P2 card slot numbers storing
audio data (same as P2 card slots storing the play list).
2)
Timeline
• Extended tracks are indicated in the “EXTRA” part.
• Recorded channel numbers are also shown.
◆
NOTE:
• Use the TRIM button to zoom in (+) and zoom out (–).
• When a card with a voice-over is not inserted (and NONE is
indicated), play list files cannot be saved and EXTRA audio
event cannot be deleted.
This function allows you to adjust the location of a voice-over
in frame increments (at 24PN in 4-frame increments).
1
Open the play list screen.
2
Select the event you want to change.
3
Use the following procedure to change offset and
duration.
4
Press the ENTRY button to finalize the change.
◆
NOTE:
• Except for the ENTRY button, you can also use the SET button
or move the cursor with the cursor buttons to finalize a change.
Displaying Voice-Over Events
Changing the Trimming of Audio
Recording Location
1)
2)
2
3
4
1
Change of
start
location:
Hold down the IN button and press the
TRIM+ button or the TRIM– button. The
start location is incremented or
decremented in frame increments (in 4-
frame increments at 24PN).
Change of
end
location:
Hold down the OUT button and press the
TRIM+ button or the TRIM– button. The
OUT point is incremented or decremented
in frame increments (in 4-frame
increments at 24PN).
A normal event
EXTRA
audio track
EXTRA
audio track
EXTRA
audio track
Change of OUT+ TRIM duration
Change of IN + TRIM audio start location


