20
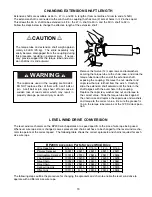
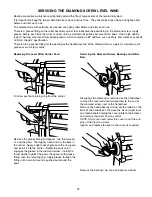
Place a suitable container under the chain case drain
plug and remove the plug to drain the oil. Remove the
vent and reducer bushing from the chain case and clean
them in safety solvent. It is very important to keep the
vent clean and unobstructed.
DO NOT
paint over the
vent or replace it with a solid plug.
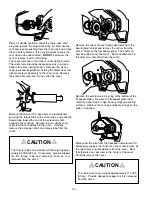
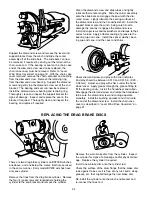
The cover removed in this step is under spring tension.
The capscrews should be loosened evenly in a cross-
pattern to relieve spring tension. Remove the six (6)
capscrews and lockwashers holding the diamond screw
disconnect lever assembly to the chain case. Remove
the entire assembly and O-ring under the cover.
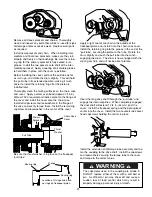
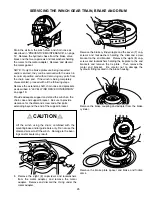
Remove the twelve (12) capscrews and lockwashers
securing the torque tube to the chain case, and slide the
torque tube toward the end of the extension shaft,
exposing the coupling. Remove the nut, washer and
capscrew that are closest to the winch. Carefully
remove the extension shaft and torque tube from the
winch.
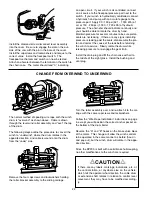
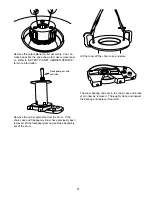
Remove the two (2) socket head capscrews from the
bearing/seal carrier and remove the carrier from the
winch. Remove the freespool spring. The shaft can
now be pulled out of the winch. Some additional oil in
the drum may now drain from the winch.
Remove the external retaining ring at the bottom of the
freespool piston. Remove the freespool piston and
carefully inspect the O-rings, backup rings and sealing
surfaces. Replace the O-rings and backup rings on the
piston if required.
The torque tube and extension shaft weigh approxi-
mately 65 LBS (29 kg). If necessary, provide support
for the torque tube and extension shaft as it is
removed from the winch.
CAUTION
The chain case cover weighs approximately 110 LBS
(50 kg). Provide adequate support as it is removed
from the winch.
CAUTION
Disconnect the wire from the freespool indicator switch.
Adequately support the chain case cover and remove all
the capscrews and lockwashers from the cover. Note
that there is one capscrew in the center of the cover.
Carefully remove the cover.
Содержание Braden BP200
Страница 46: ......

