21
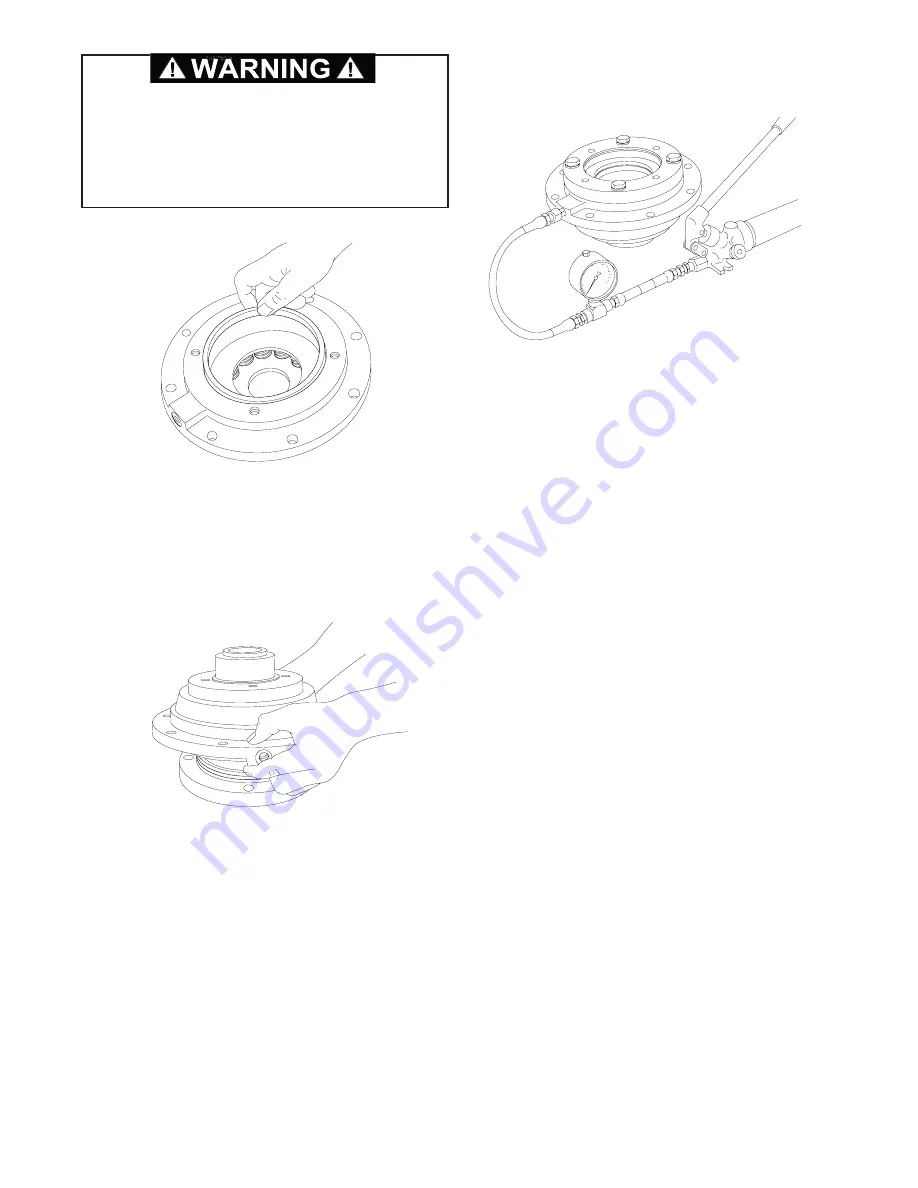
6. Install the pressure plate into the brake cylinder fol-
lowed by the brake piston back-up ring. The close-
fitting piston back-up ring may be depressed slightly
to one side to lodge the back-up ring in the brake
cylinder bore and temporarily hold the pressure plate
and springs in place while you lower the brake cylin-
der over the motor support.
7. Apply gear oil to the entire sealing surface of the
brake cylinder and piston seal. Install the brake
cylinder over the motor support being careful to
avoid damaging the piston seal or motor support o-
ring. A press may be necessary to avoid cocking the
brake cylinder during installation. Install the motor
support capscrews and evenly tighten to recom-
mended torque.
BRAKE CYLINDER PRESSURE TEST
1. Install the –4 J.I.C. fitting into the brake release port.
Connect a hand pump with accurate 0-2000 psi (0-
13,800 kPa) gauge and shut-off valve to this fitting.
Apply 1000 psi (6,900 kPa) to the brake. Close
shut-off valve and let stand for five (5) minutes. If
there is any loss of pressure in five (5) minutes, the
brake cylinder should be disassembled for inspec-
tion of the sealing surfaces and brake piston.
2. WHILE PRESSURE IS APPLIED AND THE BRAKE
RELEASED, install the brake clutch assembly in the
brake pack, short end of the inner race toward
motor. Turn the clutch back and forth as you align
the outer race splines with the brake disc splines.
3. Release the pressure on the brake cylinder then
remove the brake clutch assembly. The brake cylin-
der assembly is now complete and ready to be
installed in the winch.
Always use the molded spring spacer. The brake
springs must be properly positioned by the spring
spacer. Failure to install the spring spacer may allow
the springs to contact each other and become dam-
aged. This could result in loss of load control, prop-
erty damage, injury or death.
Содержание BRADEN H20R
Страница 27: ...26 BRADEN H20R 05559 COMPONENTS ...


