Press
OK.
OK
-
+
Press the
or
button to set the correct
maintenance code one number at a time
and press
after each number.
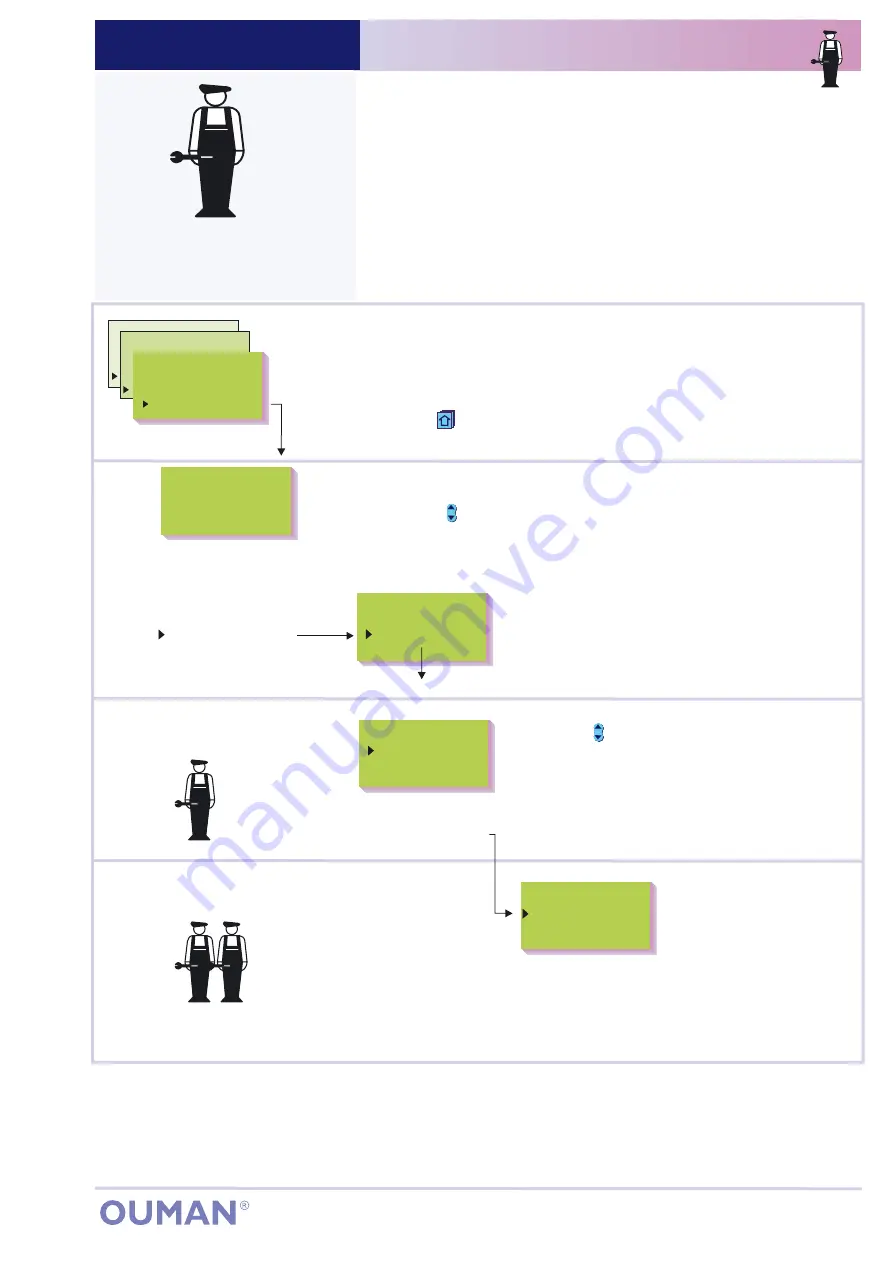
ENTERING THE MAINTENANCE MODE:
Press the
button to move the cursor to "Mainten. mode".
Press
OK.
H1 Maint mode
Tuning values
Settings
Trends
Actuator select
Relay1 control
Relay2 control
Special mainten
MAINTENANCE MODE:
SPECIAL MAINTENANCE MODE:
OUMAN EH-203
ENTERING THE MAINTEN. MODE
OUMAN EH-203
0000
Special mainten.
Rstore settings
Settings
Meas. 6 setting
Meas. 9 setting
Dig1 selection
Dig2 selection
Dig3 selection
LON initializ.
Net measurements
Text message)
KV
Ulkol. °C
Menovesi °C
Valinta
Automaattiohj
L2
Ulkol. °C
Menovesi °C
Valinta
Automaattiohj
KV
Ulkol. °C
Menovesi °C
Valinta
Automaattiohj
L2
Ulkol. °C
Menovesi °C
Valinta
Automaattiohj
L2
Ulkol. °C
Menovesi °C
Valinta
Automaattiohj
H2
Automatic
HW
Automatic
Heating curve
Settings
Measurements
Info water temp
DH Energy meas.
Operat. modes
Clock functions
Language/ Keel
Type info
Start function
Mainten.mode
H1 Select
H1 Maint mode
Enter maint code
Access to the Ouman EH-203 maintenance mode is prevented by user
rights. Only those persons who have a maintenance code have access
to the maintenance mode.
There are typical tuning values and settings in the
which the maintenance person needs in conjunction with installation. An
ordinary district heating exchanger is tuned in this mode.
Settings that are not needed as often can be done in the
, for ex., restoring original factory settings, special
settings, measurement 6 and 9 settings, digital input settings, LON and
bus settings as well as modem settings and text message settings.
maintenance mode
special
maintenance mode
Press the
button to choose what you want to
access from the adjoining menu. Each item is
presented individually on a separate page.
H1
Outdoor
°C
SupplyTemp
°C
Selection
Automatic
-15
52
Press
Press
ESC
until the display no longer changes.
You are then in the "Selection" display shown in the adjoining picture.
the
button to move from one regulating circuit to the next
(H1, H2, HW).
The maintenance person's
maintenance guide begins here
(p. 21 - 44).
21
Содержание EH-203
Страница 11: ...Liite 1 Suunniteltavan levyn piirikaavio...
Страница 12: ...Liite 2 Suunniteltavan levyn osaluettelo Kuvassa vasemmalla liitin X1 oikealla liitin X2 X3...
Страница 18: ...X X X X X Goal X X X X Start X X...
Страница 84: ...LIITE 4 Piirikaavio...
Страница 85: ...LIITE 5 OSASIJOITTELUKUVA...


