MicroHAWK Engine Integration Guide
1-5
Quick Start
Step 4 — Connect to WebLink
When you double-click the WebLink desktop shortcut or enter the reader’s IP address
directly in the address bar of your web browser, WebLink will load and start.
Note:
WebLink is the preferred user interface for
MicroHAWK readers, but Microscan’s
ESP
can
also be used for configuration and testing. ESP is
useful in the following circumstances:
• Device discovery to find the reader IP address;
• If you only have an RS-232 (serial) connection;
• Updating MicroHAWK firmware;
• Using the Configuration Database;
• Creating barcodes for reader configuration;
• Generating Symbol Quality reports.
Static Connection
1. Navigate to
Control Panel > Network and Sharing Center
on your PC.
2. Click
Local Area Connection 4
. In the
Status
dialog, click
Properties
.
3. In the
Local Area Connection Properties
dialog, select
Internet Protocol Version 4
(TCP/IPv4)
and click
Properties
again. Set your PC to a
192.168.188.X
IP address
(
192.168.188.5
, for example).
4. Click
OK
.
5. Open a web browser and type the reader’s default IP address (
http://192.168.188.2
)
in the web browser’s address bar.
The reader will connect to WebLink.
DHCP Network Connection
1. Plug your reader into the your network adapter.
2. Open
ESP Software
and connect to the
MicroHAWK
via
Ethernet TCP/IP
.
3. Click
Search
to find the reader. When the reader appears in the field below the
Search
and
Send
buttons, select it.
4. Change the reader from
Static
to
DHCP
and click
Send and Save
. The camera will
reboot and ESP will search for the reader again.
5. When the ID-40 is found, note the new IP address that is generated.
6. Open a browser and type the new IP address.
WebLink will load.
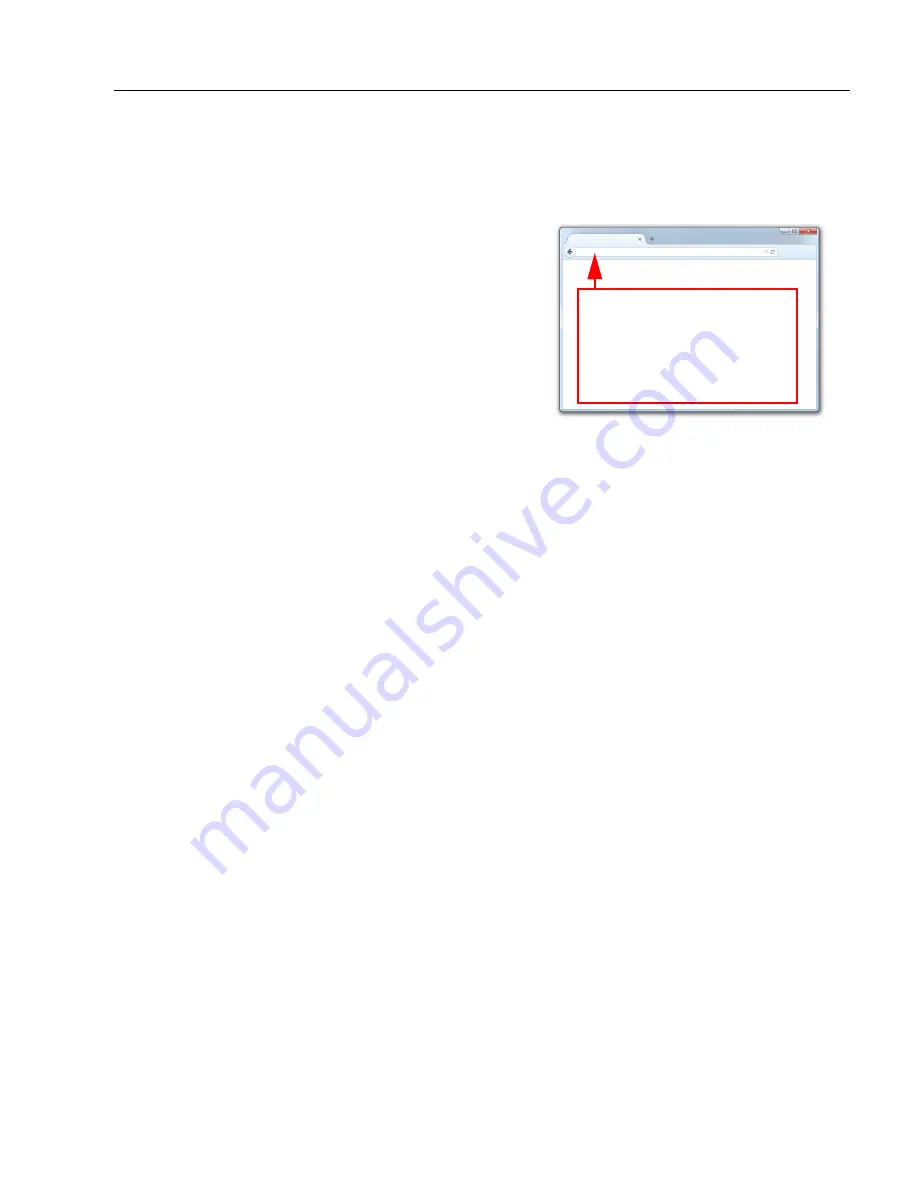
Type
http://192.168.188.2
(the default IP address) in the
web browser’s address bar.
The WebLink session will
begin shortly after you enter
the reader’s IP address.
Содержание MicroHAWK
Страница 1: ...MicroHAWK Engine Integration Guide P N 84 9007100 02 Rev B...
Страница 74: ...2 18 MicroHAWK Engine Integration Guide Send Receive Options...
Страница 78: ...3 4 MicroHAWK Engine Integration Guide Optical Requirements Optical Requirements Base Side...
Страница 79: ...MicroHAWK Engine Integration Guide 3 5 Integration Viewing Port Specifications...
Страница 80: ...3 6 MicroHAWK Engine Integration Guide Expansion Connector FPC Expansion Connector FPC...
Страница 101: ...MicroHAWK Engine Integration Guide 4 21 Communications Keyboard Languages...
Страница 102: ...4 22 MicroHAWK Engine Integration Guide USB HID Keyboard Keyboard Languages continued...
Страница 103: ...MicroHAWK Engine Integration Guide 4 23 Communications Keyboard Languages continued...
Страница 108: ...4 28 MicroHAWK Engine Integration Guide Entering ASCII Characters as Hex Values...
Страница 120: ...5 12 MicroHAWK Engine Integration Guide Additional Notes about Calibration...
Страница 148: ...6 28 MicroHAWK Engine Integration Guide Minimum Good Reads...
Страница 188: ...7 40 MicroHAWK Engine Integration Guide DotCode...
Страница 238: ...8 50 MicroHAWK Engine Integration Guide Image Push to Host Detailed Setup...
Страница 268: ...10 14 MicroHAWK Engine Integration Guide New Master Pin...
Страница 296: ...11 28 MicroHAWK Engine Integration Guide Set License...
Страница 314: ...12 18 MicroHAWK Engine Integration Guide Request All Configuration Database Settings...


