


SECTION 8 |
54
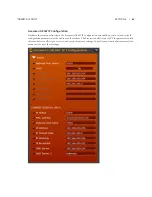
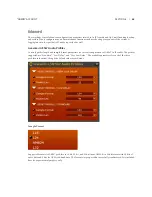
“ADMIN” ACCOUNT
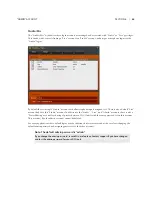
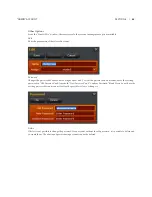
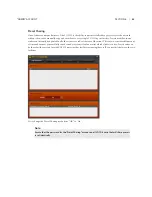
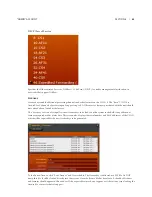
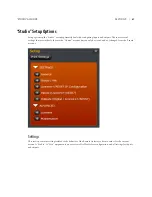
Synchronization
Read only display of current sync status
Sync Source Mode
Displays the current source for sync (Internal, L, or AES67)
L Sync State
Displays the current status of L sync (Master, Slave, or Asynch). Asynch means a L clock is
detected but not used because of the current configuration.
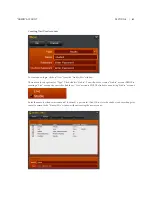
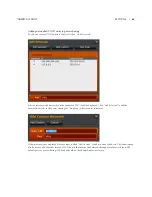
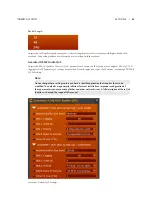
L Sync IP
Displays the IP address of the current L sync source if operating as “Slave” or “Asynch”. If operating as
master, this field does not appear.
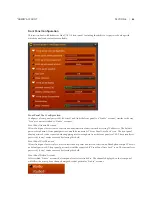
AES67 Sync State
Displays the current status of AES67 (PTP/IEEE 1588) sync (Master, Slave, or Asynch). Asynch means a PTP/
IEEE 1588 clock is detected but not used because of the current configuration.
AES67 Sync IP
Displays the IP address of the current AES67 (PTP/IEEE 1588) sync source if operating as “Slave” or “Asynch”. If
operating as master, this field does not appear.
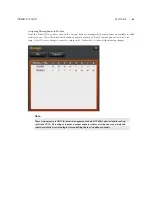
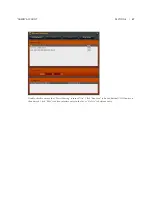
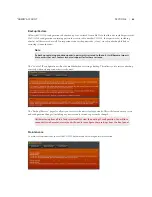
Note:
A status of “Asynch” may indicate synchronization issues on the network and result in audio glitches.
Double-check the synchronization and clock settings on the VOCO 8 and other devices on your AoIP
network. Ensure that the “Reference Clock” field is set properly on the VOCO 8.


