GETTING STARTED
9
PRINTER FRONT PANEL STATES
Press the On/Off button on the right side of the front panel.
note:
Before pressing the On/Off button, make sure that the power supply cable is connected to a
grounded electrical outlet. For information relating to printer installation see the printer Installation
Guide.
After pressing the On/Off button, the printer performs a set of self-tests to detect any system
malfunctioning. Errors detected during this phase are either signalled on the front panel or on the
personal computer connected to the printer. For appropriate corrective measures in the case of errors,
see “Meaning of Front Panel LEDs“.
On completion of the self-test phase, if no errors are detected, the On/Off button illuminates.
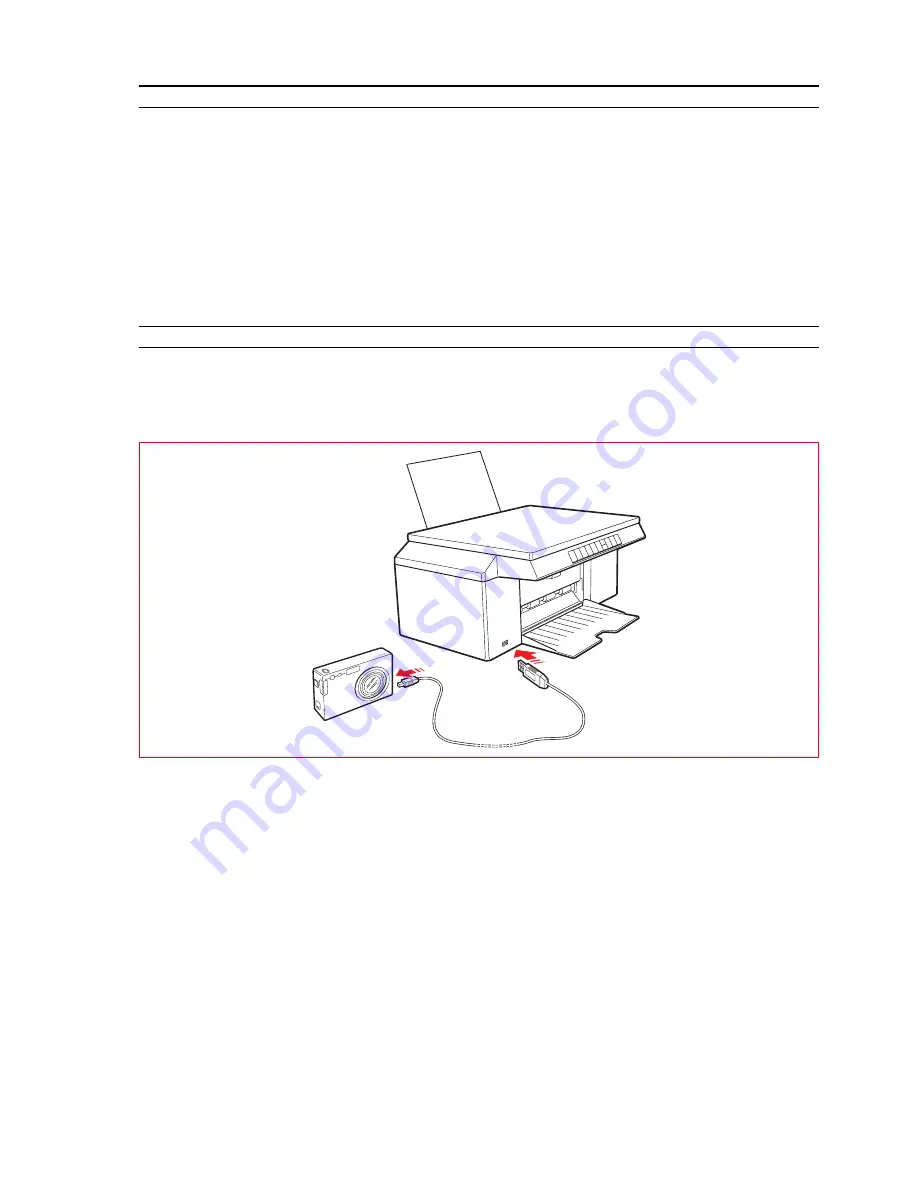
CONNECTING A DIGITAL CAMERA TO YOUR PRINTER
1
Turn on your digital camera. Read its User’s Guide if you require for more information.
2
With your printer powered on, take your digital camera’s USB cable and plug one end into the USB
connector on the camera itself, and the other end into the USB connector on the printer front panel.
The green USB status LED illuminates when a digital camera or USB memory is connected. If the printer
does not recognise the camera connected, the LED remains off.
Содержание SIMPLE_WAY
Страница 1: ......
Страница 6: ...CHAPTER CONTENTS vi...
Страница 20: ...CHAPTER 1 14...
Страница 24: ...CHAPTER 2 18...
Страница 38: ...CHAPTER 3 32...
Страница 60: ...CHAPTER 6 54...
Страница 63: ...Code 528013en...


