


SYSTEM SETUP
29
DVR
Choose
OK
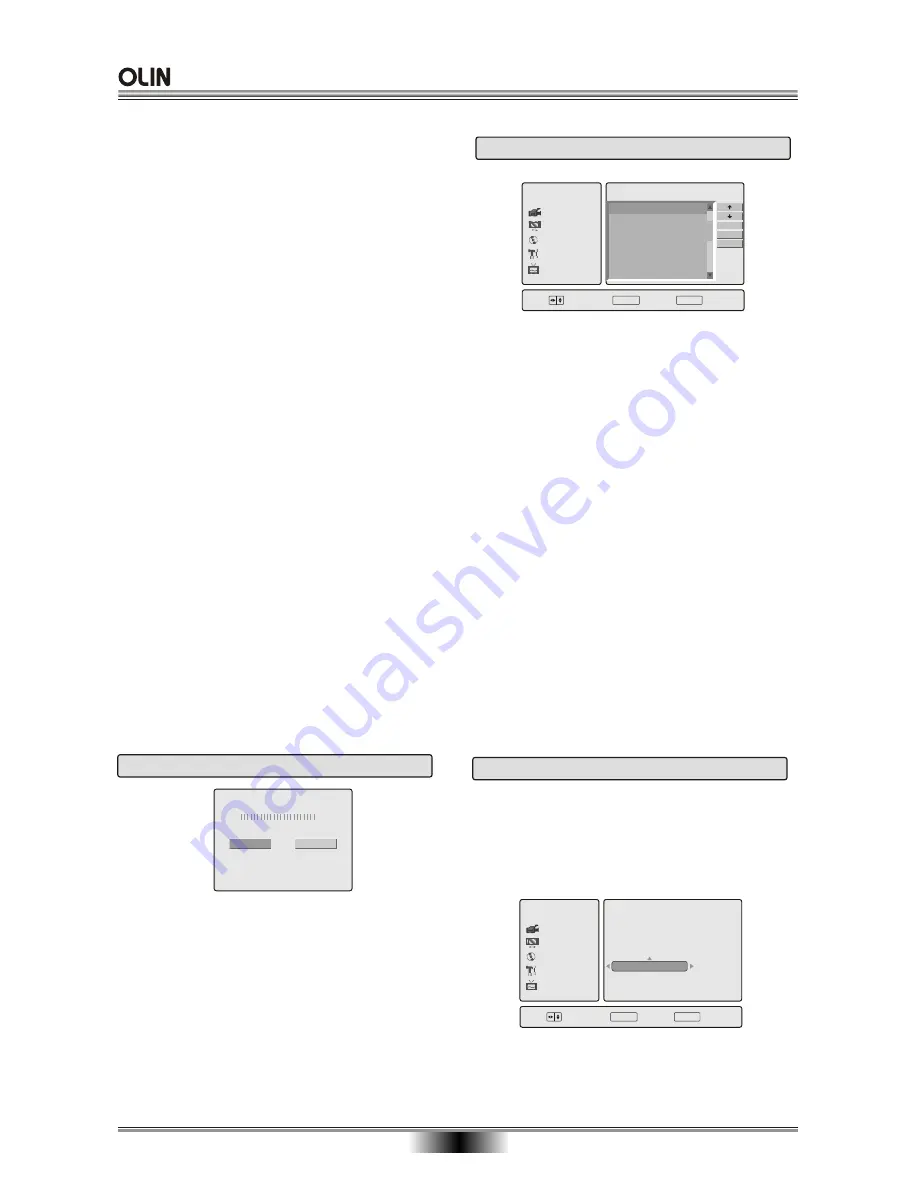
SETUP
Exit
UK
Romania
France
Greece
Australia
Germany
Recording
Audio/Video
Disc
General
TV
Edit Channel List
Automatic Search
manual Search
Country Setting
5.4 Country Setting
ENTER
This player may be used in several different countries.
When installing for the first time, you are told to choose
a "Country". If you move to another country, you should
Select "Country Select", Press"OK" and select the new
country of your choice. You must then "Auto Search"
or "Manual Search" to tune to the new stations in that
country.
Skip:
When you have finished Auto Search there could be
many unwanted stations.They may be noisy or out of
your area.To Hide these you may use the skip function.
Select Edit Channel List . Press OK and a list of the
received stations will be shown.
Use the
/
buttons to select the first un wanted
station. Press the
button then the
button and
select Skip Press OK and the Skip column will
change from OFF to ON.
To Exit the function move the cursor down to EXIT
and press OK.
Rename.
You may wish to Re Name certain stations.
Select Edit Channel List . Press OK and a list of the
received stations will be shown.
Use the
/
buttons to select the first station you need
to rename. Press the
button then the
button and
select Rename Press OK and an Alphabet will be
displayed. The Original station name is shown in a box
at the top of the table.
To edit this, move the cursor up into the box and use the
buttons to navigate the Alphabet.
You may only use 6 characters for any station name.
When complete press Enter . To exit press Setup .
5.2 Automatic Search
TV
Channels Found 0
Press Ok button to start
Press Cancel button to stop
scan
OK
Cancel
1. Press OK and Auto search will begin.
2. As it progresses it will show how many stations have
been found.
3. At the end of the Search press OK .Twice
Using the CH+ and CH- buttons you can now select
any of the stored channels. Most of the stored stations
will be in the correct order, however any missing stations
may be added using the Manual Search method.
Press the SETUP button and move the highlight down to
TV.Press the
button.
Move the highlight bar down to Auto Search and Press
OK
5.3 Edit Channel List
DVR
Choose
OK
SETUP
Exit
Recording
Audio/Video
Disc
General
TV
Channel List
PR CH Name Skip
Rename
Skip
Exit
01 CH3 Off
02 Ch5 Off
ENTER
Using this method it is wise to have a current TV Guide
so that you can see which programme you are viewing in
the background.If you know the TV Station numbers for
your area follow method 1. If you do not know the TV
Station numbers follow method 2.
Method 1
.
1.Move the Blue highlight bar upwards using the
button to the PR box.
2.Use the
or
buttons to change the number to 01.
3.Use the
button move the highlight down to CH
4.Use numeric buttons to enter the station channel
number e.g 44 . In a few seconds the picture will change
to the station on CH44 .
5.To put the next station in eg 02 , follow from 1 to 4 , and
repeat till all the stations are in memory.
6.When all stations are located, to Exit, press the SETUP
button.
Method 2.
1.Move the Blue highlight bar down to the bottom
horizontal bar using the
button.
2.A Yellow Cursor dot will now be shown. This
moves up and down the scale with the
or
buttons.
3.Move the
dot
down the scale. You need not
start lower than 470. Mhz.
4.Move the dot up the scale with the
button
until the first station is received.
5.Using the TV guide decide which channel it is.
6.Move the Highlight bar to the PR box using the
button.
7.Change the number to correspond the station
received, i.e BBC1 =1, BBC2 = 2, ITV = 3,
Channel 4 = 4 and Channel 5 = 5.
8.Continue from 1 to 7 until all the stations are
stored in the correct locations.
9.To Exit the menu press SETUP
.
Содержание DVR-140
Страница 1: ......


