- 68 -
Aligning the paper sensor
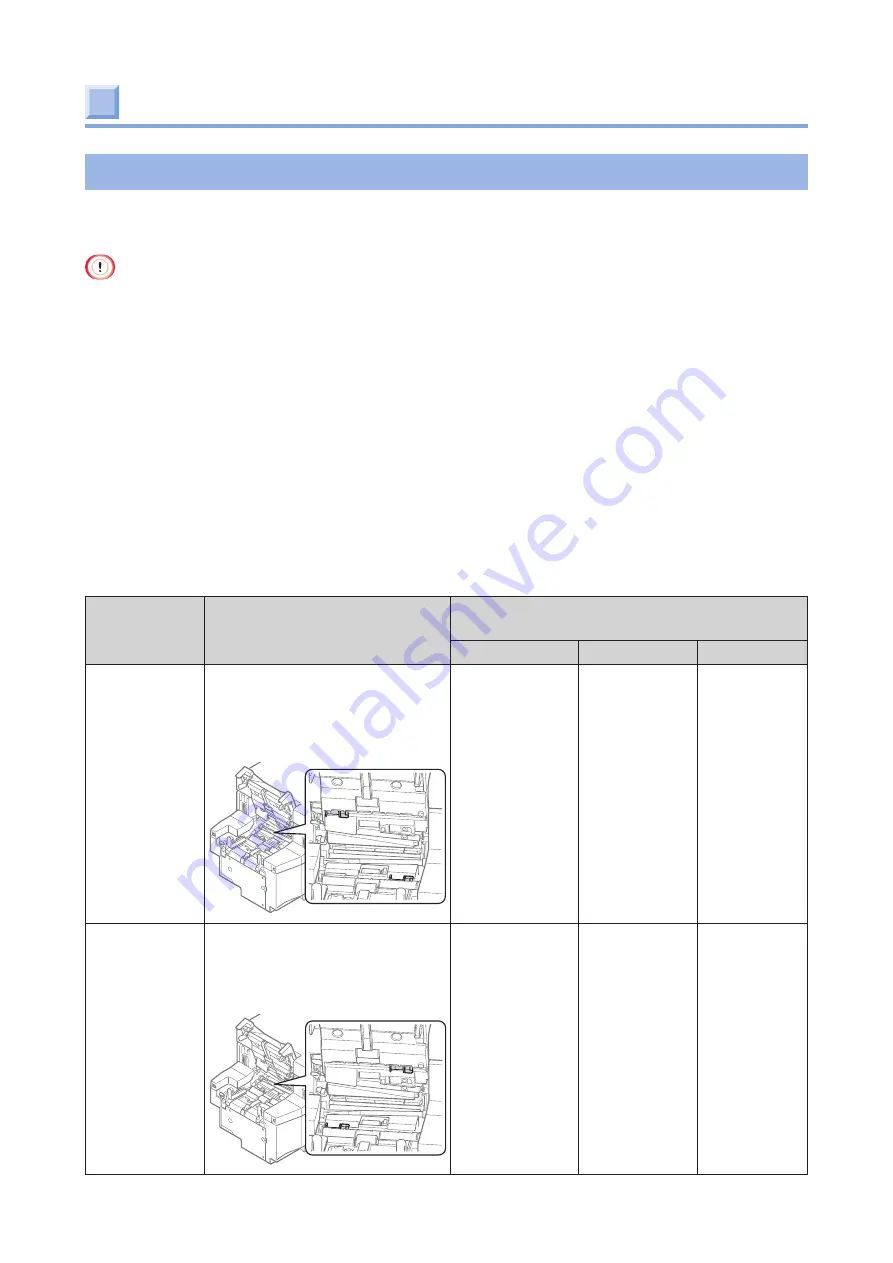
Checking the position of paper sensor
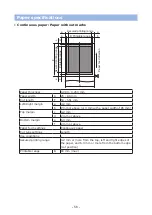
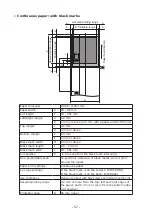
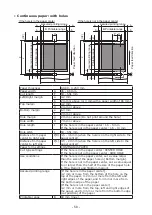
The position of the paper sensor varies with the paper to be used.
Refer to the table below to check the set position and adjust the paper sensor accordingly.
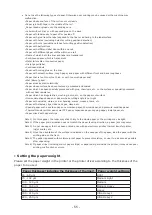
• If the cut type setting of the machine do not match the position of the sensor, a paper jam will be falsely detected.
In that case, check the type of the paper loaded in the machine on the operator panel, and adjust the position of
the sensor accordingly.
To load paper with a black mark .................. Change the positions of the upper sensor and the lower sensor so
that they do not overlap.
To load paper with a hole ............................ Change the positions of the upper sensor and the lower sensor so
that they do not overlap.
•
If you start the machine after changing the sensor position, the error 380 "PAPER JAM" may occur. Reset the
sensor by the following procedure.
1. Turn off the power if the machine is running.
2. Press and hold «OK» on the operator panel to power on the machine. Press and hold «OK» until [BOOT
MENU] appears on the display.
3. When [BOOT MENU] appears, release your finger and press «OK» again.
4. Input the password when the password entry screen appears. The password is the same as the one required
to enter [ADMIN SETUP].
5. Press «
∨
» several times to display [SENSOR RESET], and press «OK» to execute.
Media type
Sensor position
Settings from the printer driver or
operator panel*
Paper form
Cut type
Gap length
Paper with a
black mark on
the printing
side
Upper: Position of the black
mark
Lower: Position where it does
not overlap with the
black mark on the front
CONTINUOUS
PAPER
B/M (FRONT) -
Paper with a
black mark on
the back
Upper: Position where it does
not overlap with the
black mark on the back
Lower: Position of the black
mark
CONTINUOUS
PAPER
B/M (BACK)
-
Содержание PRO330S
Страница 1: ...Pro330S Label Printing Manual ...
Страница 19: ... 19 Shaft x1 Ground pin Roll Paper Holder Setup Guide ...
Страница 90: ... 90 7 Install the image drum back to the machine 8 Close the top cover ...
Страница 94: ... 94 10 Install the image drum back to the machine 11 Close the top cover ...
Страница 110: ...7 Cleaning 111 Cleaning the roll paper holder 112 Cleaning the main unit 115 Maintenance ...
Страница 122: ... 122 20 Close the top cover ...
Страница 140: ...EE8001 5120Z002 Rev3 ...


