Replacing Consumables • 77
8.
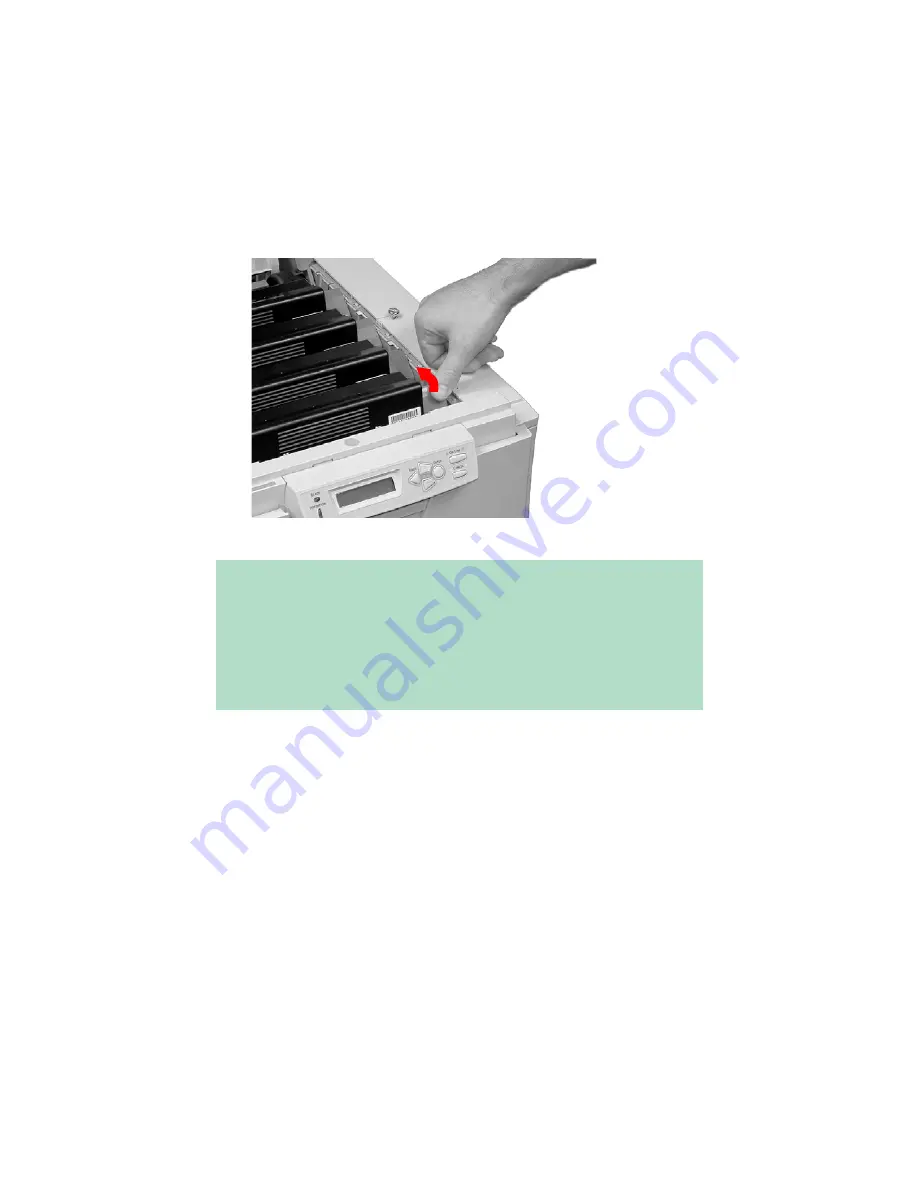
Lower the right end of the cartridge into the image drum unit,
pressing it firmly down in place, then push the colored lock lever
back to open the toner slot and lock it in place.
Important!
The lever should move easily. If it does not,
STOP!
and push
down on the toner cartridge to be sure that it is properly seated in
the image drum, then press back on the lever again.
To avoid toner spillage, do NOT open the toner release lever until
the toner cartridge is firmly seated in the image drum.
Содержание C5400 Series
Страница 1: ......
Страница 77: ...Replacing Consumables 75 6 Remove the adhesive tape from the underside of the cartridge...
Страница 87: ...Replacing Consumables 85 11 If present remove the silica gel pack 12 Place the image drum in the printer...
Страница 88: ...Replacing Consumables 86 13 Remove the orange drum seal 14 Install the toner cartridge in the image drum...
Страница 95: ...Replacing Consumables 93 11 Close and latch the top cover...
Страница 100: ...Replacing Consumables 98 8 Close and latch the top cover...
Страница 104: ...Clearing Paper Jams 102 5 Close the rear exit 6 Close the top cover...
Страница 112: ...Clearing Paper Jams 110 3 Close the front cover...
Страница 114: ...Clearing Paper Jams 112 2 Remove any jammed sheets...
Страница 116: ...Clearing Paper Jams 114 3 Pull the duplexer lid to unlock it 4 Open the lid and remove the jammed sheet...
Страница 119: ...Clearing Paper Jams 117 2 Open the front cover 3 Remove any jammed sheets 4 Close the front cover...
Страница 121: ...Clearing Paper Jams 119 2 Remove any jammed sheets 3 Close the front cover...
Страница 202: ...Windows PCL Emulation Driver 200 3 On the Setup tab under 2 Sided Printing select Long Edge or Short Edge 4 Click Print...


