2-18 Aria 1.2 Release Manual
101–1477–001
Edition 2
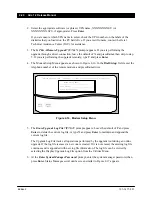
6. Remove disk #1 and insert disk #2 in the diskette drive, and press Enter. Continue copying
diskettes, as instructed. After all diskettes have been copied, the Status Messages screen
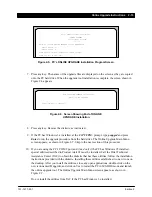
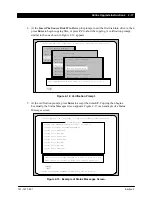
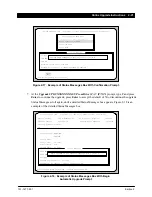
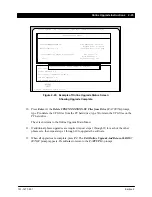
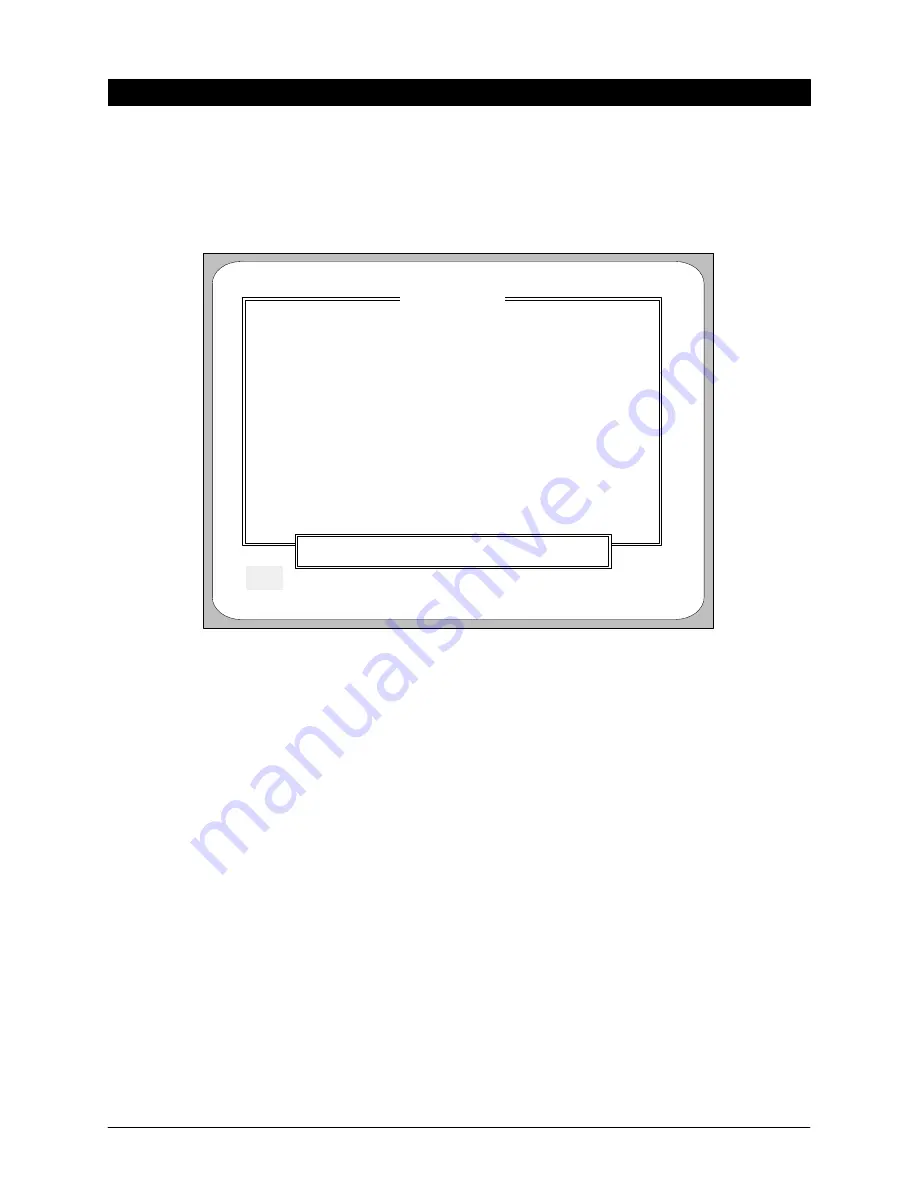
displays the File Copy Complete, Press <Enter> to Continue. prompt shown in Figure 2-14.
Escape
<F2>
Online Upgrade 1.XX Copyright (c) 1994 Octel Communications Corporation
Status Messages
Verifying File: C:\PCUPG\XXXXXXXX.SU\PRCE.TBL
Verifying File: C:\PCUPG\XXXXXXXX.SU\IRCE.TBL
Verifying File: C:\PCUPG\XXXXXXXX.SU\PRCF.TBL
Verifying File: C:\PCUPG\XXXXXXXX.SU\IRCF.TBL
Verifying File: C:\PCUPG\XXXXXXXX.SU\PRSP.TBL
Verifying File: C:\PCUPG\XXXXXXXX.SU\IRSP.TBL
Verifying File: C:\PCUPG\XXXXXXXX.SU\PRAU.TBL
Verifying File: C:\PCUPG\XXXXXXXX.SU\IRAU.TBL
Verifying File: C:\PCUPG\XXXXXXXX.SU\PRNZ.TBL
Verifying File: C:\PCUPG\XXXXXXXX.SU\IRNZ.TBL
UPG# XXXXXXXX.SU File Verification Complete
UPG# XXXXXXXX.SU File Copy Completed
Copy Of UPG# XXXXXXXX.SU To Drive (C:) Completed.
File Copy Complete, Press <Enter> to Continue.
Status: Copy of UPG# XXXXXXXX.SU To Drive (C:) Completed.
Figure 2-14. Status Messages Screen With File Copy Complete Message.
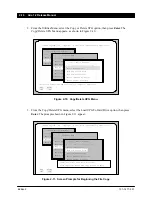
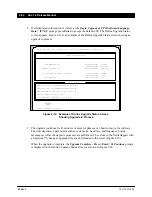
7. Remove the final diskette, and press Enter. The Copy/Delete UPG Menu screen
(Figure 2-10) reappears.
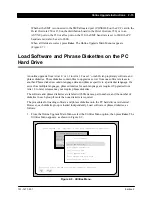
8. Press F2 twice. The Online Upgrade Main Menu reappears.
9. Repeat steps 1 through 8 to load the phrase diskettes, if required. If there are multiple
languages, load each set of phrase diskettes separately.


