3
Scanning
3-28
CS240
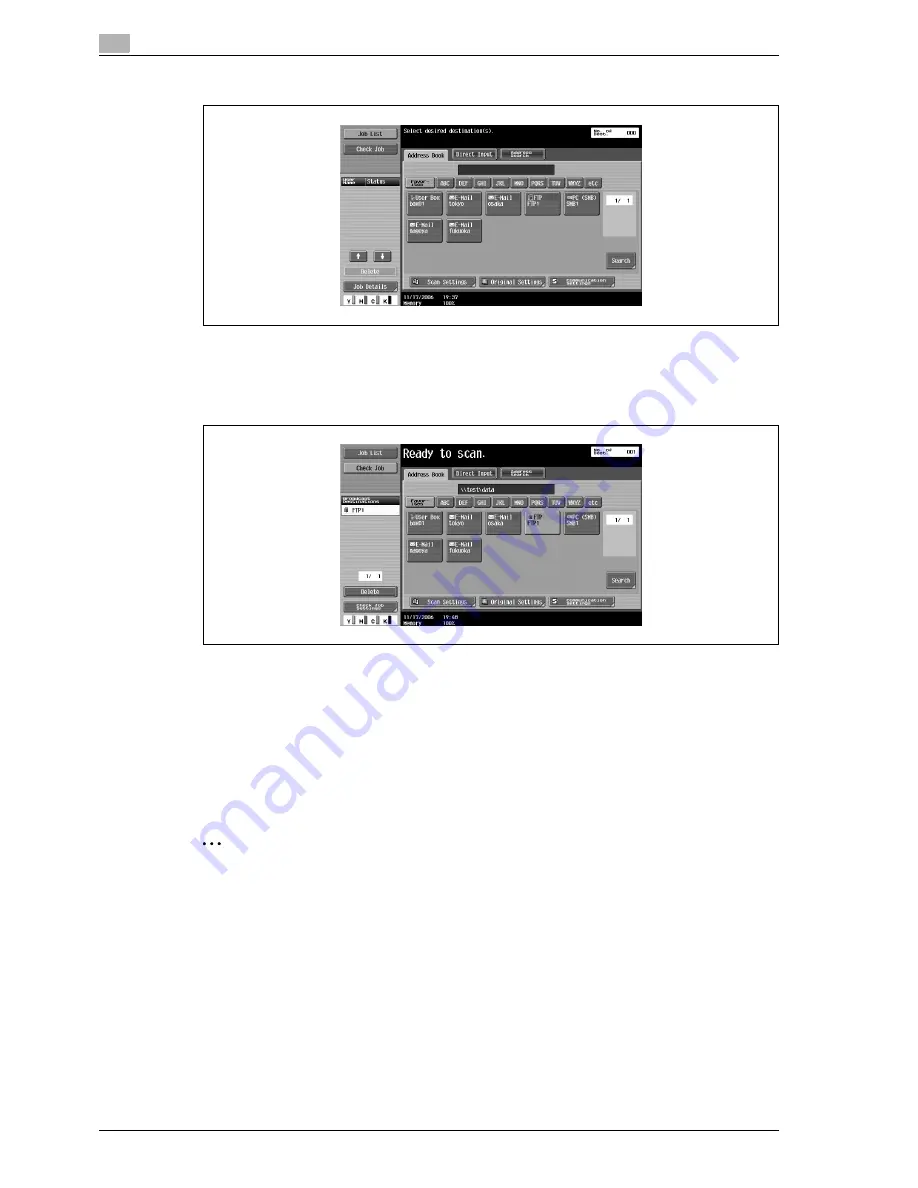
A list of registered destinations appears.
3
Touch a destination button to select the address.
–
Multiple destinations can be specified at the same time.
–
Additional destinations can be added by directly typing in the address.
The button appears selected, and the destination appears under "Broadcast Destinations".
4
Touch [Scan Settings], [Original Settings] or [Communication Settings], and then specify the desired
scan settings.
–
For details on the scan settings, refer to "Specifying scan and transmission settings (Scan
settings/Original settings/Communication settings)" on page 3-31.
5
Load the document into the ADF or place it on the original glass.
6
Press the [Start] key in the control panel.
Scanning of the document begins, and the data is sent.
2
Note
Do not turn off the machine until the scan job is deleted from the Job List screen.
Содержание Linium PRO C6500
Страница 1: ...Océ CS240 User Manual Network scanner operations ...
Страница 2: ......
Страница 8: ...Contents 6 CS240 ...
Страница 9: ...1 Introduction ...
Страница 10: ......
Страница 19: ...2 Before using scanning functions ...
Страница 20: ......
Страница 29: ...3 Scanning ...
Страница 30: ......
Страница 105: ...4 Specifying utility mode parameters ...
Страница 106: ......
Страница 155: ...5 Network settings ...
Страница 156: ......
Страница 219: ...CS240 5 65 Network settings 5 Digital Signature E Mail Text Encryption Method Print S MIME Information ...
Страница 227: ...CS240 5 73 Network settings 5 6 Specify the desired settings 7 Touch Forward SNMP v3 Setting screen 4 4 appears ...
Страница 256: ...5 Network settings 5 102 CS240 ...
Страница 257: ...6 Scan function troubleshooting ...
Страница 258: ......
Страница 260: ...6 Scan function troubleshooting 6 4 CS240 ...
Страница 261: ...7 Appendix ...
Страница 262: ......
Страница 272: ...7 Appendix 7 12 CS240 ...
Страница 273: ...8 Index ...
Страница 274: ......


