CS240
4-15
Specifying utility mode parameters
4
5
Touch [OK].
6
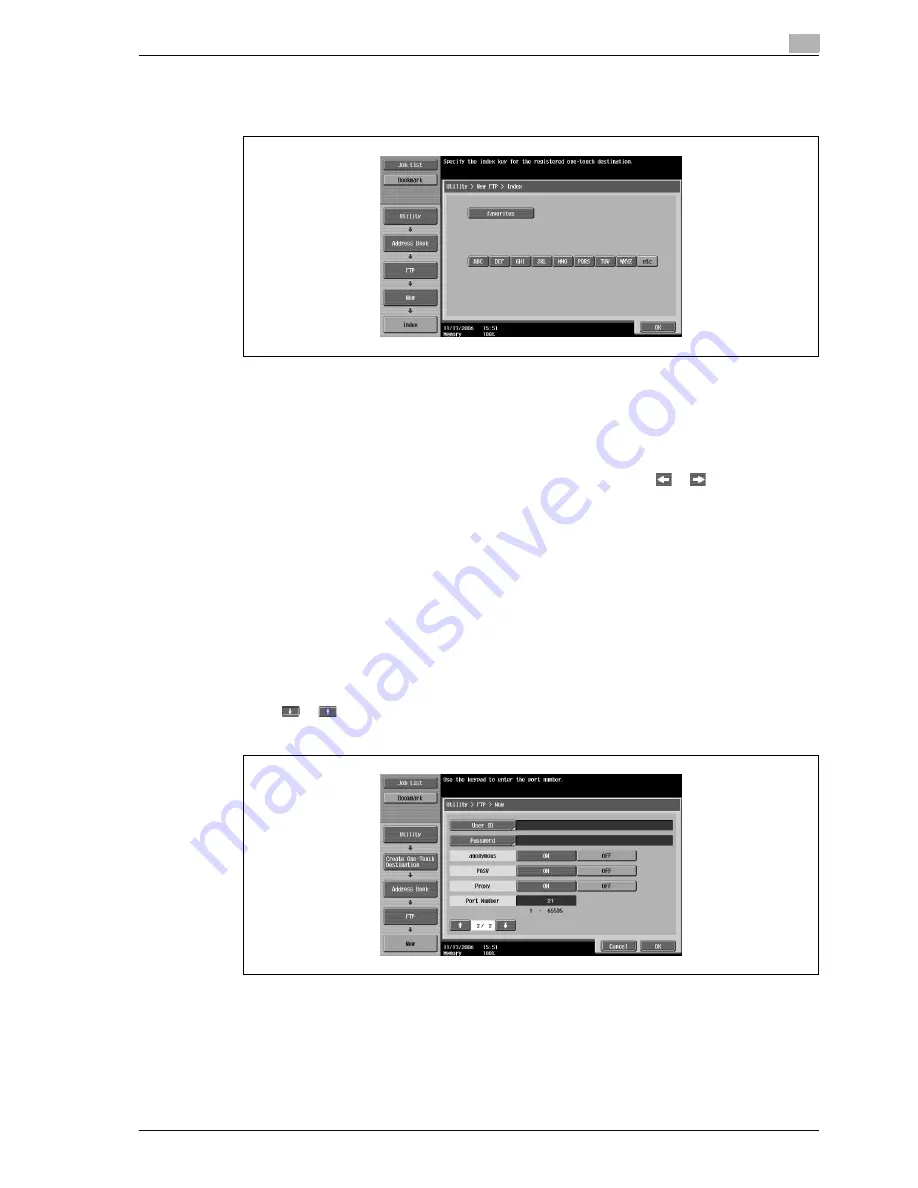
Touch [Index], and then select the index characters.
7
Touch [OK].
8
Touch [Host Address], and then type in the IP address or host name.
–
To enter a host name, touch [Host Name Input], and then type in the host name, using the keyboard
that appears.
–
To enter an IP address, touch [IPv4 Address Input] or [IPv6 Address Input], and then type in the
address, using the keypad or the number buttons that appear. Touch
or
to move the cursor
to the desired position, and then type in the numbers.
–
When the input format is switched to entering an IP address after the host name was entered, the
host name is cleared.
–
If [Host Name Input] is touched after the IP address was entered, the entered IP address is saved
and the input screen appears.
–
When [Host Name Input] is touched, check that the DNS setting is correctly specified. For details
on the DNS settings, refer to "TCP/IP settings" on page 5-13.
9
Touch [OK].
10
Touch [File Path], and then type in the file path, using the keyboard that appears.
11
Touch [OK].
12
Touch
or
.
New screen 2/2 appears.
13
Touch [User ID], and then type in the user ID, using the keyboard that appears.
–
To cancel registration of the user ID, touch [ON] beside "anonymous".
14
Touch [OK].
15
Touch [Password], and then type in the password, using the keyboard that appears.
Содержание Linium PRO C6500
Страница 1: ...Océ CS240 User Manual Network scanner operations ...
Страница 2: ......
Страница 8: ...Contents 6 CS240 ...
Страница 9: ...1 Introduction ...
Страница 10: ......
Страница 19: ...2 Before using scanning functions ...
Страница 20: ......
Страница 29: ...3 Scanning ...
Страница 30: ......
Страница 105: ...4 Specifying utility mode parameters ...
Страница 106: ......
Страница 155: ...5 Network settings ...
Страница 156: ......
Страница 219: ...CS240 5 65 Network settings 5 Digital Signature E Mail Text Encryption Method Print S MIME Information ...
Страница 227: ...CS240 5 73 Network settings 5 6 Specify the desired settings 7 Touch Forward SNMP v3 Setting screen 4 4 appears ...
Страница 256: ...5 Network settings 5 102 CS240 ...
Страница 257: ...6 Scan function troubleshooting ...
Страница 258: ......
Страница 260: ...6 Scan function troubleshooting 6 4 CS240 ...
Страница 261: ...7 Appendix ...
Страница 262: ......
Страница 272: ...7 Appendix 7 12 CS240 ...
Страница 273: ...8 Index ...
Страница 274: ......


