


42
SECTION 4: USING THE OSD MENUS
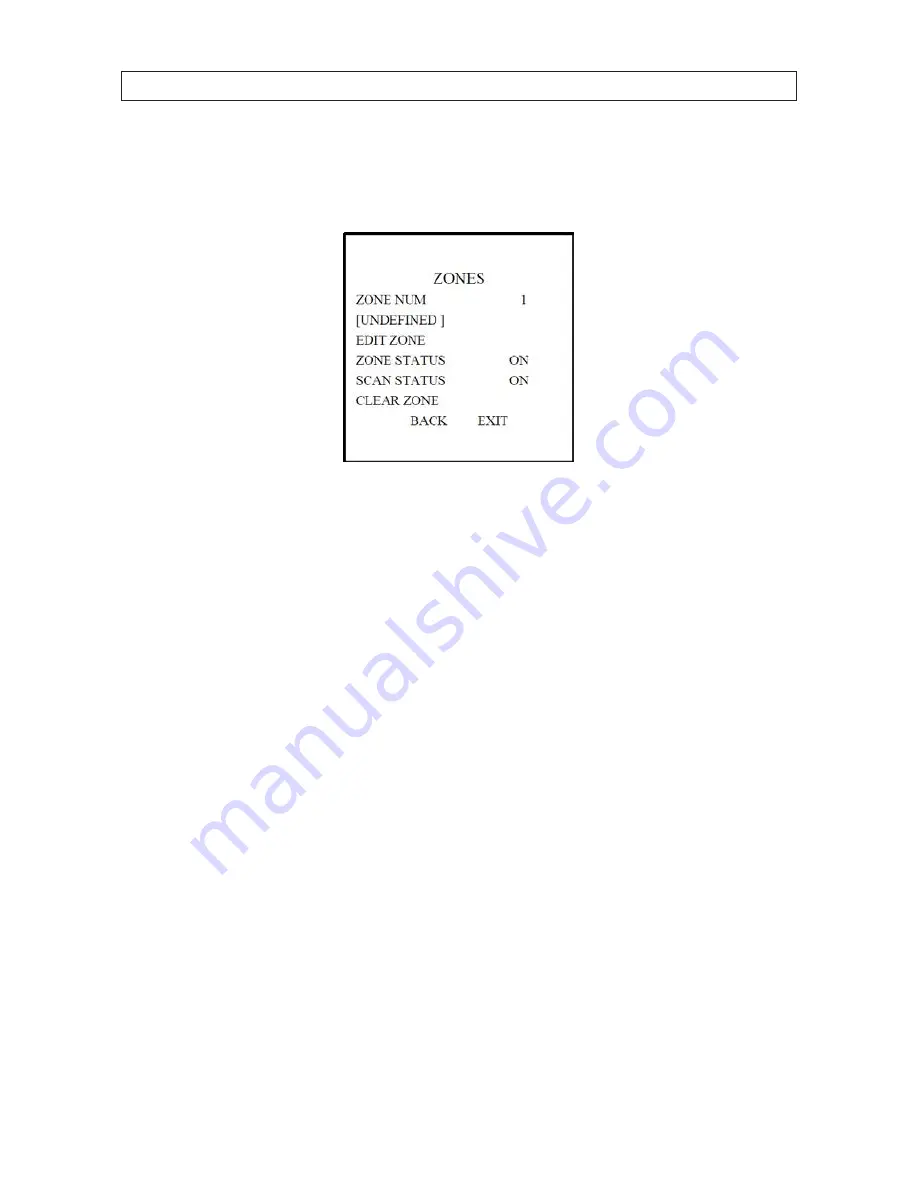
4.9.1 TASK 1: Set a zone.
1.
Open the zone configuration submenu: Go to
MAIN MENUS
g
DOME SETTINGS
g
ZONES
Zone configuration menu
2.
Choose the zone number:
a.
Move the cursor to
ZONE NUM
, then click
IRIS+
button to enter edit mode.
b.
Click the up and down buttons to choose the zone number to be configured.
c.
Click
IRIS+
again to confirm the settings and exit edit mode
3.
Configure the zone area.
a.
Move the cursor to
EDIT ZONE
and click
IRIS+
button to open the submenu.
b.
When you see
SET LEFT LIMIT
on the screen, click the direction buttons to set the left limit stop.
c.
Follow the prompts on the screen to set the right limit, up limit and down limit.
d.
Click
IRIS+
button to save the settings and close the menu.
4.
SCAN STATUS
and
ZONE STATUS
.
SCAN STATUS
: You can set the scan status to ON or OFF to enable or disable the scanning in the zone.
ZONE STATUS
indicates the current status of the zone; is not editable. After editing a zone, it will change to ON. If you delete
the zone, it will switch to OFF.
Содержание BLK-PTZ36XIR
Страница 8: ...viii...
Страница 16: ...8 SECTION 1 INTRODUCTION BLK PTZCM Corner Mount PTZ Bracket 7 64 6 96 G 1 5 16 52...


