


NXP Semiconductors
UM11379
UJA116xA evaluation boards
6.4.2 Establishing a connection between the FlexGUI and the hardware
To establish a connection between the FlexGUI and the hardware, the microcontroller
board needs to be connected to the PC with a USB cable and a battery supply provided
for the UJA116xA-EVB (see
). Note that it may take a few seconds for the PC
operating system to detect the connection and locate the appropriate USB driver.
Once the connection has been established, a communication session can be started over
the USB link:
•
Click the
Search
button to detect all available serial connections.
•
Identify and select the COM port of the board. It is usually the last item on the list if no
other USB cables were connected to the PC since the board was plugged in.
•
Click
Start
to enable the connection.
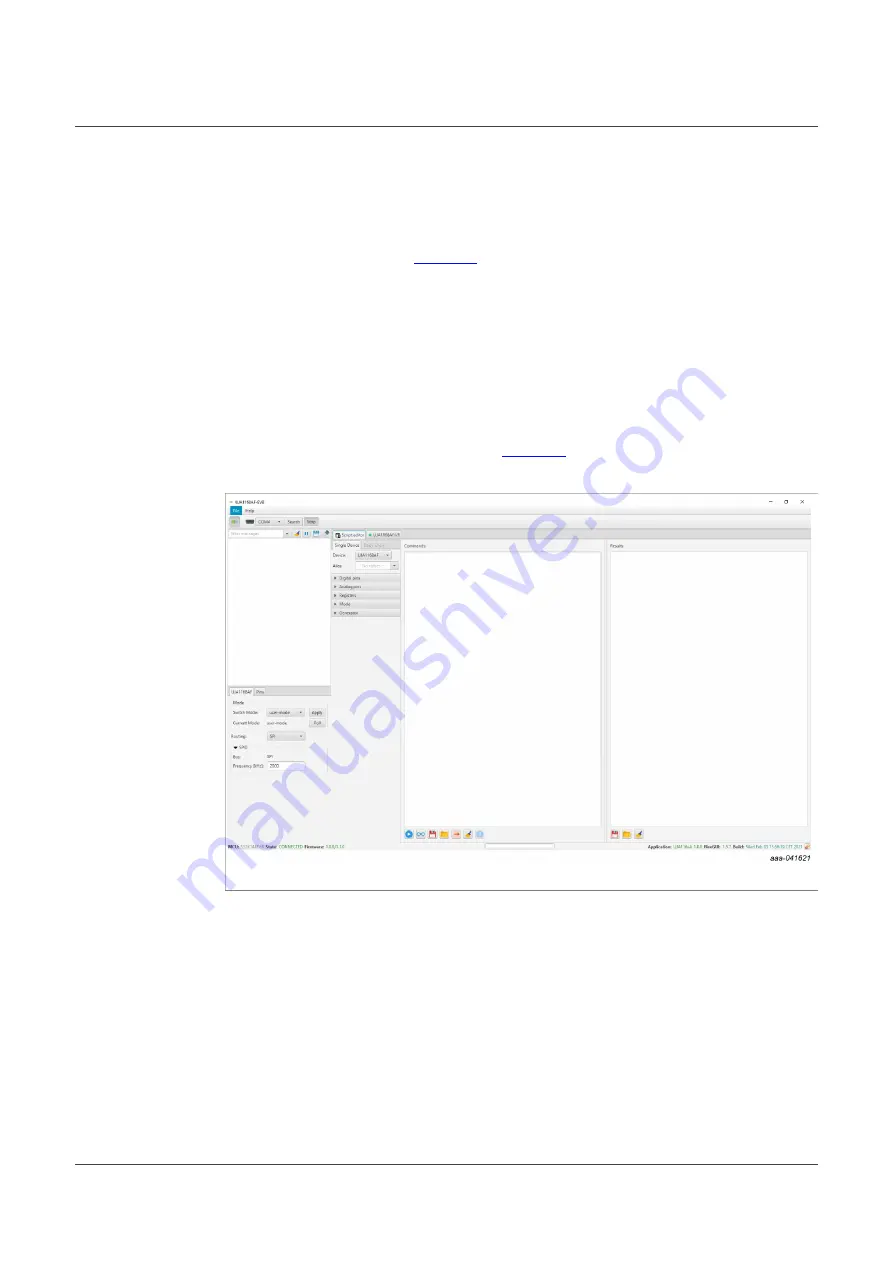
The text in the lower left corner of the window should turn from red to green, to indicate
that the session has started successfully (
). The FlexGUI functionality can now
be accessed, as discussed in the following sections.
Figure 30. FlexGUI, USB connection to MCU board established
If FlexGUI shuts down during a connection attempt, there may be a conflict due to an
obsolete jssc (java simple serial connector) library in the user cache. This problem can
be solved by removing that library from the cache, e.g. with the command:
del "%USERPROFILE%\.jssc\windows\jSSC-2.8_x86_64.dll"
.
When this command is executed (e.g. by double-clicking on a text file that includes this
line and has a file extension .cmd), the obsolete library is removed from the cache and a
later version of the library is cached the next time FlexGUI starts up.
UM11379
All information provided in this document is subject to legal disclaimers.
© NXP B.V. 2021. All rights reserved.
User manual
Rev. 1 — 23 April 2021
36 / 56