


10
Enter the new IP address, and click on “Save”. The following message will be displayed at the bottom of the
webpage:
The settings have been saved in the device EEPROM but will only become active after the next power up of the
device.
Before disconnecting, repeat the above process for the Subnet Mask and Default Gateway settings, and press “Save”
for each one. See example above (on the right).
Now the device should be powered down (if using PoE, disconnect the Ethernet cable; if using the 12v DC input,
disconnect the power cable). Reconnect the cable to power up the device again, and reestablish the HTTP
connection as above. The IP address to use for connecting the second time will be the new IP address entered above,
for example 172.16.16.49.
Note:
At present there is no option to switch on DHCP (Dynamic IP address allocation) using a button, this can be
done using other methods, see below, or by typing the command “$ND 1” in the web browser from the “Standard
Command” page (see details for this command below).
Setting up a static IP address using Telnet:
If using a Telnet connection, the method is similar to the process described above for HTTP, except that a connection
must first be established using Telnet, and changing the IP address and other settings must be done manually by
sending commands.
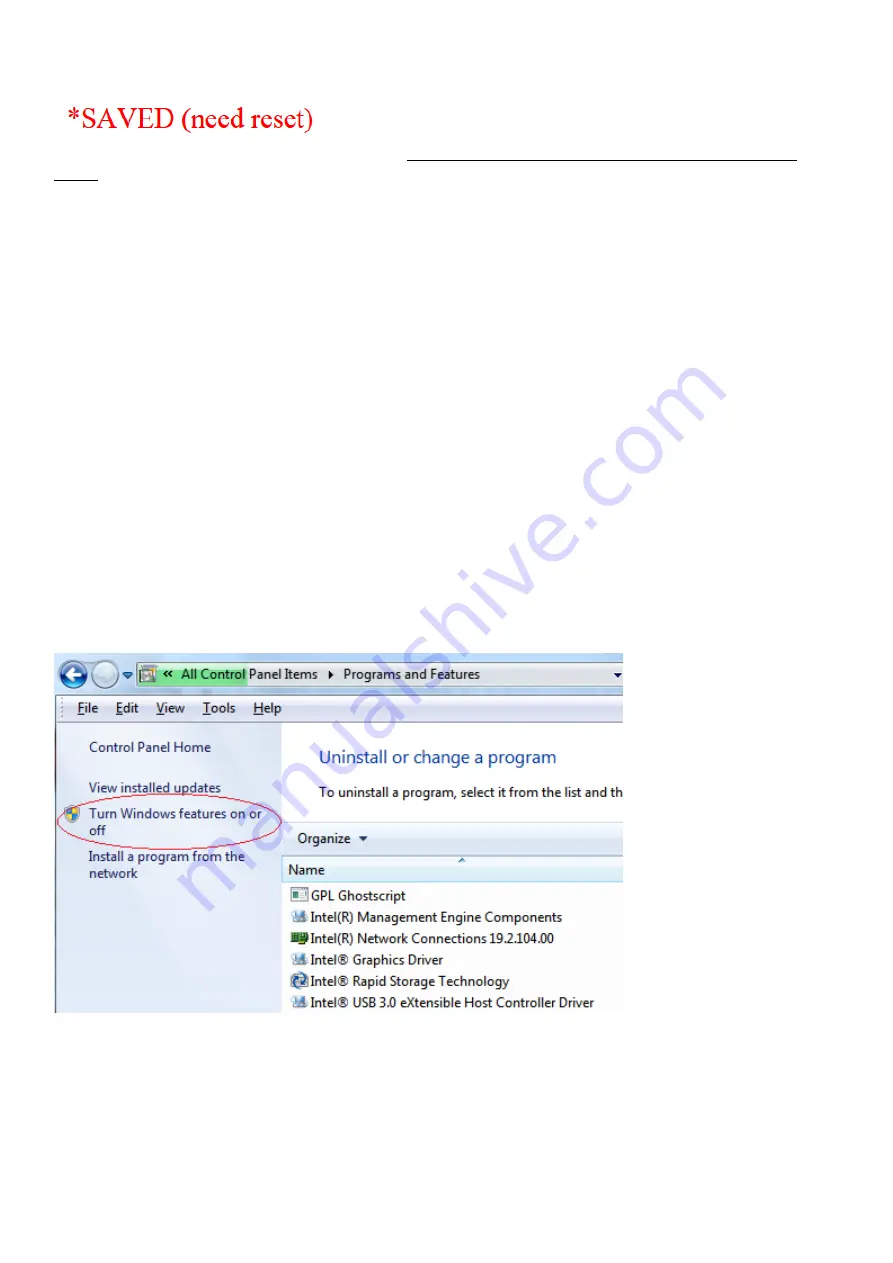
In order to open a Telnet terminal on a Windows PC, the user should first check that Telnet is enabled on the PC.
Open “Control Panel”, then choose “Programs”, then choose “Turn Windows features on or off”
(this requires
administrator privileges on the PC)
:
The “Windows Features” box will open; it might take a few seconds for it to be populated: