5
15272 Newsboy Circle
Huntington Beach,
CA 92649
Phone: 714-751-0488
Fax: 714-372-7930
E-Mail: [email protected]
PoweringTheNetwork.com
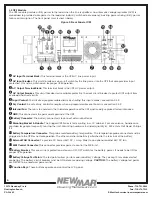
LCD Display Panel:
The display shows the UPS information in four-line texts.
Indicator LEDs:
Three LEDs show the information of output status, alarm and fault.
USB Connector:
This connects the UPS to the computer for remote control and monitoring.
RS232 Connector:
A straight-through DB-9 to DB-9 connector cable connects the UPS to the computer for remote control
and monitoring.
Intelligent Slot:
The intelligent slot is for the SNMP card to communicate with UPS. The UPS can be monitored and con-
trolled via a web browser or with SNMP protocols.
3.3 Manual Bypass Module (Optional)
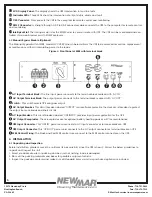
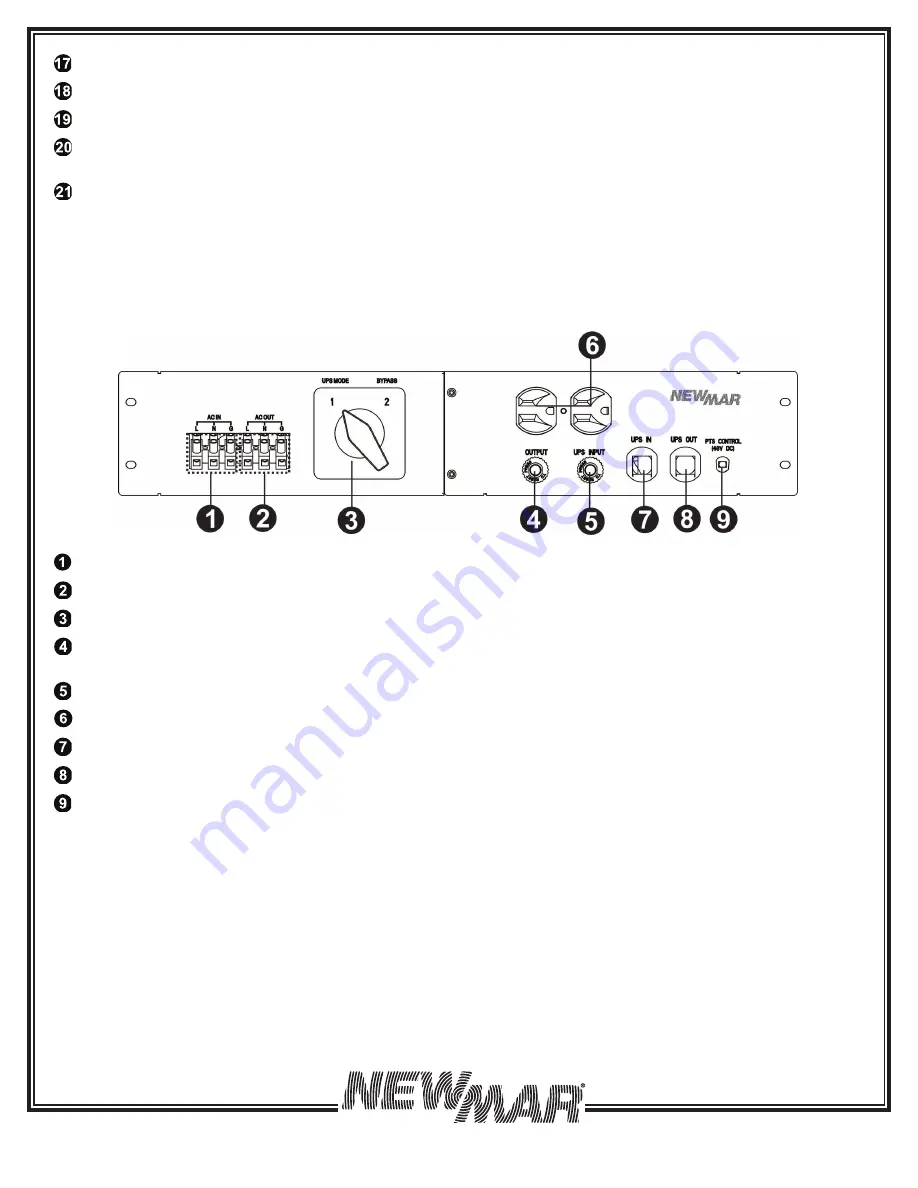
The Manual Bypass Switch (MBS, model AC-UPS-BP) shown below allows the UPS to be removed for service, replacement
or maintenance without interrupting power to the loads.
Figure 3: Front Panel of MBS with terminal block
AC Input Terminal Block:
The line input power connects to the terminal block marked with “AC IN”.
AC Output Terminal Block:
The output power connects to the terminal block marked with “AC OUT”.
Switch:
This switch selects UPS or bypass output.
AC Output Breaker:
This circuit breaker labeled “OUTPUT’’ is a resettable protective thermal circuit breaker to protect
the output from overloads and short circuits.
AC Input Breaker:
This circuit breaker labeled “UPS INPUT’’ provides input power protection for the UPS.
AC Output Receptacles:
These receptacles are for optional battery heating pads or a PC for maintenance.
UPS Input Connector:
This “UPS IN” power cord connects to AC input connector or terminal blocks on UPS.
UPS Output Connector:
This “UPS OUT” power cord connects to the AC output connector or terminal blocks on UPS.
MBS Control Wiring:
The Black and Red MBS control wires connect to the MBS control connector on the UPS.
4. INSTALLATION
4.1 Unpacking and Inspection
Before installation, please remove the unit from its box carefully since the UPS is heavy. Follow the below guidelines to
unpack and inspect the unit.
1. Select a suitable area for unpacking and be sure that nothing inside is damaged.
2. Store all the packing materials and boxes for possible equipment returns.
3. Inspect the package contents and make sure all standard items as well as purchased options are included.


