


System Management
59
ReadyNAS for Home RAIDiator 5.3
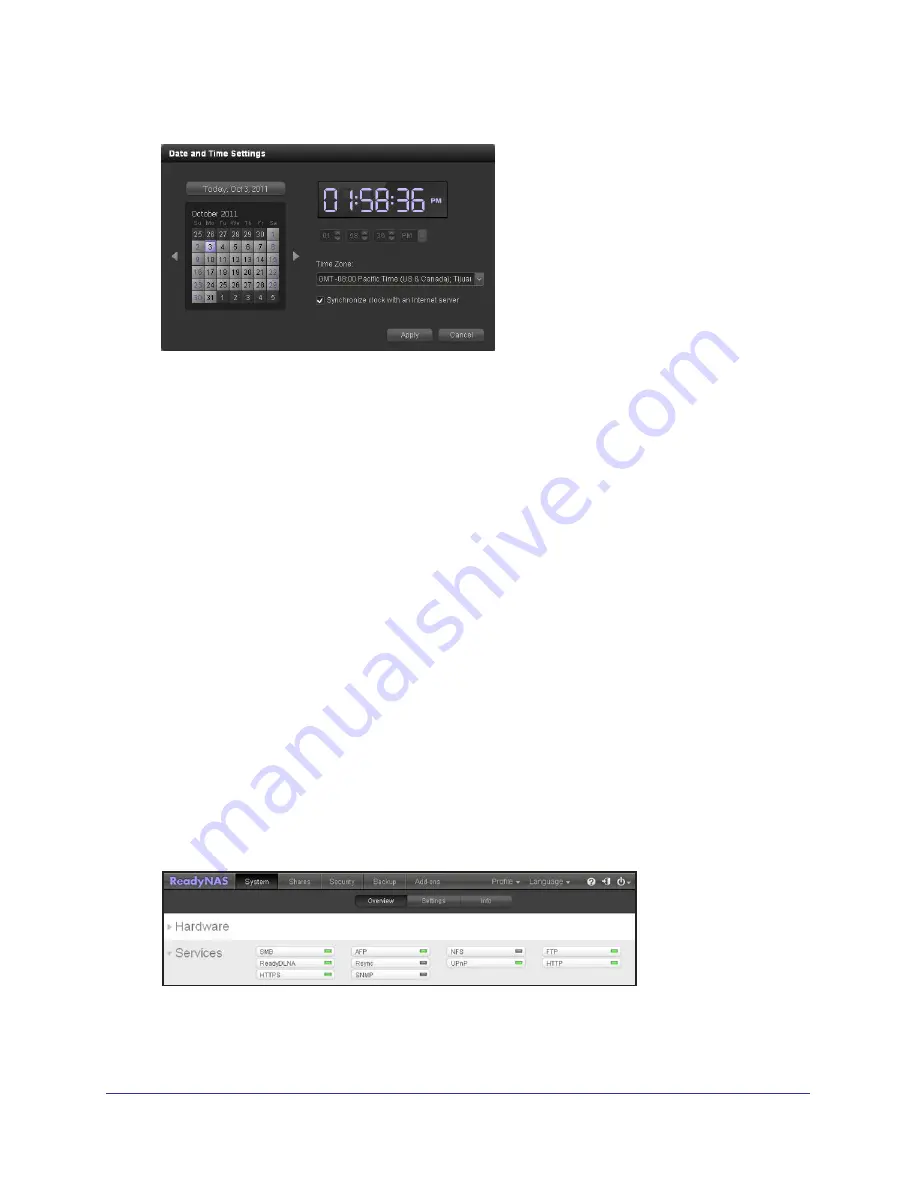
The Date and Time Settings dialog box displays.
2.
From the Time Zone
drop-down menu, select the correct time zone for your location.
So that your files are correctly time-stamped, NETGEAR recommends choosing the time
zone where your ReadyNAS storage system is physically located.
3.
Select the correct time by doing one of the following:
•
Select the
Synchronize clock with an Internet server
check box. When you select
this check box, the time drop-down menus dim and your system date and time are
synchronized with a NETGEAR NTP server.
•
Clear the
Synchronize clock with an Internet server
check box and use the time
drop-down menus and calendar to set the time and date manually.
4.
Click the
Apply
button.
Your settings are saved.
Manage File-Sharing Protocols and Services
You can use Dashboard to enable file-sharing protocols for your entire ReadyNAS system.
For best performance, enable only those file-sharing protocols that you use. For example, if
you do not use Linux or Unix computers to transfer files to and from your ReadyNAS system,
disable the NFS file-sharing protocol. Disable the file-sharing protocols that you do not use to
maximize system memory and improve system performance.
To enable or disable file-sharing protocols for your entire system:
1.
Select
Configure
and scroll down to the Services section.
The Services section indicates which file-sharing protocols are enabled and which are
disabled for your entire ReadyNAS system. A green LED icon indicates that the protocol
is enabled. A gray LED icon indicates that the protocol is disabled.


