Before using for the first time
en
13
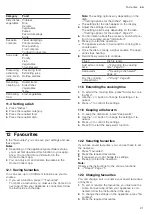
7.2 Initial use
After connecting the appliance to the power supply,
you must configure the settings for its initial start-up. It
may take a few minutes for the settings to appear on
the display.
Notes
¡
You can adjust the settings at any time in the basic
settings.
¡
You can also use Home Connect to configure the
settings. When your appliance is connected, follow
the instructions in the app.
Setting the language
Requirement:
The appliance is connected to the power
supply.
1.
Press to switch the appliance on.
2.
Use the or button to select the language.
3.
Press the required language.
4.
Press to confirm the language.
Setting up Home Connect
Note:
You can skip Home Connect set-up by pressing
"Later". Next, set the clock.
1.
Press "Connect" to set up Home Connect.
2.
Make all other settings for initial start-up in the
Home Connect app.
Setting the time
1.
Use or to select the hours.
2.
Press the minutes.
3.
Use or to select the minutes.
4.
Press
to confirm the time.
Setting the date
1.
Use or to select the year.
2.
Press the month.
3.
Use or to select the month.
4.
Press the day.
5.
Use or to select the day.
6.
Press
to confirm the date.
Setting the water hardness
1.
Use or to select the water hardness range.
"Determining the water hardness before switching
on the appliance for the first time", Page 12
2.
Press
to confirm the water hardness range.
3.
Press "OK" to end the initial start-up.
4.
Open and close the appliance door once.
a
The appliance will perform a self-test, after which it
will be ready to use.
a
The initial start-up is now complete.
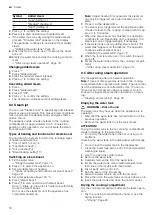
7.3 Calibrating and cleaning the appliance
You will need to calibrate the appliance and clean the
cooking compartment and accessories before using it
to cook food for the first time.
Note:
The boiling point of water depends on the air
pressure. During the calibration process, the appliance
makes adjustments to adapt to the pressure conditions
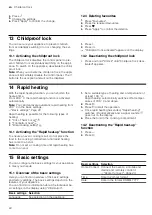
in the location where it is installed.
1.
Remove the product information, accessories and
any leftover packaging (e.g. polystyrene pellets)
from the cooking compartment.
2.
Wipe the smooth surfaces in the cooking compart-
ment with a soft, damp cloth.
3.
Press to switch the appliance on.
"Switching on the appliance", Page 14
4.
Fill the water tank.
"Filling the water tank", Page 15
5.
Note:
Before running the calibration process, allow
the cooking compartment to completely cool down.
Set the required type of heating, temperature and
cooking time for the calibration process and press
to start.
Calibration
Type of heating
Steam
Temperature
100 °C
Duration
30 minutes
a
Calibration starts. This creates a lot of steam.
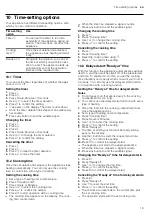
6.
Do not open the appliance door while calibration is
in progress.
Opening the appliance door during calibration will
abort the calibration process. Allow the cooking
compartment to cool down and start the calibration
process again.
7.
ATTENTION!
If there is water on the cooking compartment floor
when operating the appliance at temperatures
above 120 °C, this will damage the enamel.
▶
Do not use the appliance if there is water on the
cooking compartment floor.
▶
Wipe away any water on the cooking compart-
ment floor before operation.
Allow the appliance to cool down and then wipe
away the water from the cooking compartment floor.
8.
Set the required type of heating and temperature for
the heat-up process and press to start.
"Setting the type of heating and temperature",
Heating up
Type of heating
Circo Therm hot air
Temperature
Maximum
Duration
30 minutes
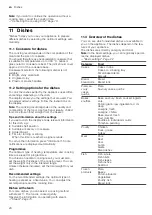
9.
Ventilate the kitchen while the appliance is heating.
10.
Press to switch off the appliance after
30 minutes.
"Switching off the appliance", Page 14
11.
Allow the appliance to cool down.
12.
Clean the smooth surfaces with soapy water and a
dish cloth.
13.
Empty the water tank and dry the cooking compart-
ment.
"After using steam operation", Page 18
14.
Thoroughly clean any accessories you used with
soapy water and a dish cloth.
Note:
The appliance retains the calibration settings,
even in the event of a power cut or disconnection from
the mains.
Содержание B59FS3A 0 Series
Страница 1: ...Combi steam oven User manual and installation instructions B59FS3A 0...
Страница 58: ......
Страница 59: ......


