Time-setting options
en
19
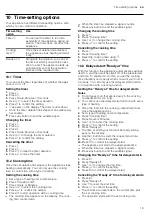
10 Time-setting options
Your appliance has different time-setting options, with
which you can control its operation.
Time-setting
option
Use
Timer
You can set the timer to run inde-
pendently of the appliance during op-
eration. The timer does not affect the
appliance.
Cooking
time
Once the set duration has elapsed,
the appliance stops heating automat-
ically.
Ready at
Along with the duration, you can set
the time at which you want the oper-
ation to end. The appliance starts up
automatically so that the operation
finishes at the required time.
10.1 Timer
You can set the timer regardless of whether the appli-
ance is on or off.
Setting the timer
1.
Press .
2.
Press .
3.
Press Hours, Minutes or Seconds.
4.
Use or to select the timer duration.
5.
Press to confirm the setting.
a
appears on the display. The timer counts down.
a
Once the timer duration has elapsed, an audible sig-
nal sounds.
6.
Press any button to end the audible signal.
Changing the timer
1.
Press .
2.
Press .
3.
Press .
4.
Press Hours, Minutes or Seconds.
5.
Use or to change the timer duration.
6.
Press to confirm the setting.
Cancelling the timer
1.
Press .
2.
Press .
3.
Press to reset the timer duration.
4.
Press to close the timer.
10.2 Cooking time
Once the set duration has elapsed, the appliance stops
heating automatically. You can only use the cooking
time in conjunction with a type of heating.
Setting the cooking time
1.
Set a type of heating and a temperature.
2.
Press "Cooking time".
3.
Press Hours or Minutes.
4.
Use or to select the cooking time.
5.
Press
to confirm the setting.
6.
Press to start operation with a cooking time.
a
The cooking time appears on the display. The cook-
ing time counts down.
a
When the time has elapsed, a signal sounds.
7.
Press any button to end the audible signal.
Changing the cooking time
1.
Press .
2.
Press "Cooking time".
3.
Use or to change the cooking time.
4.
Press
to confirm the setting.
Cancelling the cooking time
1.
Press .
2.
Press "Cooking time".
3.
Reset the cooking time using .
4.
Press
to confirm the setting.
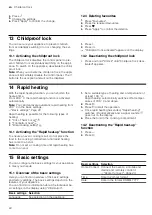
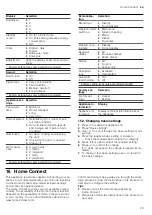
10.3 Delayed start/"Ready at" time
With this function, the appliance automatically switches
itself on, and then switches itself off at the preselected
end time. To enable it to do this, you set the cooking
time (duration) and specify when you want your food to
be ready. You can only use the delayed start function
in conjunction with a heating function.
Setting the "Ready at" time for delayed starts
Notes
¡
Do not leave food that spoils easily in the cooking
compartment for too long.
¡
You cannot use the delayed start function with every
type of heating.
1.
Place the food into the cooking compartment and
close the appliance door.
2.
Set a type of heating and a temperature.
3.
Press "Cooking time".
4.
Press Hours or Minutes.
5.
Use or to select the cooking time.
6.
Press
to confirm the setting.
7.
Press "Ready at".
a
The time at which your food will be ready will ap-
pear on the display.
8.
Use the button to select the required end time.
9.
Press
to confirm the setting.
10.
Press to confirm the delayed start.
a
The appliance will start at the appropriate time.
a
When the time has elapsed, a signal sounds.
11.
Press any button to end the audible signal.
Changing the "Ready at" time for delayed starts
1.
Press .
2.
Press "Ready at".
3.
Use or to change the end time.
4.
Press
to confirm the setting.
5.
Press to confirm the delayed start.
Cancelling the "Ready at" time for delayed starts
1.
Press .
2.
Press "Ready at".
3.
Use to reset the end time.
4.
Press
to confirm the setting.
a
The end time corresponds to the current time plus
the set cooking time.
a
The operation starts with the set cooking time.
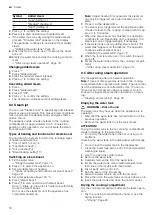
Содержание B59FS3A 0 Series
Страница 1: ...Combi steam oven User manual and installation instructions B59FS3A 0...
Страница 58: ......
Страница 59: ......


