1. Installing Internal Optional Devices
Express5800/B120f User's Guide
45
Chapter 2 Preparations
1.4.2
Removal
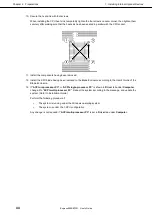
To remove the CPU, first remove the top cover, air duct, and hard disk drive cage referring to
Chapter 2 (1.3.1
Removal of top cover, 1.3.2 Removal of air duct, and 1.3.3 Removal of hard disk
, and then
perform
steps 3 to 10 of
Chapter 2 (1.4.1 Installation
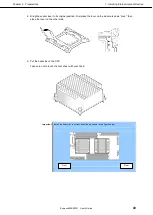
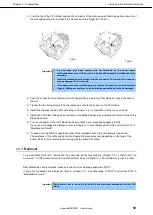
) in the reverse order. To remove the heat sink, slide it a little on the
level and remove it. See the second item of
Important
in below.
Important
•
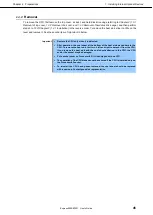
Remove the CPU only when it is defected.
•
After operation, the cool sheet at the bottom of the heat sink may adhere to the
CPU. To remove the heat sink, first turn it left and right to detach it from the CPU.
If you remove the heat sink with the cool sheet adhering to the CPU, the CPU
and/or the socket may be damaged.
•
Put a socket cover on Processor #2 if it is equipped with no CPU.
•
The operation of the CPU blade cannot be secured if the CPU is installed only on
the Processor #2 socket.
•
To reinstall the CPU having been removed, the cool sheet should be replaced
with a new one. Contact you sales representative.

