background image


Page 11 


6.2  Initial Configuration 

Upon initial switch on the LCD will momentarily display (approx. 2 Seconds) the 
SensorMATe welcome screen. This screen contains information on the SensorMATe 
variant and firmware version of the device.  


After the version information has been displayed the user will be prompted to enter 
the current date and time into the unit 


Follow the on screen prompts to enter the date and time using the navigation 
buttons. Momentarily select the “Standby button” to cancel if no timings are 
required. Please note that the time and date can be entered at a later time if 
desired. 

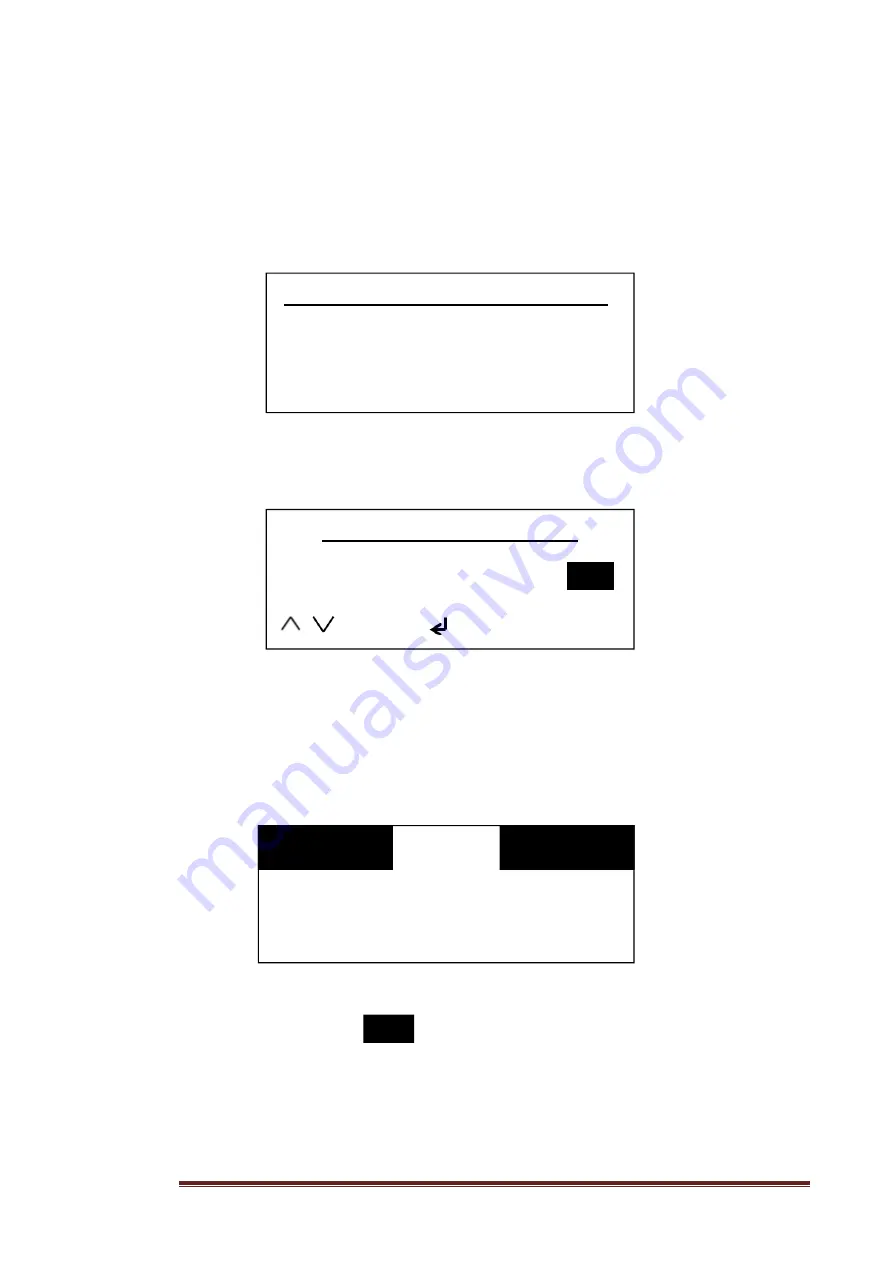
You will then be displayed the 

“Equipment Status”

 menu similar to below: 


Note: If the time and date was not configured the screen will display “Time/date not 
set!” instead of the current date and time. 

The contrast inverted              captions that are displayed in the top LH and RH 
areas of the screen indicate the monitoring status of the two available inputs on 
the device. Once an input has been configured this will change to display one of 
the event conditions as displayed in Chapter 4. 


 Possum SensorMATe VX.XX 

   Copyright <C>Possum 2015 

       <UK English / UK DST> 

Please Set Time & Date 

 Year 


15

...


Change 

 Save  

<

 Cancel 


23

°


Monday  


10:57

02 Mar 15 


Содержание Possum SensorMATe 3

Страница 1: ...Technical Manual SensorMATe 3 Version 1...

Страница 2: ...Page 2 Copyright Possum 2017 SensorMATe 3 Technical Manual Version 1 5th January 2017...

Страница 3: ...8 6 Button operation Menu Navigation 10 12 7 Functionality Explained 13 18 8 Fault Finding Guide 21 9 Refurbishment Instructions 22 10 Declaration of Conformity 23 11 Technical Specification and Appr...

Страница 4: ...mbrane keypad The unit is powered by two alkaline AA batteries The replacement of these items is easily achieved without the need of any hand tools The unit has an integrated real time clock allowing...

Страница 5: ...at pressure sensor kit 035 252 SensorMATe 3 Tyvek double bed kit 035 253 SensorMATe 3 Mylar double bed kit TBA Property exit sensor kit PS1 035 103 Replacement Paper Thin Mats Tyvek X10 035 139 Replac...

Страница 6: ...ng the device and causing possible danger to the user Replace the batteries promptly when the unit starts displaying or transmitting Automatic Low Battery ALB alarms to the receiver unit To avoid unin...

Страница 7: ...tion is detected it will be indicated on the LCD display and also transmitted automatically at a configurable period between 8 Hours to 1 Week The indication of a low battery event is also transmitted...

Страница 8: ...Meaning The input is not in use The input is being monitored and is in the no alarm condition The unit is in night monitoring mode and is currently not monitored Pre Alarm dwell time period Note If th...

Страница 9: ...Page 9 Paper Thin Calibration Main Page Pod Calibration Menu Set bed EMPTY shown Pod Calibration Menu Set bed OCCUPIED shown Pod Calibration Test menu Paper Thin DISCONNECTED prompt Test Menu Display...

Страница 10: ...tionality of the standby button is inhibited if the functionality Always On has been selected in the System settings menu Alarm Mute Stops alarm transmissions on selection Note This button is also use...

Страница 11: ...re required Please note that the time and date can be entered at a later time if desired You will then be displayed the Equipment Status menu similar to below Note If the time and date was not configu...

Страница 12: ...nctionality Status Menu displayed Select Set Time Set Date System Settings Configure Left Input Configure Right Input Room Temp alarm Radio Settings Test Mode Hour and Minute entry See page 13 for con...

Страница 13: ...nitoring of a sensor is required 7 2 Set Date The SensorMATe has the capability to have the correct date programmed into the unit It will then automatically compensate for leap years Having the correc...

Страница 14: ...parameters such as bed absence and dwell times o Falls Prevention Applicable to the RJ12 LH input with the following default parameters Alarm delay tremble set to 1 Second Settings PIN Entry of a fou...

Страница 15: ...y Closed N C or Normally Open N O contacts It also has the capability to carry out resistive measurements which can be used to monitor for enuresis bedwetting occurrences using special mats Figure 1 R...

Страница 16: ...urs throughout the day Day only unit inhibited during the night period Bed usage unit is used during the night period An alarm will be raised should the following events occur o The user does not get...

Страница 17: ...Upscale Alarm The number of transmissions is configurable between 1 and 10 Pressing the Mute Alarm key will stop subsequent transmissions during the repeat cycle 7 4 9 Alarm Rep Del m This function se...

Страница 18: ...installer control of the following functions Enabled Select to Yes to enable and No to inhibit the facility Low Temp C Adjustment for low temp set point between 5 C and 19 C Low Alarm Repeats Configu...

Страница 19: ...ult radio alarm ID allocation Display Meaning Alarm ID1 LH ip Alarm ID for RJ12 Connector left socket Alarm ID2 LH ups Upscale Alarm ID for RJ12 Connector left socket Alarm ID3 RH ip Alarm ID for RJ10...

Страница 20: ...ate that a mat has been soiled with moisture or is in direct contact with human skin Note This facility is not available unless an intelligent sensing pod is plugged into the RJ12 LH Socket The test m...

Страница 21: ...to be used in Enuresis mode this allows a resistive measurement to be made between the mat connections Ensure Date and Time functions are programmed correctly Replace Sensor mat cable with known servi...

Страница 22: ...machine The recommended cleaning method is to wipe the monitor with a disinfectant cleaning tissue such as Clinell wipes Alternatively wipe with a slightly damp cloth then dry it with an antistatic ti...

Страница 23: ...Page 23 10 Declaration of Conformity...

Страница 24: ...Page 24...

Страница 25: ...Configurable between 5 C and 19 C High temp monitor set point Configurable between 21 C and 50 C Storage Temperature Range 0 C to 50 C Operating Temperature Range 5 C to 55 C Storage Humidity Range 30...

Страница 26: ...onnector by a service user or relative etc This prevents the mat from being plugged into a socket which may be disabled or not programmed for the type of sensor connected Prevent ingress of foreign ma...

Страница 27: ...videos pertinent to the SensorMATe 3 product Initial Power up https youtu be bMSOz3voZco Introduction https youtu be lfuuA8EVKH0 Keypad Functionality https youtu be mvG78terz7w Modes of operation htt...

Страница 28: ...Niv6YwYWA1U Paper Thin Calibration https www youtu be OOjuHCvSDik Paper Thin https youtu be 0tXXOHGC4zY Test Page https youtu be 86GAFGscqXw Connectors explained https youtu be uPAdRYQK708 Radio sett...

Страница 29: ...Page 29 Notes...

Страница 30: ...Page 30 14 WEEE Information...

Отзывы: