NCR P1235 e*SmartClock Installation Guide, Ver. 1.1
US-IT Restaurant Architecture Team
Page 23 of 37 12/6/16
Step
Step Description
Pictures
4
Final Steps after Successful Application
Launch
The Installer must perform the following:
•
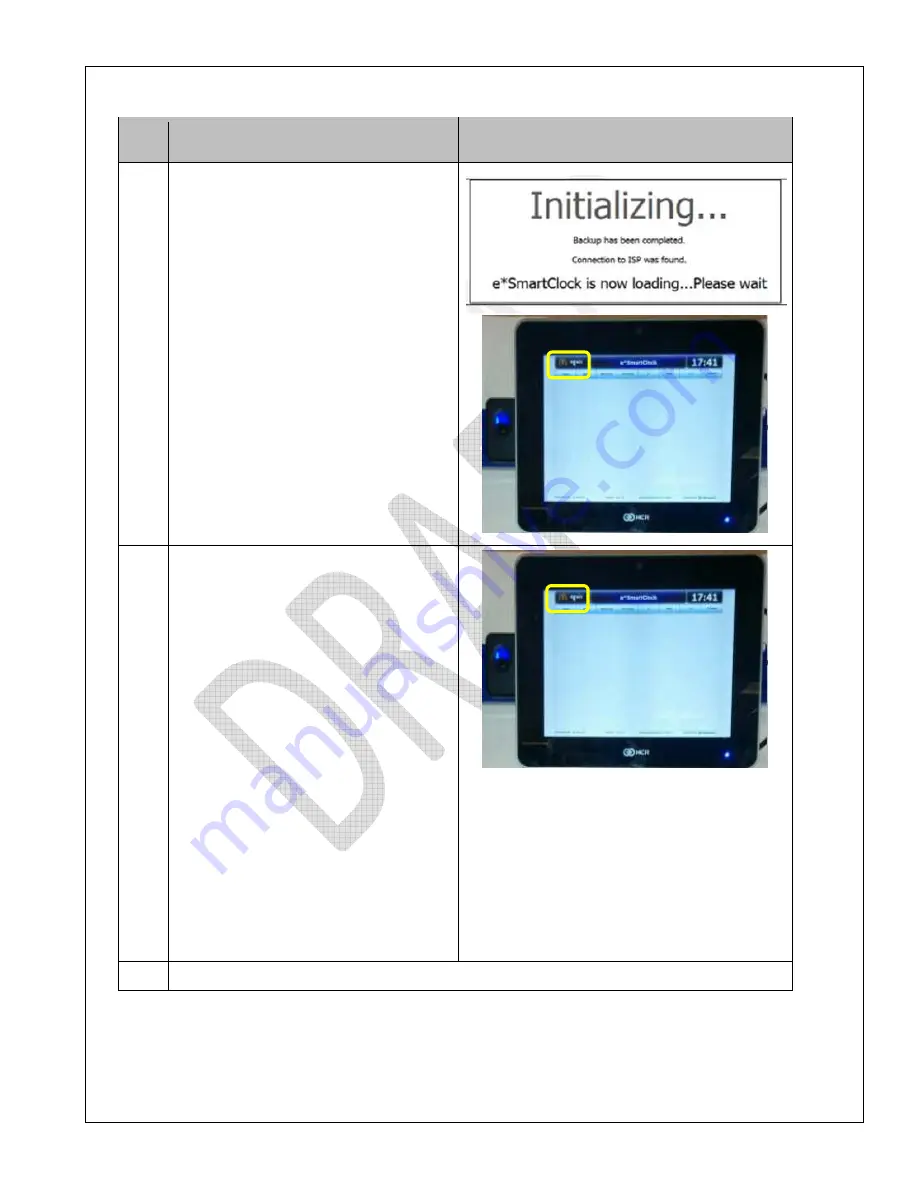
Reboot the e*SmartClock
•
During re-loading, notice the following
text appears on window screen
o
“Initializing….”
o
“Backup has been completed”
o
“Connection to ISP was found”
o
“e*SmartClock is now loading
…Please wait”
•
Ensure biometric reader lights are up
•
Touch “Admin” in the upper left corner
then put a finger on the biometric
reader. You should get a message
“Invalid Employee / An invalid employee
ID or password was entered. Please
enter your ID and password again
Inform store manager e*SmartClock is
installed and ready for use.
5
Printer Configuration (Optional)
If printer is also installed for use with the
e*SmartClock, please follow the below
instructions to configure the printer setup.
These steps are not needed if printer is not
installed.
1. Touch on “
Admin
” in the upper left
corner of the application.
2. Manger Login screen will be displayed
3. Login to e*SmartClock application using
Manger ID and Password
3. Touch on “Close Application” button
4. Application should popup a message
showing “Are you sure you want to close
this application?”
4. Touch “OK” to close the application
5. e*SmartClock System Maintenance
screen will appear
6. Select Printer configuration button.
7. Select EPSON Printer
8. Save and Exit configuration
6
This completes the application start-up process


