NCR P1235 e*SmartClock Installation Guide, Ver. 1.1
US-IT Restaurant Architecture Team
Page 18 of 37 12/6/16
7.5
Software Staging Instructions of a New Install
The Staging instructions cover a first time e*SmartClock installation. For a new installation, the
Installer
should
follow all the steps outlined below.
Step
Step Description
Pictures
e*SmartClock Pre-Staging
1.
Ensure network connections are
connected
2.
Early production units may not have the
image pre-loaded. Use Appendix F and
the Imager 3.5 thumb drive to load the
image
3.
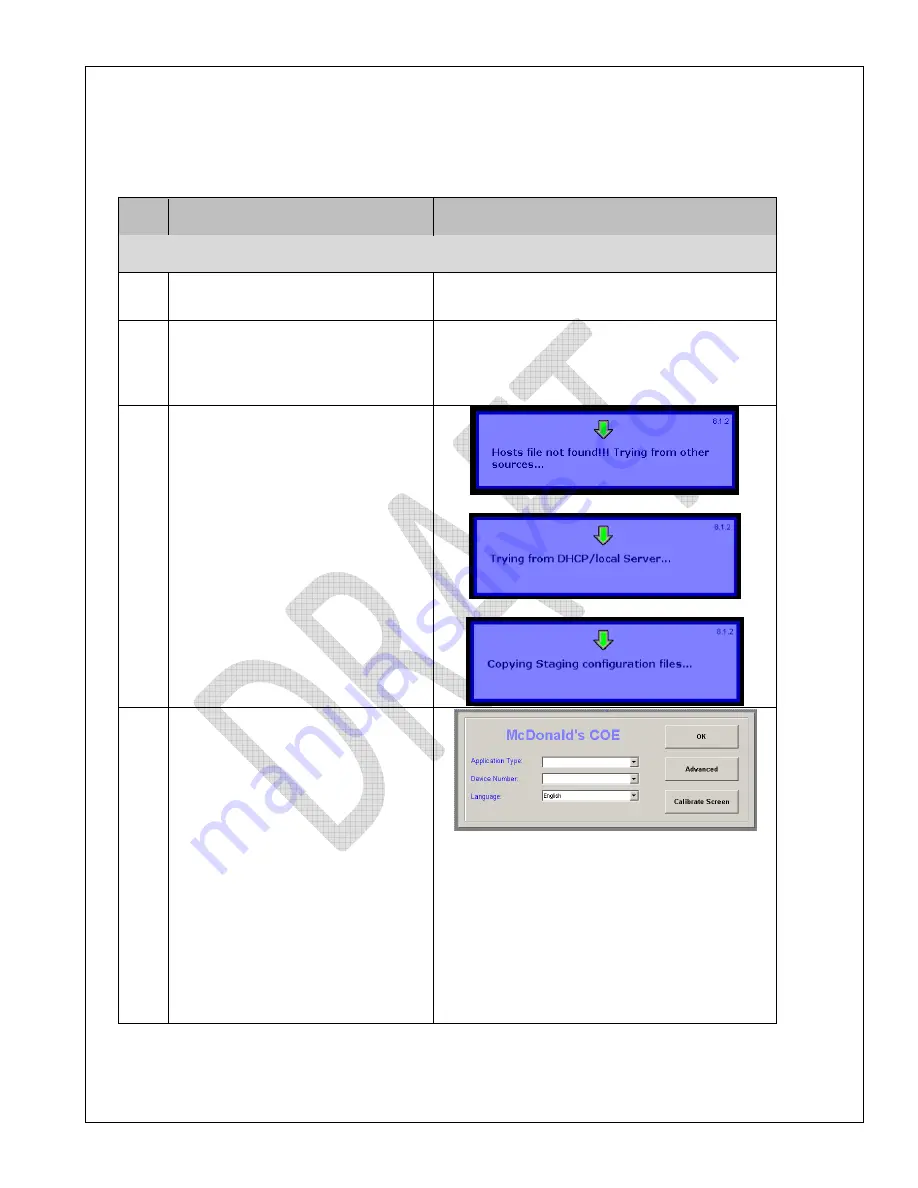
Power ON the e*SmartClock
Notes
:
•
The e*SmartClock will do a normal
Windows boot
•
The application will try to find a
“hosts” file on the restaurant LAN
•
The software staging process should
take 10 – 20 minutes
4.
On successful completion of step-2, the
McDonald’s COE
staging screen should
be shown
If you see ‘
Assign IP address Manually’
screen, it indicates that host network
connectivity may not have found
Verify network LED indicator are
flashing green on the Ethernet port to
ensure network connectivity between
e*SmartClock and POS switch
Once network connection is verified,
reboot the device, If problem still
persists then contact Installation
Support.
e*SmartClock connected to the network


