3-2
Chapter 3: Installing Optional Hardware Features
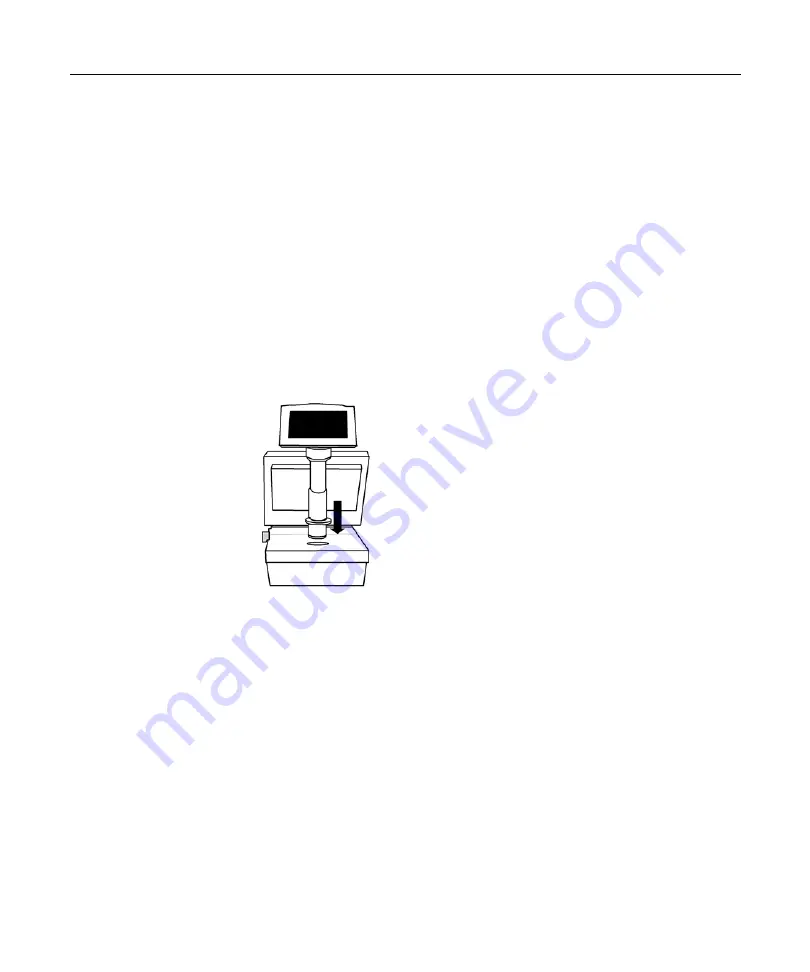
How to Install the 1 line Numeric / 4 line Alphanumeric
Customer Display
Caution: Do not connect the 1/4 line alphanumaric Customer Display to a power
source that is already powered on.
Integrated 1 line Numeric/ 4 line Alphanumeric Customer
Display (Low Profile/ Telescope)
1.
Remove the Integrated Display Bracket from the back of the 1 line
Numeric/ 4 line Alphanumeric Customer Display Cabinet.
2.
Route the display cable through the Telescope Mount, the Low Profile
Mount and the Integrated Display Swivel.
3.
Connect the display cable to the 1 line Numeric/ 4 line Alphanumeric
Customer Display
4.
Remove the Escutcheon on the upper cabinet.
Содержание 7448 Workstation
Страница 1: ...NCR 7448 Workstation Release 1 4 Hardware User s Guide B005 0000 1202 Issue F...
Страница 6: ......
Страница 15: ...xiii...
Страница 16: ......
Страница 45: ...Chapter 2 Workstation Hardware Installation 2 7...
Страница 48: ...2 10 Chapter 2 Workstation Hardware Installation...
Страница 64: ...3 16 Chapter 3 Installing Optional Hardware Features 14 Connect the cable connectors...
Страница 65: ...Chapter 3 Installing Optional Hardware Features 3 17 15 Attach the Hard Disk on the AC bracket...
Страница 72: ...3 24 Chapter 3 Installing Optional Hardware Features...
Страница 122: ...4 50 Chapter 4 Setup How to Perform MSR Test...
Страница 152: ...4 80 Chapter 4 Setup...
Страница 158: ...5 6 Chapter 5 Crisis Recovery 3 Click Next 4 Click Install...
Страница 159: ...Chapter 5 Crisis Recovery 5 7 5 Setup exe will automatically install the software onto the server PC 6 Click Finish...
Страница 180: ...5 28 Chapter 5 Crisis Recovery 2 Double click Network and Dial up Connections 3 Double click Local Area Connection...
Страница 181: ...Chapter 5 Crisis Recovery 5 29 4 Click Properties 5 Select Internet Protocol TCP IP and click Properties...
Страница 202: ...5 50 Chapter 5 Crisis Recovery...
Страница 213: ...Appendix A BIOS A 11...
Страница 232: ......
Страница 239: ...Appendix B B 7 4 Click Next 5 Select a setup type Typical type Compact type or Custom Type and then click Next...


