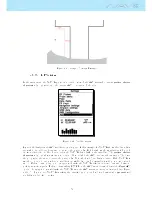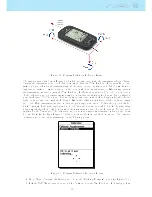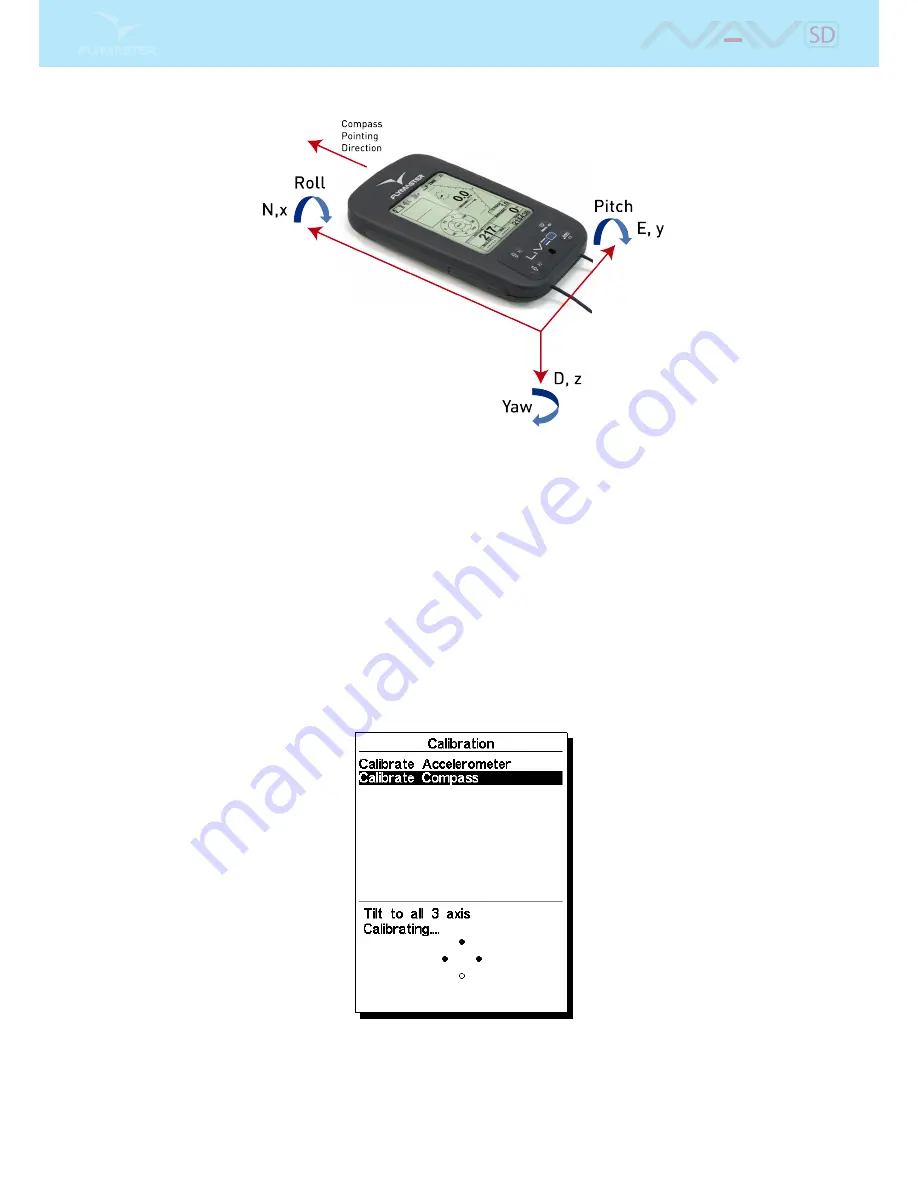
Figure 8.2: Compass Calibration Reference Frame
The magnetometer has 3 axes (Figure
8.2
) which are associated with the instrument reference frame.
Turning the instrument around each of the 3 axes will change the Yaw, Pitch and Roll angles. In order to
make a proper calibration the instrument should be turned/rotated slowly in each of the 3 axis. It is not
important to make a complete rotation, or the order in which the turns are made. What is important is
that instrument is rotated to vary the Yaw, Pitch and Roll from an angle near -90°to +90°. An indication
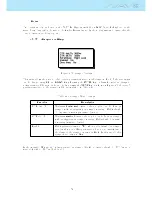
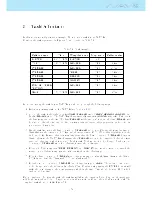
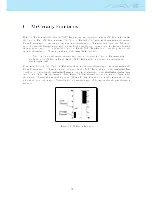
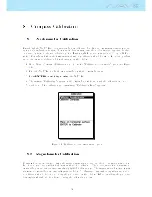
of the calibration procedure state is given using 4 circles that are shown at the bottom of the calibration
page (see Figure
8.3
). The top and bottom circles are associated with the Pitch angle, while the left and
right circles are associated with the Roll angle. When the calibration is initiated all the circles are empty
(no color). If the instrument is rotated so that the pitch angle gets close to -90°then the top circle is lled
black. Similarly, if the pitch angle gets close to +90°then the bottom circle is led black. The same thing
happens with the left and right circles when the instrument is rotated for the Roll angle. No indication
is given for the Yaw angle. The calibration procedure is automatically terminated when all the circles
become black. In the gure Figure
8.3
all the circles are black except the bottom one. The complete
calibration procedure can be summarized in the following points:
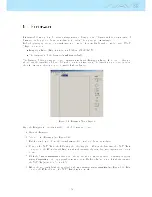
Figure 8.3: Compass Calibration Indication Points
1. Go to Menu->Settings->Calibration and choose the "Calibrate Compass" option (see Figure
8.3
);
2. Pick the NAV SD and turn it around all the 3 axis in order the Yaw, Pitch, and Roll angles go from
62
Содержание Flymaster NAV SD
Страница 1: ...User manual Version 3 0...
Страница 54: ...Figure 4 42 GPS Reset 53...
Страница 66: ...Figure 9 2 Firmware Update Done 65...

