4.1.1 Waypoints Actions Menu
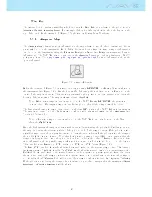
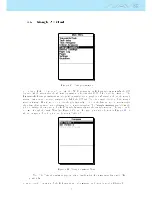
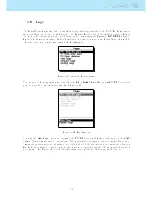
On entering the waypoint actions menu (WAM) the selected waypoint becomes grayed indicating that
waypoint specic actions will be carried out using the selected waypoint. Once the WAM is active a list
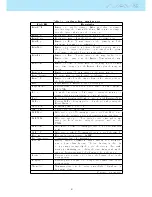
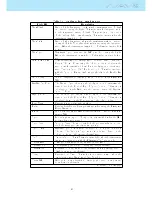
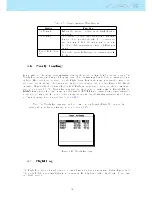
of options appears in the DO area. A short description of each option is show in Table
4.2
.
Table 4.2: Waypoint Menu Options
Action
Description
Add WP to Task
Adds the selected waypoint to the end of the Task.
Insert New WP
Starts a new waypoint entry. The current location is automatically
used for default waypoint data.
Edit WP
Start editing the selected waypoint.
Delete WP
Delete the selected waypoint. If the waypoint is being used in the
Taskthis option is disabled.
Delete
all
way-
points
Deletes all waypoints and Task.
Go to Point
Forces navigation to the selected waypoint. This overrides the
task navigation.
Edit Task
Starts editing Task. If no waypoints have been added to the task
this option is disabled.
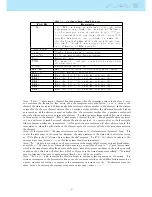
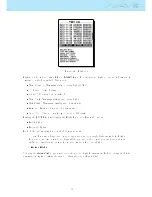
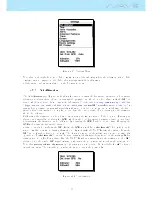
Add Waypoint to Task
To add a waypoint to the Task, select the waypoint that is to be added by pressing either the UP or
DOWN buttons until the desired waypoint is highlighted. Pressing the ENTER button will add the point
onto the TL on the right, at this moment the task point options for the newly added waypoint will appear
in the DO area, allowing to set several aspects of the task point (these can also be edited later).
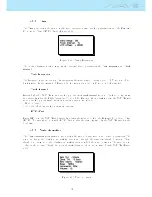
Insert New Waypoint
This menu allows the user to add a new waypoint to the waypoint list. If the GPS is x, then the
co-ordinates and altitude used for the waypoint are based on the current position.
Edit Waypoint
Entering this menu allows the properties of the selected waypoint to be changed. The name of the waypoint
can be changed, along with the elevation, lattitude, longitude and if the waypoint is to be designated as
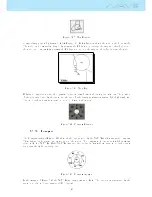
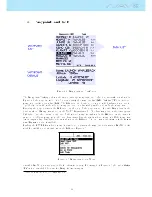
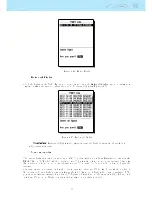
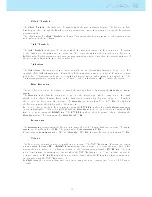
a landing eld. To change any of the properties of the waypoint, rst select the waypoint. Pressing S2
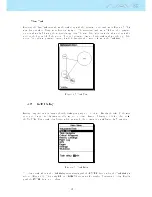
pulls up the menu allowing the waypoint to be edited. Pressing the S2 button again will show a cursor as
shown in Figure
4.4
, indicating the character to edited. Characters can be changed using either the S3 or
S4 buttons. Pressing the S2 button will move the cursor to the next charater.
23
Содержание Flymaster NAV SD
Страница 1: ...User manual Version 3 0...
Страница 54: ...Figure 4 42 GPS Reset 53...
Страница 66: ...Figure 9 2 Firmware Update Done 65...

