© National Instruments
|
1-9
Note
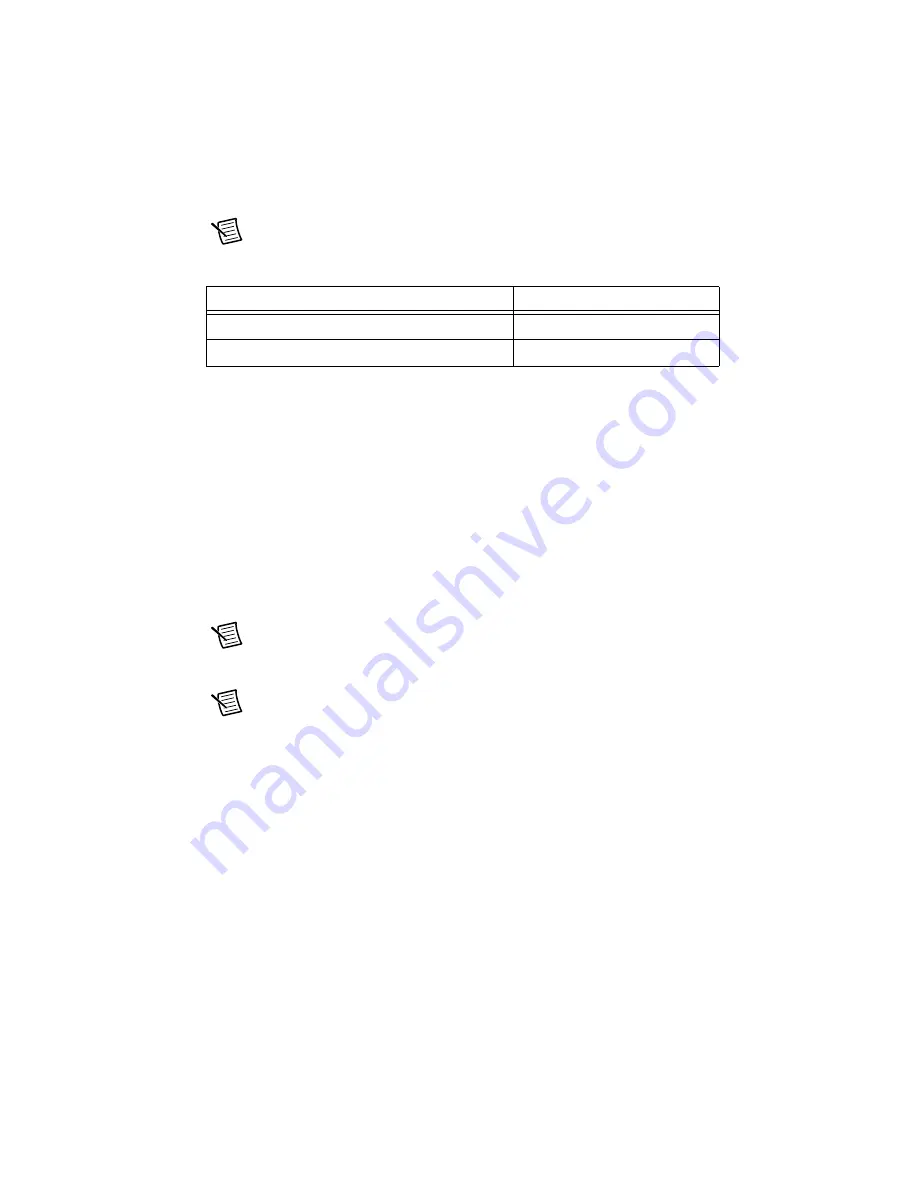
Table 1-2 lists the earliest supported driver version for each cDAQ controller
for LabVIEW for Real-Time.
The NI-DAQmx driver software is included on the disk shipped with your kit and is available
for download at
. The documentation for NI-DAQmx is available after
installation from
Start»All Programs»National Instruments»NI-DAQ
. Other NI
documentation is available from
4.
Power on the host computer and connect it to an Ethernet network.
5.
Mount the cDAQ controller to a panel, wall, or DIN rail, or attach the desktop mounting
kit, as described in the
6.
Attach a ring lug to a 1.31 mm
2
(16 AWG) or larger wire. Remove the ground screw from
the ground terminal on the front panel. Attach the ring lug to the ground terminal and
tighten the grounding screw to 0.5 N · m (4.4 lb · in.) of torque. Attach the other end of the
wire to chassis safety ground using a method appropriate for the application, as shown in
Figure 1-2. Refer to the
section for more information about earth
ground.
Note
If you use shielded cabling to connect to a C Series module with a plastic
connector, you must attach the cable shield to the chassis grounding terminal using
1.31 mm
2
(16 AWG) or larger wire. Use shorter wire for better EMC performance.
Note
Make sure that no I/O-side power is connected to the module. If the controller
is in a nonhazardous location, the controller power can be on when you install
modules.
7.
Align the module with a cDAQ controller slot. The module slots are labeled 1 to 8, left to
right.
8.
Squeeze the latches and insert the module into the module slot, and press firmly on the
connector side of the module until the latches lock the module into place.
Repeat these steps to install additional modules.
Table 1-2.
cDAQ Controller NI-DAQmx Software Support
cDAQ Controller
Earliest NI-DAQmx Support
NI cDAQ-9138 for LabVIEW Real-Time
NI-DAQmx 9.6
NI cDAQ-9139 for LabVIEW Real-Time
NI-DAQmx 9.6


