1-6 Basic Scanning
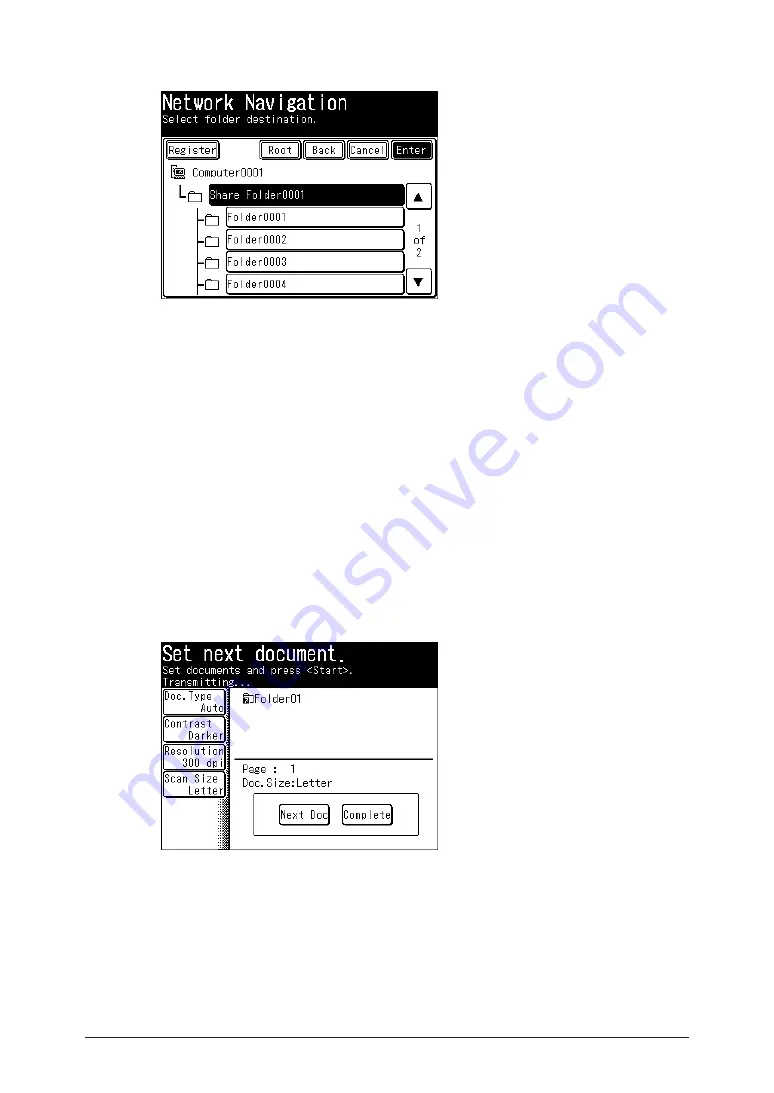
Specify the shared folder to save the data to, and press [Enter].
5
Press [Root] to return to the list of computers or networks.
•
Press [Back] to return to the previous screen.
•
Press [Cancel] to close the screen.
•
Repeat steps 4 to 5 to specify all the destinations.
6
You can also specify e-mail addresses, FTP servers, user boxes, and the shared box as
•
destinations.
To confirm a specified destination, press [Location]. For details on confirming destinations,
•
refer to “
Confirming Specified Destinations
”.
Press <Start>.
7
If you selected a destination from the list of shortcuts, this step is not required.
•
If you loaded the document in the ADF, this concludes the procedure.
•
If you loaded the document on the document glass, load the next document, and
8
press [Next Doc].
To finish scanning, press [Complete].
Repeat step 8 to scan all the documents.
9
To finish scanning, press [Complete].
Содержание MFX-2550 Guide
Страница 9: ...viii How to Read This Manual ...
Страница 85: ...2 52 2 52 ...
Страница 167: ...4 20 Various Fax Functions Press Print 44 Press Yes 55 Printing the Stored Document List Press Setting 11 Press List 22 ...
Страница 200: ...1 2 3 4 Advanced Fax Functions Security Functions 4 53 Use the numeric keys to enter the PIN number 44 and press Enter ...
Страница 229: ...4 82 4 82 ...
Страница 249: ...5 20 Confirming Specified Destinations ...
Страница 257: ...6 8 Managing the Communication History Press Fax Settings 33 Press Other Settings 44 Press Auto Print Journal 55 ...
Страница 265: ...6 16 Managing the Communication History ...


