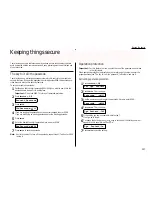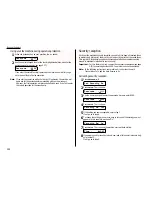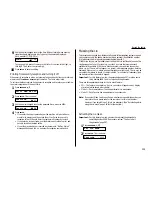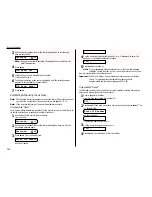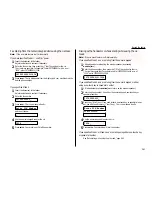
Creating the
RS
-232
C
settings
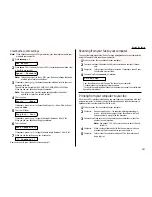
Note: If you choose the wrong
RS
-232
C
parameters, your fax machine cannot com-
municate your computer.
1
Press
PROGRAM
,
L
, 2,
2
Press
ENTER
. The
LCD
shows the fax’s
RS
-232
C
transmission speed (baud rate)
in bps (bits per second):
Note: This setting is just for the
RS
-232
C
port. It does not change the speed
at which your machine sends faxes.
3
If necessary, press
or
to choose the appropriate baud rate for your com-
puter and software.
The settings are: Variable, or 600, 1200, 2400, 4800, 9600 or 19200 bps.
When you see your desired setting, press
ENTER
.
Note: If using any of the Muratec-tested packages other than either
HydraFax or LaserFax, select Variable.
4
The
LCD
shows:
If necessary, press
or
to choose the data parity — None, Odd, or Even —
and press
ENTER
.
5
The
LCD
will show:
If necessary, press
or
to toggle the stop bit between 1 bit or 2 bit.
When you see your desired setting, press
ENTER
.
6
The
LCD
shows:
If necessary, press
or
to toggle the data length between 7 bit or 8 bit.
7
When you see the setting you want, press enter.
Now you are set to scan, transmit, receive and print!
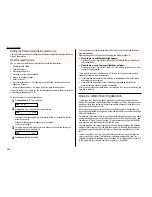
Scanning from your fax to your computer
You can store logos, signatures, line art or even photographs onto your computer by
using the fax machine to scan to your computer:
1
Make sure your fax is connected to your computer.
2
Fax machine: Insert the document. Adjust resolution and contrast if neces-
sary.
3
Computer:
Instruct your fax software to receive. If necessary, consult your
fax software’s instructions.
4
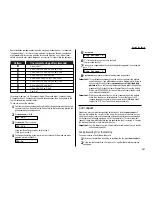
Fax machine: Press
PROGRAM
,
L
, 1,
ENTER
.
Your fax software now will “receive” the fax onto your computer.
To cancel scanning in progress, just press
STOP
.
(To cancel the command after scanning the document, consult your software’s
operating instructions.)
Printing from your computer to your fax
With the
RS
-232
C
interface installed, you can now team your fax machine with your
personal computer for direct printing of letters, graphics and other business corre-
spondence from your computer’s hard disk drive:
1
Make sure your fax is connected to your computer.
2
Computer:
Use your application — for example, a word-processing pro-
gram — to send the document to your fax software, just as if
you were actually going to fax the document.
3
Fax machine: Make sure that you have stored your subscriber
ID
(your fax
number) on your machine.
Note: See pages 1.12–1.14, for more on how to enter the sub-
scriber
ID
.
4
Computer:
When the fax software asks for the fax number to which you
are sending the document, enter your subscriber
ID
.
5
Computer:
Instruct your fax software to transmit. The fax machine will
begin to print.
PC-FAX Scan
** Complete **
Data Length:7bit
Stop Bit : 1bit
Parity :None
Speed : Variable
Set RS232C
Beyond the basics
2.51
Содержание F-65
Страница 1: ...Operating Instructions For Muratec s F 65 plain paper fax machines ...
Страница 3: ...Welcome ...
Страница 8: ...Getting started A quick and friendly trip through the basics of your Muratec fax machine ...
Страница 35: ...Beyond the basics We ve covered the musts Now let s explore the goodies ...
Страница 107: ...Just in case 3 19 ...
Страница 108: ...Appendix and index ...

