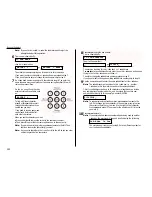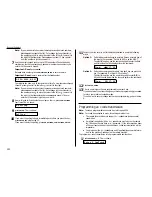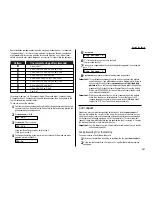
Note: If you make a mistake or want to erase previously entered numbers,
press
CANCEL
to erase to the left. Or to change just one character in
the number, press
to move the cursor to the left, or
to move it to
the right, to that character. Press
CANCEL
to erase it. Then re-enter
until the number is just as you want it.
7
Use the numeric keypad to enter up to 120 fax numbers. These can be any
combination of other one-touch keys, speed-dial numbers and numbers you
enter with the numeric keypad.
Important: Do not press
ENTER
.
Between each number, press
COM
-
OPTIONS
,
ENTER
to enter a comma.
Important: Do not insert a comma after the last number.
Your display can show only 16 characters at a time. To view characters beyond
those 16, press
to scroll to the left or
to scroll to the right.
Note: If you make a mistake or want to erase previously entered numbers,
press
CANCEL
to erase to the left. Or to change just one character in
the number, press
to move the cursor to the left, or
to move it to
the right, to that character and press
CANCEL
to erase it. Then re-
enter until the number is just as you want it.
8
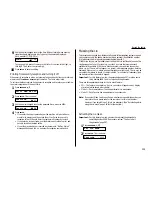
Now, while you still can see the fax number on the
LCD
, press
COM
-
OPTIONS
four times. The
LCD
shows:
9
press
ENTER
. The
LCD
shows:
10
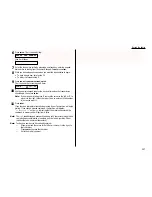
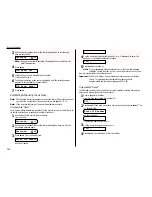
If you want the polling to begin immediately every time you press the key,
press
ENTER
and skip to step 13.
If you want to delay the polling, press
COM
-
OPTIONS
,
COM
-
OPTIONS
,
ENTER
.
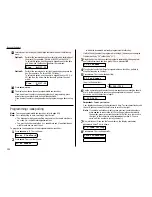
11
Instruct your fax to carry out this delayed command in one of the following
ways:
Option 1:
Perform the command once at a certain time on a certain day of
the month. (For example, “Do this at 5:05
PM
on the 30th.”)
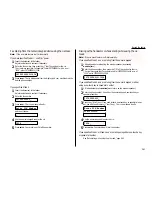
To select this option, use the numeric keypad to enter the date
and time when the fax should perform the command:
Option 2:
Perform the command at a certain time each day you press the
key. (For example, “Do this at 5:05
PM
today.”)
To select this option, use the numeric keypad to enter 0, 0 (i. e.,
00), and then the time when the fax could perform the command:
12
Press
ENTER
,
ENTER
.
13
The
LCD
now displays the next programmable one-touch key.
If you do not want to enter or change any other key’s programming, press
STOP
to return your machine to standby mode.
If you do want to enter or change another key’s programming, go back to step
4.
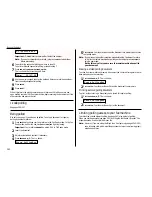
Programming an
F
-code transmission
Note: To erase a programmable one-touch key, refer to page 2.36.
Note: For
F
-code transmission to occur, three things must be true:
• The remote fax machine must support
ITU
-
T
subaddress (and password)
capabilities.
• A mailbox(
F
-code box) with an
ITU
-
T
subaddress must exist on the remote
fax. (It does not have to have a
ITU
-
T
password.) If the other machine does-
n’t have at least one box with a subaddress,
F
-code communication will be
impossible.
• You must know the
ITU
-
T
subaddress and (if applicable) password informa-
tion for the mailbox (
F
-code box) on the remote machine.
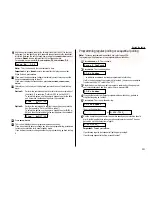
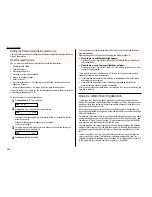
To program an
F
-code transmission into a programmable one-touch key:
1
Press
PROGRAM
,
C
, 1. The
LCD
shows:
Enter P OneTouch
Time: 00/17:05
Time: 30/17:05
Polling
4.Polling
9-555-0692,A,S01
Beyond the basics
2.32
Содержание F-65
Страница 1: ...Operating Instructions For Muratec s F 65 plain paper fax machines ...
Страница 3: ...Welcome ...
Страница 8: ...Getting started A quick and friendly trip through the basics of your Muratec fax machine ...
Страница 35: ...Beyond the basics We ve covered the musts Now let s explore the goodies ...
Страница 107: ...Just in case 3 19 ...
Страница 108: ...Appendix and index ...


