Multi-Tech Systems, Inc. RouteFinder RF802EW User Guide
Chapter 3 - Software Installation and Configuration
19
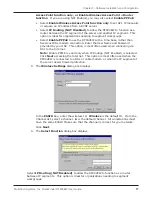
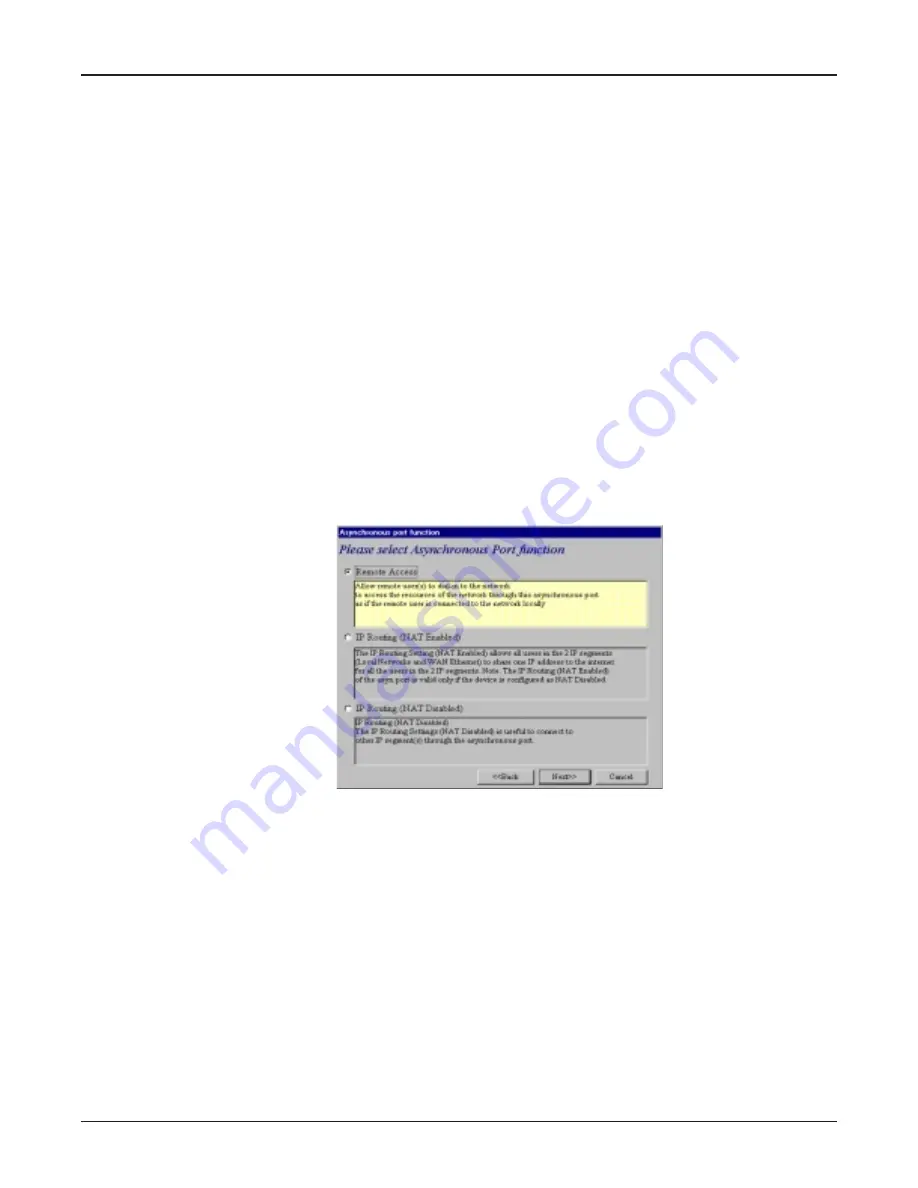
Select
IP Routing (NAT Enabled)
to allow all users in the two IP segments (LAN
and WAN Ethernet) to share one IP address to the Internet. You may also select this
option to use the serial async port for dial backup in the event the DSL or cable
modem becomes unavailable.
Select
IP Routing (NAT Disabled)
to connect other IP segments through the serial
async port. See the IP Routing instructions continue on page 26.
Note:
The IP Routing (NAT Enabled) feature of the serial async port is valid only if
the WAN port is configured as NAT Disabled.
Click
Next
.
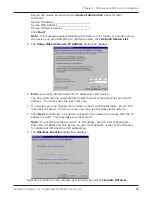
Remote Access
You must define the location of your remote user account database by selecting
Use Local Client
List
or
Use RADIUS Server
.
Note:
The Local Client List allows you to add a maximum of 64 users.
Use Local Client List
Use Local Client List allows you to create an authentication database consisting of user names,
passwords and dial-in options for each remote user. You must provide the following information for
each client:
User Name
Enter the User Name to authenticate the remote dial-in user.
Password
Enter the Password to authenticate the remote dial-in user. Passwords are limited to 16 characters.
Password Verification
Re-enter the remote dial-in user’s password.
Callback Type
Select one of the following three callback options for each remote client:
•
No Callback
: Select this option to allow the remote user to immediately connect to the network
after being authenticated. This is the default setting.
•
Fixed Callback
: This option allows you to specify a fixed callback telephone number for the
user. After the PPP negotiation, the device will disconnect, then callback the telephone number
you entered. This option is best used for clients requiring callback security while dialing-in from
the same location each time.
Содержание RouteFinder RF802EW
Страница 1: ...Model RF802EW Wireless Router Access Point User Guide ...
Страница 5: ...Chapter 1 Introduction ...
Страница 10: ...Chapter 2 Hardware Installation ...
Страница 13: ...Chapter 3 Software Installation and Configuration ...
Страница 24: ...Chapter 4 Web Browser Configuration and Management ...
Страница 47: ...Chapter 5 Telnet ...
Страница 54: ...Chapter 6 RouteFinder Manager ...
Страница 84: ...Chapter 7 RouteFinder Monitor ...
Страница 93: ...Chapter 8 LAN Client Settings ...
Страница 116: ...Chapter 9 LAN to LAN Settings ...
Страница 119: ...Chapter 10 Troubleshooting ...
Страница 123: ...Chapter 11 Service Warranty and Technical Support ...
Страница 130: ...Appendixes Appendix A Appendix B Appendix C ...
Страница 135: ...Glossary ...


