104
Chapter 8 - LAN Client Settings
Multi-Tech Systems, Inc. RouteFinder RF802EW User G
uide
Accessing a Novell Server
Novell NetWare products are used on up to 70 percent of PC-based local area networks (LANs).
Perform the following procedures when you need to connect your PC workstation to a remote Novell
Server.
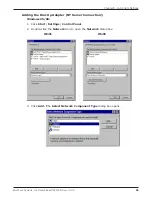
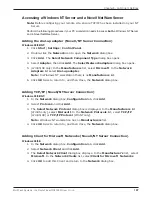
Adding the dial-up adapter (Novell Server Connection)
Windows 95/98:
1. Click
Start
|
Settings
|
Control Panel
.
2. Double-click the
Network
icon to open the
Network
dialog box.
3. Click
Add
. The
Select Network Component Type
dialog box opens.
4. Select
Adapter
, then click
Add
. The
Select Network adapters
dialog box opens.
5. In the
Manufacturers
list, select
Microsoft
. In the
Network Adapters
list select
Dial-up adapter
.
6. Click
OK
twice to return to, and then close, the
Network
dialog box.
Windows NT:
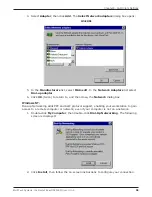
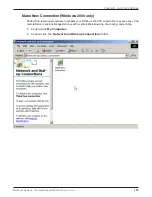
Dial-up Networking adds PPP and SLIP protocol support, enabling your workstation to gain access to
a remote computer or network, even if your computer is not on a network.
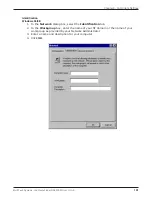
1. Double-click
My Computer
, then double-click
Dial-Up Networking
. The following
screen is displays:
2. Click
Install
, then follow the on-screen instructions to configure your connection.
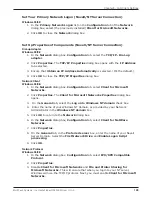
Adding IPX/SPX (Novell Server Connection)
Windows 95/98:
1. In the
Network
dialog box,
Configuration
tab, click
Add
. The
Select Network
Component
Type
dialog box opens.
2. Select
Protocol
and click
Add
. The
Select Network Protocol
dialog box opens.
3. In the
Manufacturers
list, select
Microsoft
. In the
Network Protocols
list, select
IPX/SPX-compatible Protocol
.
4. Click
OK
twice to return to, and then close, the
Network
dialog box.
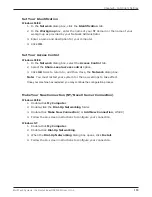
Windows NT:
Note:
NWLink IPX/SPX Compatible Transport is probably already installed, along
with NWLink NetBIOS and TCP/IP Protocol. However, if NWLink IPX/SPX Compatible
Transport does not appear on the
Protocols
tab of the
Network
dialog box,
perform the following steps:
1. In the
Network
dialog box,
Protocol
tab, click
Add
. The
Select Network Protocol
dialog box opens.
2. Select
NWLink IPX/SPX Compatible Transport
,
then click
OK
to return to the
Network
dialog box.
3. Click
Close
to close the
Network
dialog box and return to the Desktop.
Содержание RouteFinder RF802EW
Страница 1: ...Model RF802EW Wireless Router Access Point User Guide ...
Страница 5: ...Chapter 1 Introduction ...
Страница 10: ...Chapter 2 Hardware Installation ...
Страница 13: ...Chapter 3 Software Installation and Configuration ...
Страница 24: ...Chapter 4 Web Browser Configuration and Management ...
Страница 47: ...Chapter 5 Telnet ...
Страница 54: ...Chapter 6 RouteFinder Manager ...
Страница 84: ...Chapter 7 RouteFinder Monitor ...
Страница 93: ...Chapter 8 LAN Client Settings ...
Страница 116: ...Chapter 9 LAN to LAN Settings ...
Страница 119: ...Chapter 10 Troubleshooting ...
Страница 123: ...Chapter 11 Service Warranty and Technical Support ...
Страница 130: ...Appendixes Appendix A Appendix B Appendix C ...
Страница 135: ...Glossary ...


