EXPC-1319 Series Hardware
Hardware Installation
2-9
WARNING
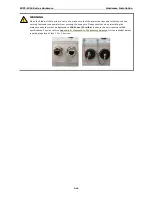
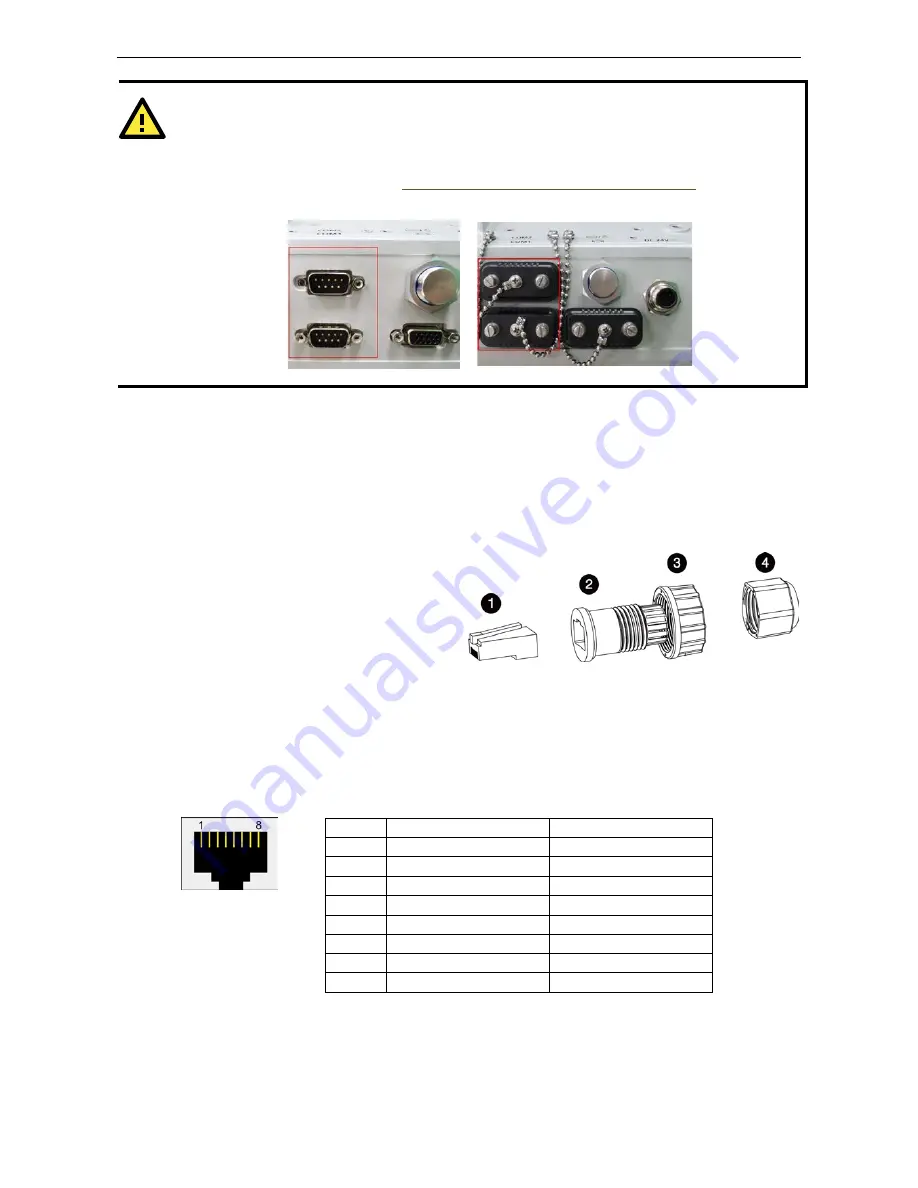
When the serial ports are not in use, make sure that the protective caps and the tethers have been securely
fastened to keep water from entering the enclosure. Please note that when reinstalling the protective caps
the screws which keep them in place must be tightened to 136 N-cm (12 in-lbs) to ensure the unit is sealed
to IP66 specifications. You may refer to
Appendix B: Statement of Regulatory Approval
for the technical
details regarding regulation Class 1 Div. 2 devices.
Connecting LAN Ports
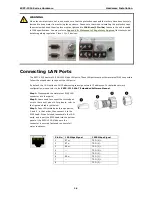
The EXPC-1319 has two 10/100/1000 Mbps LAN ports. These LAN ports come with waterproof RJ45 connectors.
Follow the steps below to connect the LAN ports.
By default, the LAN ports use DHCP addressing to assign network IP addresses. For detailed network
configuration, please refer to the EXPC-1319 Win 7 Embedded Software Manual.
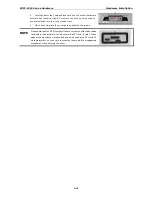
Step 1: Disassemble the waterproof RJ45 LAN
connector into four parts.
Step 2: Users need to connect the twisted pair
wire to the correct pinouts. For pinouts, refer to
the figure and table just below.
Step 3: Pass LAN twisted pair through parts 4,
3, and 2, in that order, then connect it to the
RJ45 head. When finished, reassemble the LAN
parts, and insert the RJ45 head into the bottom
panel of the EXPC-1319. Make sure the
connector is securely fastened to ensure full
water resistance.
Pin No. 100 Mbps Signal
1000 Mbps Signal
1
ETx+
TRD (0)+
2
ETx-
TRD (0)-
3
ERx+
TRD (1)+
4
--
TRD (2)+
5
--
TRD (2)-
6
ERx-
TRD (1)-
7
--
TRD (3)+
8
--
TRD (3)-

