


26
English
5)
To save a station and to call up a sta
tion saved:
The procedure for saving
a station and for calling up a station
saved is the same as in the operating
mode “Internet radio”:
☞
steps 4 and
5 in chapter 4 .1 .
6)
To remove inactive stations from the
station list:
Stations that currently do
not broadcast signals can be removed
from the station list: Press the button
MENU, select the line
Prune invalid
and then confirm your selection . In
the following confirmation prompt,
select
YES
.
7)
To define the order of stations in the
station list:
Press the button MENU,
select the line
Station order
and
confirm your selection . The following
options are available:
A lphanumeric
= All stations are
sorted in alphanumeric order .
E nsemble
= All stations are sorted
by channels; multiple stations are
received for each channel .
V alid
= First, all channels that cur-
rently broadcast signals are listed in
alphanumeric order . Then the sta-
tions that currently do not broadcast
signals are listed .
The current setting is indicated by an
asterisk
*
. Select and confirm the set-
ting desired .
8)
To compress the dynamic range:
For
some programmes, the dynamics of
the audio signal can be compressed:
The volume of quiet sounds will be
increased and loud sounds will be
attenuated (ideally suited for back-
ground music, for example) . Press
the button MENU; select the line
DRC
(Dynamic Range Control) and confirm
your selection . The following options
are available:
DRC high
= high level of compression
DRC low
= low level of compression
DRC off
= no compression
The current setting is indicated by an
asterisk
*
. Select and confirm the set-
ting desired .
Note:
The DRC setting will have no ef-
fect on the audio signal when no data
for compression are sent along with the
programme .
4.3 FM radio
1) Press the button MODE repeatedly
until
FM radio
is shown on the dis-
play . The FM station most recently
listened to will be played or, if the
operating mode is called up for the
first time, the first FM reception fre-
quency possible .
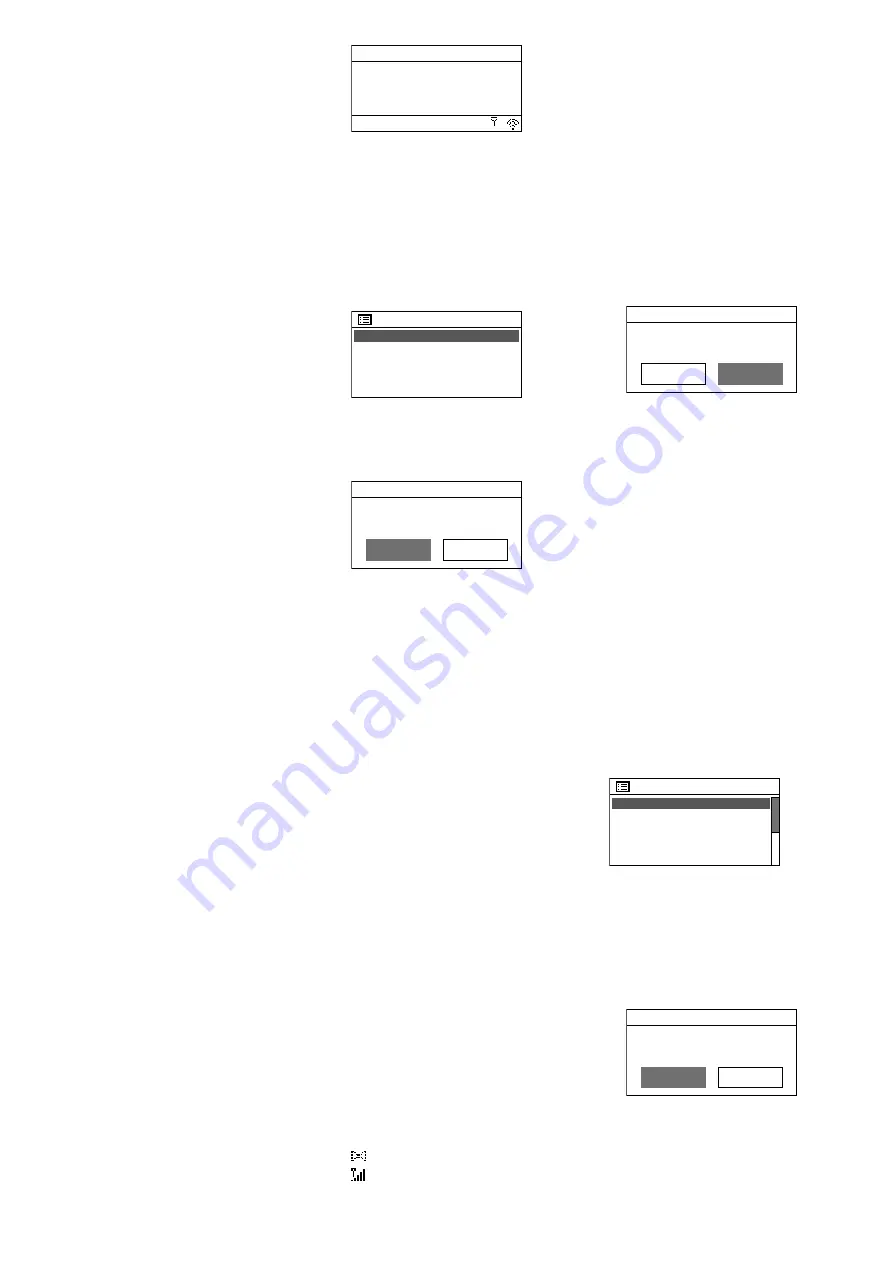
87.50MHz
FM
12:45
Fig. 37
If the mode is called up for the first
time, all stations must be scanned and
saved first (steps 3 and 4) .
2)
To change the scan setting:
The scan
is factory-set to only stop at stations
with good reception . For the auto-
matic scan to stop at stations with
poor reception, press the button
MENU . The menu “FM” will appear:
FM
Scan
setting
Audio setting
System settings
Main menu
>
>
>
Fig. 38
Scan setting
will be selected . Press
the knob CONTROL SELECT . The fol-
lowing confirmation prompt will ap-
pear:
FM station scan
Strong stations only?
NO
YES*
Fig. 39
Turn the knob CONTROL SELECT to
select the setting
NO
and then press
the knob to confirm .
3)
Station scan:
Press the knob CONTROL
SELECT: The scan will start at the fre-
quency shown and will stop at the
first station . (If required, turn the knob
CONTROL SELECT for a fine adjust-
ment of the frequency in 50 kHz incre-
ments .) To search for the next station,
press the knob again . To change the
direction of the scan, turn the knob
briefly into the direction desired (left
= reverse scan; right = forward scan)
before you start the scan .
To start the scan via the remote
control, keep the button
I
(forward
scan) or
I
(reverse scan) pressed
until the scan starts .
Indication during replay:
If the station
broadcasts RDS information (Radio
Data System,
R
.
D
.S
indicated), the
display will show the station name in-
stead of the frequency (this may take
a few minutes) . Some stations also
provide information concerning the
programme and /or current music title .
Press the button INFO repeatedly to
show more information . The symbols
in the lower line have the following
meaning:
Replay in stereo mode
Indication of the signal strength
received
4)
To save a station and to call up a sta
tion saved:
The procedure for saving
a station and for calling up a station
saved is the same as in the operating
mode “Internet radio”:
☞
steps 4
and 5 in chapter 4 .1 .
5)
Replay in mono mode:
To reduce the
noise of stations with poor reception,
select the mono mode: Press the but-
ton MENU . The menu “FM” will ap-
pear on the display (fig . 38) . Select
and confirm
Audio setting
. The
following confirmation prompt will
be shown:
YES
FM weak reception
Listen in Mono only?
NO*
Fig. 40
Select and confirm the setting
YES
.
Then all stations will be replayed in
mono mode .
4.4 Music player
The music player is able to replay audio
files in the formats MP3, AAC /AAC+,
WMA, WAV or FLAC from a USB stor-
age medium (USB flash drive or USB hard
disk) or from a unit in the local network
(e . g . computer) .
Note:
Due to the large number of storage
device manufacturers and device drivers, it
cannot be guaranteed that all storage media
are compatible with the music player .
Press the button MODE repeatedly until
Music player
appears on the display .
Then, the menu “Music player” will ap-
pear:
Music player
Shared media
USB playback
My playlist
Repeat play: Off
Shuffle play: Off
>
>
Fig. 41
4.4.1 Replay via the USB connection
1) Connect a USB flash drive or a hard
disk to the USB port . When a USB stor-
age medium is connected to the port,
the following confirmation prompt
will appear:
USB playback
USB disk attached
Open folder?
NO
YES
Fig. 42
YES
is selected . To call up the USB
storage medium, press the knob CON-
TROL SELECT .
As an alternative, a USB storage me-
dium can also be called up via the
Содержание 1000259
Страница 2: ......


