


21
English
A
If the unit is to be operated without
any network connection:
Press the button MENU; answer the
question
Run wizard again at
next start up?
as desired . The
unit can now be used for all func-
tions that do not require any net-
work connection .
B
If the unit is connected to the net-
work via cable (LAN):
Select the line
[Wired]
and then
confirm your selection . The connec-
tion to the network will be estab-
lished: continue with step 8 .
C
If the unit is to be connected to the
network via wireless connection
(wireless LAN):
Select the name of your network
(SSID)* and then confirm your se-
lection . If the access to the network
is not encrypted, the connection
to the network will be established:
continue with step 8 . If the con-
nection is encrypted, continue with
step 7 .
*
[WPS]
will precede the name to indicate
that the router supports WPS .
D
As an alternative to the methods
described under B and C, manual
configuration can be selected
(e . g . if the network name is not
visible or if it is not possible to use
the DHCP function) .
Note:
For manual configuration, knowl-
edge of network technology is indis-
pensable .
a) Select the line
[Manual config]
and then confirm your selection .
b) Depending on the connection
type of the unit, select and con-
firm
Wired
or
Wireless
.
c) In the next menu, select and
confirm
DHCP enable
if the
router automatically transfers
the network settings to the unit
via DHCP . If the DHCP function
is not available or if it has been
deactivated at the router, select
and confirm
DHCP disable
and
then, in the following menus,
make the appropriate settings
for IP address, subnet mask,
gateway address and DNS .
If the unit is connected to the
network via cable, the unit will
start to establish the connection
to the network as soon as the
final setting has been confirmed;
continue with step 8 . For wire-
less connection to the network,
continue with step d .
d) The menu for entering the net-
work name will appear:
SSID
CANCEL
BKSP
OK
0
123456789._ ,
abcdefghijklmn
opqrstuvwxyzABC
DEFGHIJKLMNOPQR
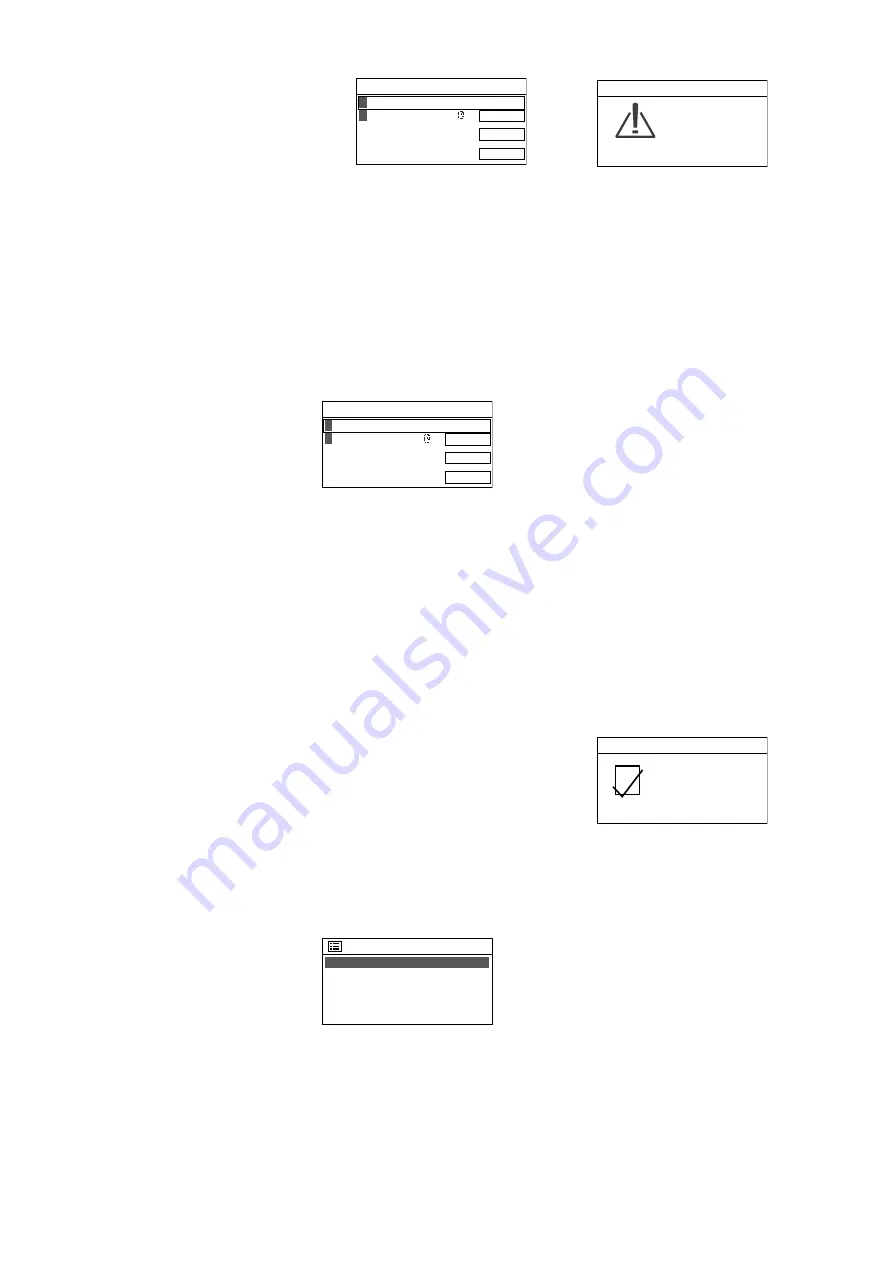
Fig. 16
Enter the network name and
confirm (for operation of the
input menu, please refer to the
text below fig . 17) .
e) In the following two menus, set
the encryption method used by
the router .
7) If the network access is encrypted, a
menu for entering the network key will
appear (if the WPS menu shown below
appears, continue as described there):
Key:
CANCEL
BKSP
OK
0
123456789._ ,
abcdefghijklmn
opqrstuvwxyzABC
DEFGHIJKLMNOPQR
Fig. 17
Turn the knob CONTROL SELECT to se-
lect the characters and the three fields
and then press the knob to confirm
(with the remote control: use the arrow
keys to select the characters / fields and
press ENTER to confirm) .
BKSP
= to delete last character
OK
= to confirm the key
CANCEL
= to return to the previous
menu
Note:
To select the fields
BKSP
,
OK
and
CANCEL
, turn the knob backwards beyond
the first digit or forwards beyond the final
special character . With the remote control:
at the beginning of a line, press
or, at
the end of a line, press
; then use
or
to select the field desired .
The network connection will be estab-
lished once the network key has been
confirmed .
If the router supports WPS (Wi-Fi
Protected Setup), the WPS menu will
appear instead of the menu for the
network key:
WPS Menu
Push Button
PIN
Skip WPS
>
>
>
Fig. 18
WPS allows you to integrate a unit into
an encrypted wireless LAN network
without entering the network key .
Two methods are available:
Method 1: If the router supports
WPS via PBC (Push Button Configu-
ration), this method should be used .
Push Button
is selected . Press the
knob CONTROL SELECT to confirm .
The following menu will appear:
Push WPS
button at the
other end
Press SELECT to
continue
WPS Setup
Fig. 19
First press the WPS button at the
router, then press the knob CONTROL
SELECT at WAP-202RS . The connec-
tion will be established . For detailed
information on how to proceed, also
observe the instructions in the manual/
user interface of the router .
Method 2: If the router supports
WPS via PIN entry, this method can
be used as an alternative to the PBC
method . Select and confirm
PIN
: The
menu
WPS Setup
will appear, show-
ing an 8-digit PIN . Enter this PIN at the
router and press the knob CONTROL
SELECT at WAP-202RS . Then start the
connection at the router . For detailed
information on how to proceed, also
observe the instructions in the man-
ual / user interface of the router .
If WPS is not to be used, select and
confirm
Skip WPS
. Then enter and
confirm the network key as described
above .
8) While the network connection is being
established, various messages will be
shown:
Please wait …
Once the network connection has been
established, the message
Connected
will appear, followed by the message
Setup wizard
Setup wizard
completed
Press SELECT to exit
Fig. 20
Press the knob CONTROL SELECT to exit
the setup wizard: the main menu will
appear . Use the main menu or the but-
ton MODE to select the operating mode
desired (chapter 4) .
If the wizard fails to establish a connec-
tion to the router (message
Failed to
connect
), first check the settings of your
router (e . g . SSID, WPS method used or
network key) . You may be able to im-
prove wireless LAN reception by reducing
the distance between the unit and the
router or by realigning the wireless LAN
antenna .
If the network connection is wrong, reset
the network settings (in the menu “Sys-
tem settings”
Network
Clear net
work settings
) and then establish the
connection again .
Содержание 1000259
Страница 2: ......


